How to Brighten Dark Videos (5 Easy Ways)
Do you wanna brighten dark videos? Learn how to brighten dark videos with ease using this helpful guide.
Joy Taylor | Last Updated: Aug. 30, 2024
1237 words|4minute
Dark videos can be frustrating, whether you’ve captured a precious moment or recorded an important event. But fear not! In this guide, we’ll explore various methods to brighten those dark videos, ensuring your memories and content shine as they should.
Why Do You Need to Brighten Dark Videos
Dark videos can hinder the viewer’s experience, making it difficult to see details and diminishing the overall impact. Brightening these videos not only improves visibility but also enhances the quality, making your content more engaging and professional. Here are a few reasons why brightening dark videos is crucial:
- Visibility: Ensure viewers can clearly see the content of your video.
- Enhanced Quality: Brighter videos look more professional and polished.
- Engagement: Bright videos are more likely to captivate your audience.
1. How to Brighten A Dark Video with Professional Tool [Safe & Easy]
When it comes to brightening dark videos with ease and professional results, Movavi Video Editor is a top choice.
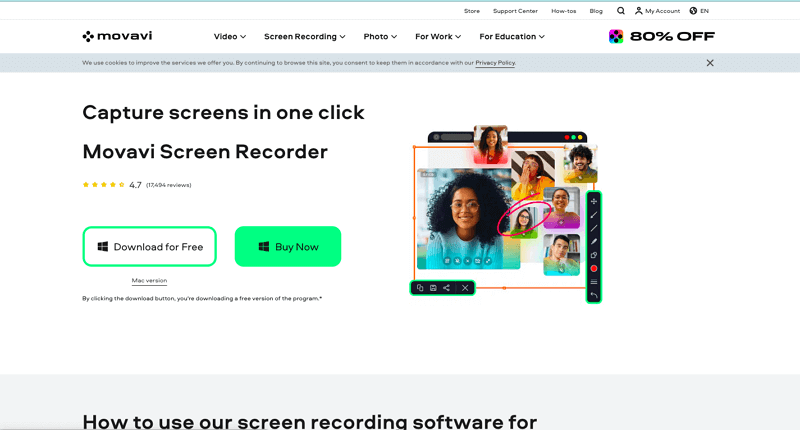
Movavi Official Webpage Interface
Movavi Video Editor is a versatile and user-friendly video editing software designed for both beginners and advanced users. With a wide range of features, including precise control over brightness, filters, and effects, Movavi makes it easy to enhance and brighten dark videos. Whether you’re a content creator, vlogger, or filmmaker, Movavi offers the tools you need to bring your videos to life with professional results.
Key Features of Movavi:
- Intuitive Interface: Easy for beginners, yet powerful for advanced users.
- Enhanced Brightness: Precise control over brightness levels.
- Filters and Effects: Customize your video with various filters and effects.
Steps to Brighten Dark Videos with Movavi:
Step 1. Download and install Movavi Video Editor. Launch the Program and import your dark video. Drag and Drop the video onto the timeline.
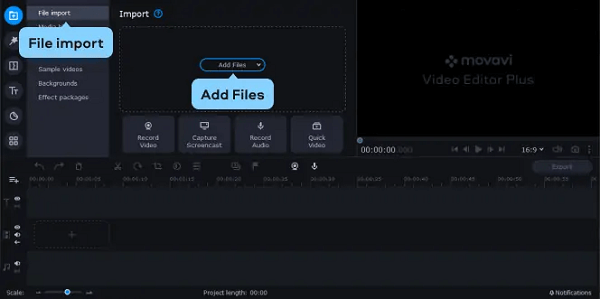
Drag and Drop the video onto the timeline
Step 2. To adjust the brightness, press the Color Adjustment icon above the Timeline section. Press Magic Enhance to automatically increase the brightness and contrast of the video, or select the Advanced tab to change these settings manually.
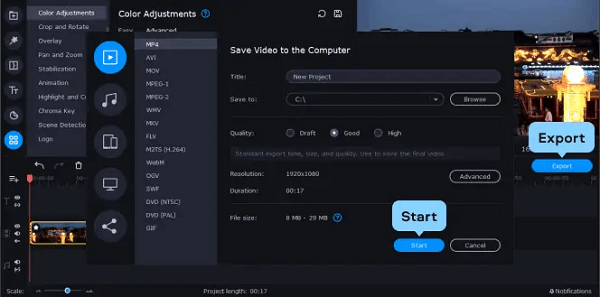
Adjust the brightness
Step 3. Watch the preview to ensure the desired brightness. Click “Export” to save your newly brightened video.
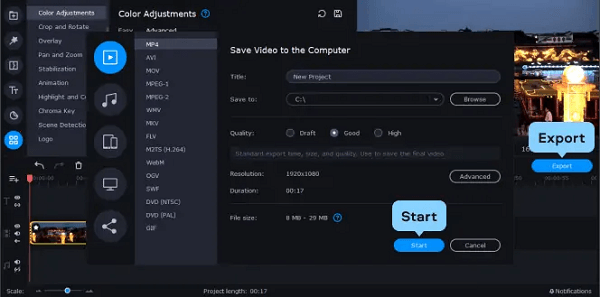
Click “Export” to save
2. How to Brighten A Dark Video Using iMovie [Mac Only]
For Mac users, iMovie provides a simple yet effective solution for brightening dark videos.

Access the iMovie App on Mac
iMovie, an exclusive video editing software for Mac users, provides a straightforward solution to brighten dark videos with its intuitive interface and adjustable brightness settings. With iMovie, Mac users can easily enhance the visibility and quality of their videos for a professional finish.
Steps to Brighten Dark Videos with iMovie:
- Open iMovie and create a new project.
- Import Your Video: Drag and drop your dark video into the timeline.

Import Videos from iPhone to iMovie on Mac
- Select the Clip: Click on the video clip in the timeline.
- Adjust Brightness: Find the “Adjust” option and increase brightness.
- Preview: Watch the preview to ensure the desired brightness.
- Export: Click “File” > “Share” > “File” to save your brightened video.
3. How to Brighten A Dark Video with VLC
The next method is using VLC Media Player. VLC Media Player, a versatile open-source software, offers users the ability to brighten dark videos with its video effects and filters. With VLC, users can easily adjust brightness levels to enhance visibility and improve the quality of their videos.
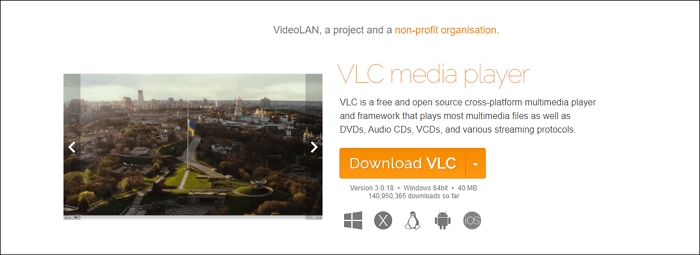
Get VLC Media Player
Steps to Brighten Dark Videos with VLC:
- Open VLC and navigate to “Media” > “Open File” to import your video.
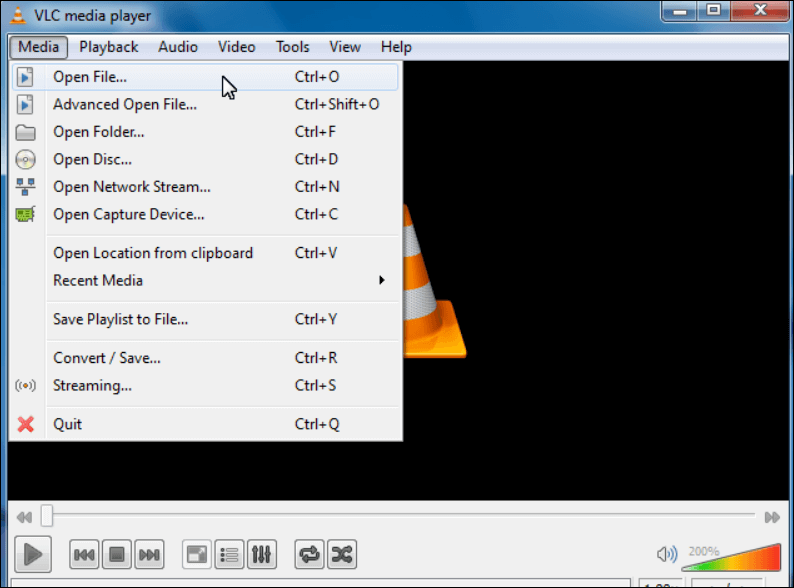
Tap on Media and Choose Open with
- Access Effects and Filters: Go to “Tools” > “Effects and Filters.”
- Video Effects: Under the “Video Effects” tab, select “Adjustments and Effects.”
- Increase Brightness: Adjust the “Brightness” slider to brighten the video.
- Save: Click “Save” to apply the changes.
4. How to Brighten A Dark Video Using Windows Movie Maker [Windows Only]
Windows Movie Maker is a basic yet effective tool for Windows users to brighten dark videos. Windows Movie Maker is a simple yet effective video editing tool for Windows users, that provides an easy way to brighten dark videos.
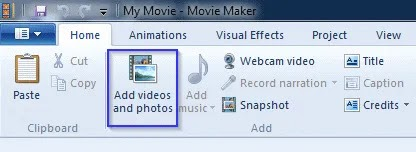
Choose the Video You Want to Rotate
Steps to Brighten Dark Videos with Windows Movie Maker:
- Open Windows Movie Maker and import your dark video.
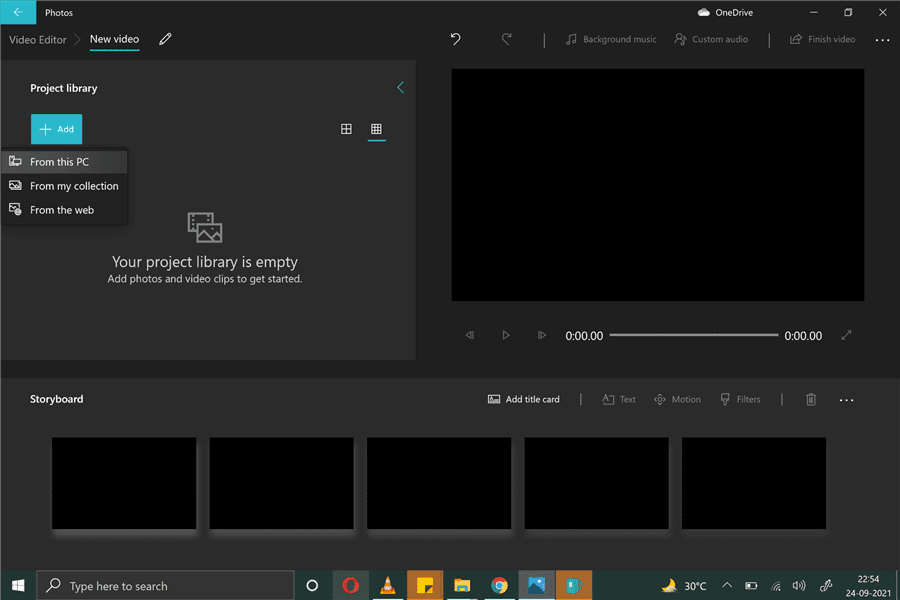
Add Videos in Windows Movie Maker
- Drag Video to Timeline: Drag your video clip to the timeline.
- Adjust Brightness: Locate the “Brightness” adjustment option.
- Increase Brightness: Slide the bar to increase brightness.
- Preview: Watch the preview to ensure the desired brightness.
- Save or Export: Click “File” > “Save” or “Export” to save your brightened video.
5. How to Lighten up A Video in Adobe Premiere Pro
The last way is to use Adobe Premiere Pro. Adobe Premiere Pro is a powerful and widely-used professional video editing software, known for its advanced features and precise control over video editing elements.
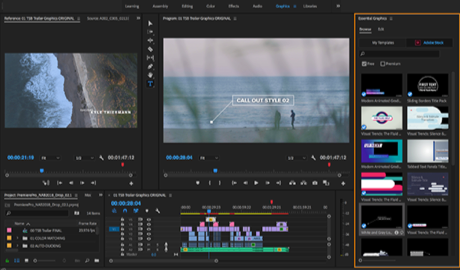
Edit the iPhone Video Using Adobe Premiere Pro
However, Adobe Premiere Pro is a bit complicated to operate, especially for beginners. Adobe Premiere Pro’s rich features and complex interface may take more time and effort to master than a simple editing tool.
Steps to Brighten Dark Videos with Adobe Premiere Pro:
Step 1. Open Adobe Premiere Pro and import your video. Drag Video to Timeline: Place your video on the timeline.
Step 2. Locate the “Brightness” option in Effects. Increase Brightness: Adjust the slider to brighten the video.
Step 3. Watch the preview to ensure the desired brightness.
Step 4. Export: Click “File” > “Export” to save your brightened video.
Bottom
Brightening dark videos is essential for visibility, quality, and engagement. Learn how to brighten dark videos with ease using this helpful guide.
When it comes to brightening dark videos, Movavi stands out for its ease of use and powerful features. Movavi offers a seamless experience with precise control over brightness levels. Don’t let dark videos dull your content – download Movavi Video Editor today and give your videos the brightness they deserve!
Joy Taylor
Senior writer of the iMobie team as well as an Apple fan, love to help more users solve various types of iOS & Android-related issues.
Screenify
AnyEnhancer
FocuSee
Vozard
AnyMiro
AnyMirror


