How to Transfer Music from Android to PC
Wonder how to transfer music from Android to PC easily and quickly? Check this guide to move all of your Android music files to the Windows computer within just 3 steps.
Even though Android users can enjoy favorite songs with the Android devices, there are still some occasions where you maybe have the need for putting Android audio files on your windows computer, like backing up them from disappearing accidentally, quite important one, or customizing the songs as you like with software, supported on on computer, etc.
So the question is how to transfer music from Android to PC. Normally you may say just connecting Android to PC computer with USB and finding the files on computer. If you are familiar with the place where the music files are located, it truly is an easy method. However, among hundreds of Android files, it is very hard to find the correct file which contains what you need if you are not familiar with every single file.
So we sincerely recommend you a professional Android data managing application – AnyDroid, which can make the job of transferring music from Android to computer much easier.
- It will display all files and data on Android with categories, music, contacts, messages, photos, videos, etc. So you can easily access all music files on your Android devices.
- AnyDroid promises you super fast transferring speed. 3000 songs can be moved to computer from Android within just 5 minutes.
- Not just transferring music from Android to computer, you can also move songs on computer back to Android, or between Android devices, or even put iPhone/iPad/iPod touch music files on Android without effort.
How to Transfer Music from Android to PC
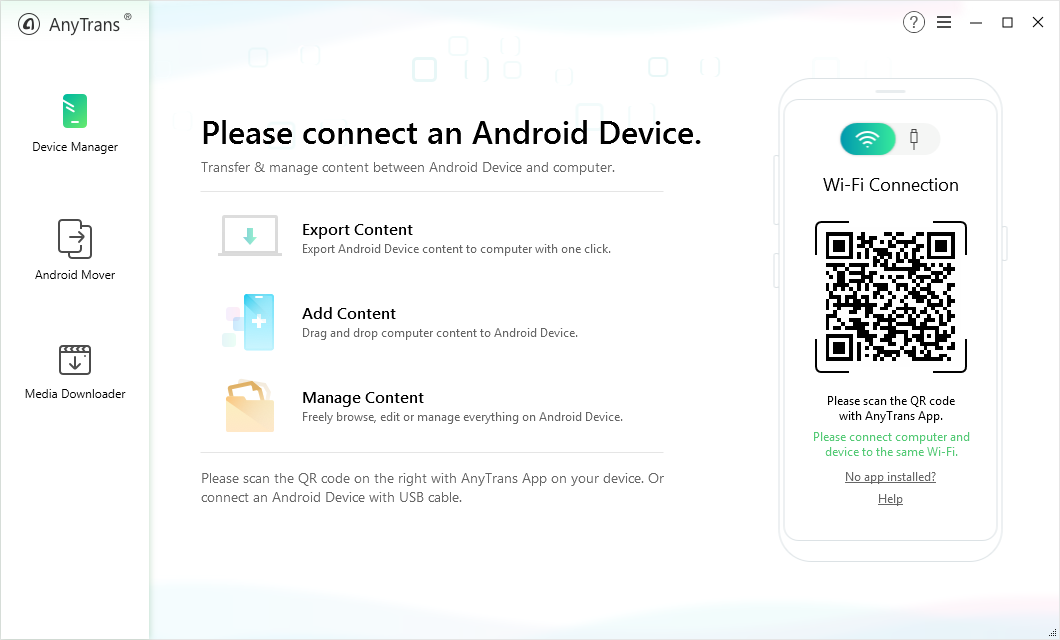
Step 1Download and install AnyDroid on your PC > Run it > Connect your Android device to it.

How to Transfer Music from Phone to PC/Mac for Android Users – Step 1
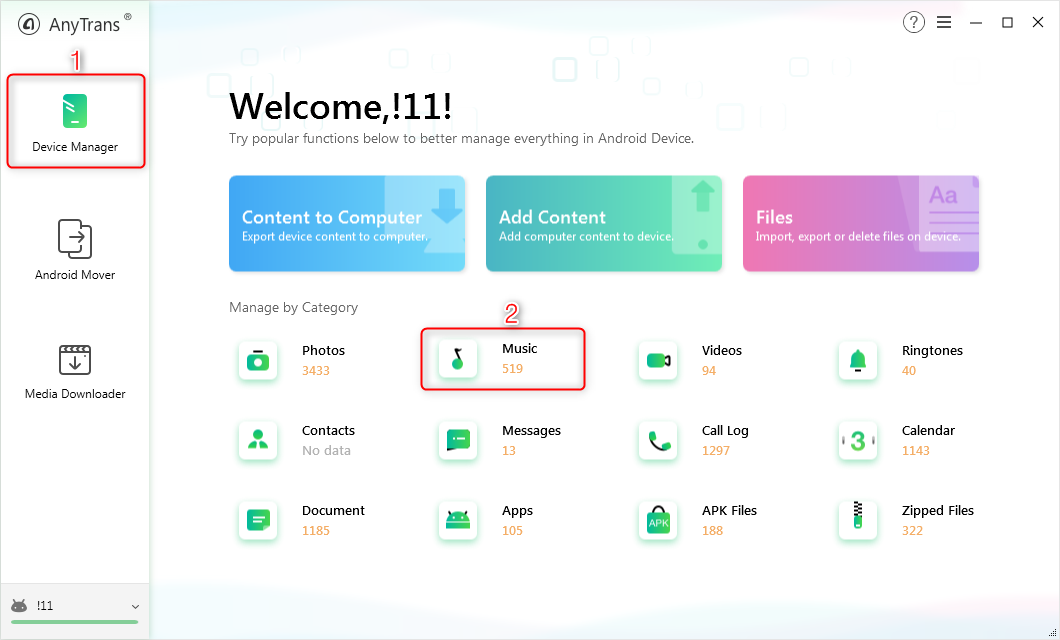
Step 2Click on the Device Manager function > Choose Music tab.

How to Transfer Music from Phone to Computer for Android Users – Step 2
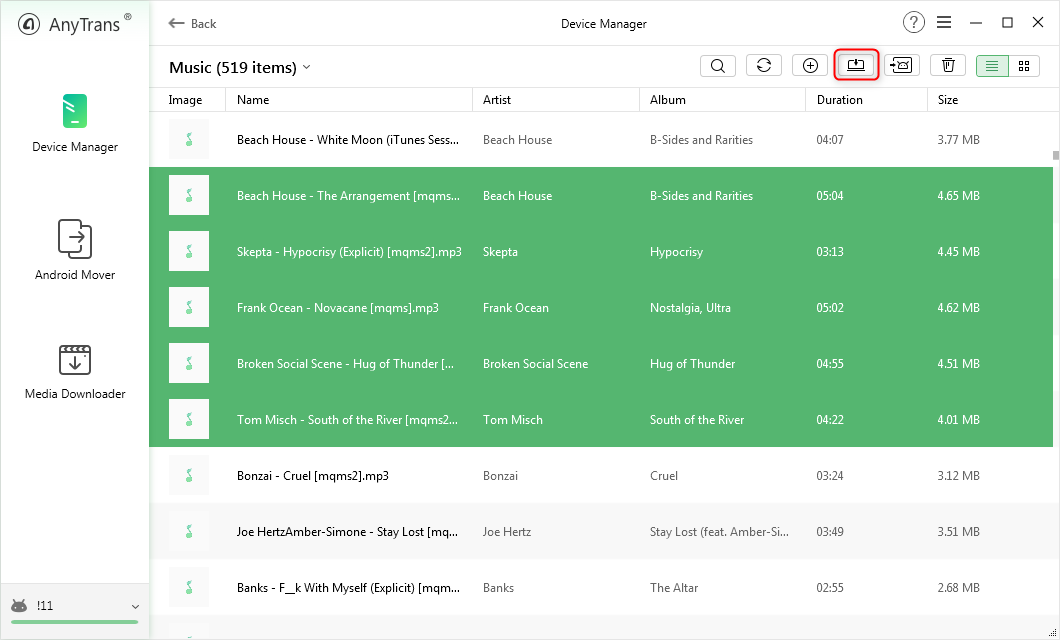
Step 3All music files on Android will be displayed > Select the items you want > Click To PC button to start transferring.
Click the Settings button to choose the export path you like.

How to Get Music from Phone to Computer for Android Users – Step 3
The Bottom Line
As you can see, with AnyDroid, there just 3 steps needed to transfer music from Android to PC. Why not give AnyDroid a try now? If you have any question about AnyDroid, you can contact us via email, and we will answer you as soon as possible.
More Related Articles


Joy Taylor


Member of iMobie team as well as an Apple fan, love to help more users solve various types of iOS & Android related issues.
Screenify
AnyEnhancer
FocuSee
Vozard
AnyMiro
AnyMirror


