6 Ways to Fix SD Card Not Showing Up on Android
“When I insert my old SD card into the device, it does not show up in my phone. Why and how can I fix the problem?’’
Android Issues & Fixes
Android System Issues
Android Apps Issues
The SD card is usually used when the internal memory on your Android device is not sufficient, or when you want to expand the storage of your phone or tablet for more photos, videos, games and even installing apps on the SD card.
However, sometimes, the lifesaver might be not detected by your Android phone/tablet. Why would this happen and how do troubleshoot the SD card not showing up on the Android problem? Check the guide for further details.
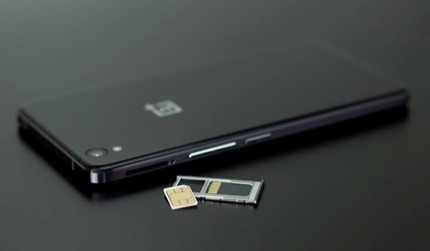
How to Fix SD Card Not Recognized on Android
Also Read: How to Recover Files from Formatted SD Card Android >
Why My SD Card Is Not Showing in Android
When you insert an SD card on your Android device, expect to see it show up in the storage settings, making it easy for you to access and manage the data on it. However, if you find that the SD card is not showing up on your Android device or the device shows “SD card not detected on Android,” There could be multiple reasons for this.
- SD card failure: The SD card itself may be damaged or malfunctioning.
- Loose connection: The SD card may not be inserted correctly into the device’s card slot.
- Compatibility issues: Some SD cards may not be compatible with specific Android devices.
- Corrupted SD card file system: The file system of the SD card may be corrupted, rendering the device unreadable.
- Software failure: There may be a software failure or error that prevents the device from recognizing the SD card.
- Damaged card slot: The card slot on your device may be damaged or affected by dirt.
- Permission issues: The device may not recognize the SD card due to permission issues.
- System update issues: The device’s operating system may need to be updated to resolve SD card recognition issues.
These are some possible reasons for SD card not showing up in Android devices.
How to Fix SD Card Not Detected on Android Phone/Tablet
How do I get my android to read my SD card? What do I do if my SD card is not detected on my phone? If you also have these problems on your Android phone, please keep reading, here we provide your five solutions to fix them easily.
Solution 1: Gently Clean the SD Card
Just in case the SD card is covered with dirt, use a white-colored rubber eraser and gently rub the copper piece (gold yellow color) on your SD card to clean off the dirt.
Solution 2: Insert the SD Card Again
Sometimes, the SD card is not fully inserted into the phone, which causes the Android phone to fail to recognize the SD card. Before trying other methods, please try to remove the SD card from the phone and then reinsert it.
- The first thing is to turn off your Android phone and remove the card from your phone.
- Adjust the SD card and make sure that the card is fully installed in the card slot.
- Re-insert it into your Android phone and turn on your phone to check if the SD card is detectable now.
Also Read: How to Copy Contacts to SD Card on Android Phone >
Solution 3: Update the SD Card Driver
Due to an outdated SD card driver, your Android device may fail to detect the SD card. Do as per the instructions to update the SD card driver and make it detectable again.
- Connect your SD card to a PC computer.
- Right-click on My Computer or This PC and choose the Manage option.
- In the taskbar on the left, click device manager, and next to USB Serial Bus controllers click “+”. Then you’ll see a yellow exclamation mark.
- Right-click and choose Update Driver Software, then click Search automatically for updated driver software.
- Wait patiently and let the driver be installed and restart your computer. Then check if the SD card can be detected by your Android phone or tablet.
While, if these steps above do not work for you to update the driver, you can try some professional software to do this job. Here we sincerely recommend Driver Easy. Driver Easy will automatically recognize your system and find the correct drivers for it. You don’t need to know exactly what system your computer is running, you don’t need to be troubled by the wrong driver you would be downloading, and you don’t need to worry about making a mistake when installing.
You can update your drivers automatically with either the FREE or the Pro version of Driver Easy. But with the Pro version it takes just 2 steps (and you get full support and a 30-day money-back guarantee):
Step 1. Download and install Driver Easy.
Step 2. Run Driver Easy and click the Scan Now button. Driver Easy will then scan your computer and detect any problem drivers.
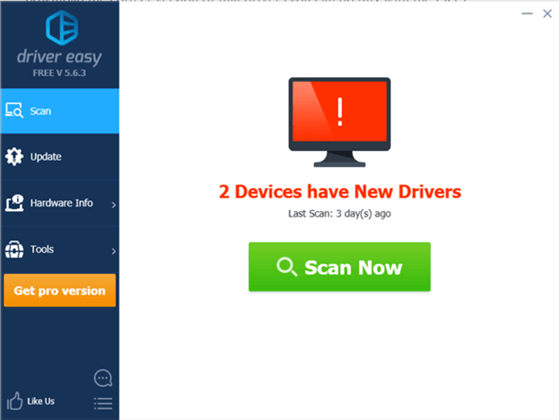
Run Driver Easy and Scan Now
Step 3. Click the Update button next to the flagged xxx driver to automatically download the correct version of that driver (you can do this with the FREE version), then manually install it.
Or click Update All to automatically download and install the correct version of all the drivers that are missing or out of date on your system. (This requires the Pro version which comes with full support and a 30-day money-back guarantee. You’ll be prompted to upgrade when you click Update All.)
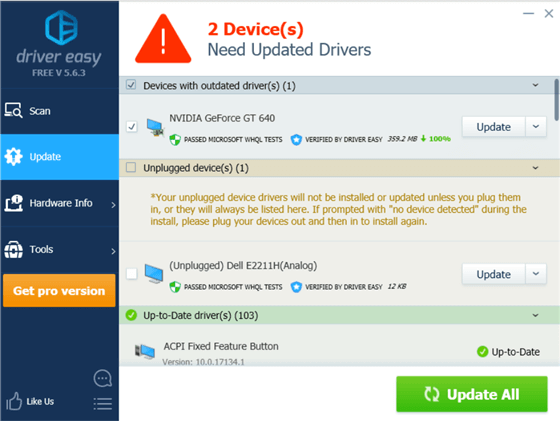
Click Update All to Download Drivers
Step 4. Restart your computer to take effect.
Solution 4: Repair SD Card Not Detected Error with CHKDSK Command
When the SD card has an internal error or bad sectors, the Android device might not be able to detect the SD card. Try using the CHKDSK command to repair the error.
- Right-click on My Computer or This PC and select Manage, click on Disk Management, and then find the device in the drive viewer to check out whether the computer can detect your memory card or not. If it is detectable, jump to Step 3 to get all Android memory card data restored; if not, continue the process.
- Press Win+R > Type: cmd and hit Enter.
- Type: chkdsk D: / f and hit Enter; (D is the drive letter of your memory card). Or you can type: chkdsk D:/f /offlinescanandfix and hit Enter.
Solution 5: Format the SD Card
If no other method worked, you are recommended to format the SD card. But before formatting, remember to back up your SD card data to a computer.
- Open My Computer or This PC where you can see the hard drives and the SD card you just plugged in.
- Right-click on your SD card and choose Format. Now you are able to set it up on the pop-up window. Please make sure you have set the File System to FAT32.
- Check Quick Format on the optional box and click on the Start button.
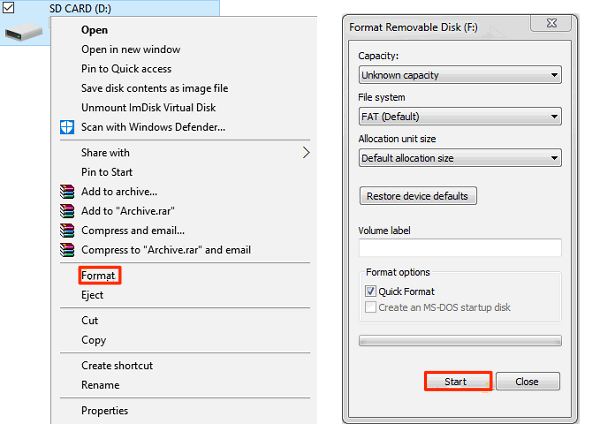
How to Fix SD Card Not Detected on Android
Solution 6: Using a Troubleshooter on Android Device
All of the above solutions are suitable for SD card issues. But if the problem is running on the device, these methods mentioned above will no longer be available. So, if all the methods above you have tried but your sd card not detected on mobile is still being around, you may need to fix your Android device.
Now you can use an Android system fixer to get off the sd card not showing up, Android says no SIM card, etc. Here we recommend DroidKit, a professional Android device troubleshooter, which is dedicated to solving the Android problems that users may meet. Let’s dive in.
Step 1. Download the latest DroidKit and run it on your computer (Windows & Mac supported). Also, connect your device to the computer with a fine USB cable.
Free Download * 100% Clean & Safe
Step 2. Launch DroidKit on the computer, and choose System Fix at the top-right of the front page.
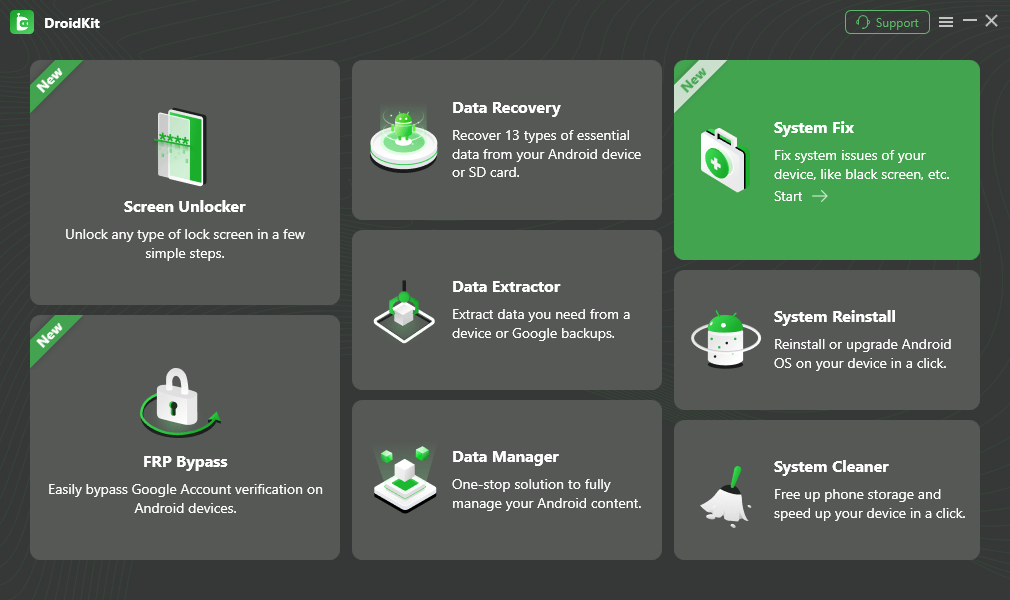
Click System Fix Function
Step 3. Now you need to follow the on-screen instructions. You will be asked to download firmware. When the firmware is downloaded successfully, you should put your device in Download mode, and then DroidKit will start to fix your device.
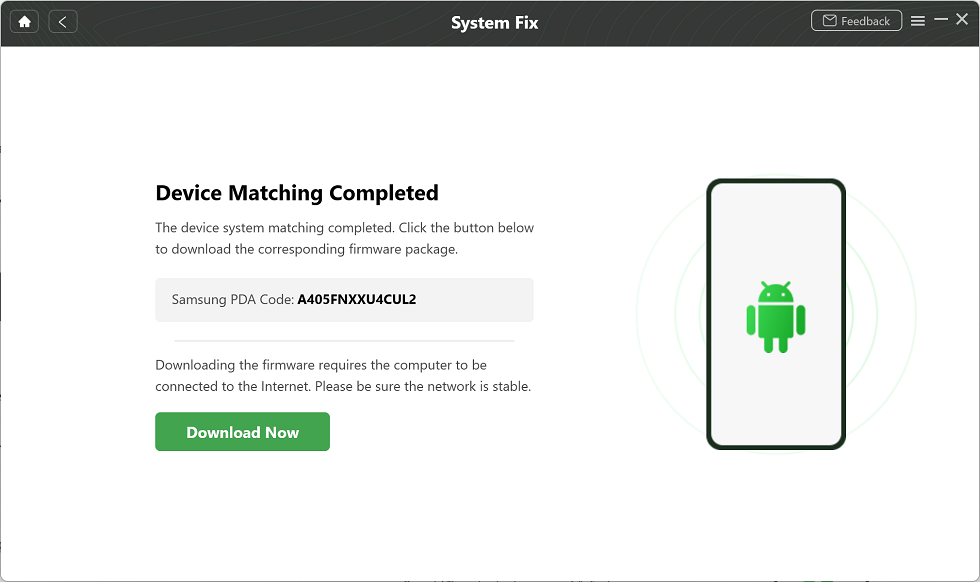
Download Firmware
Step 4. Minutes later, you will find your device gets restarted again which means the fixing process is completed.
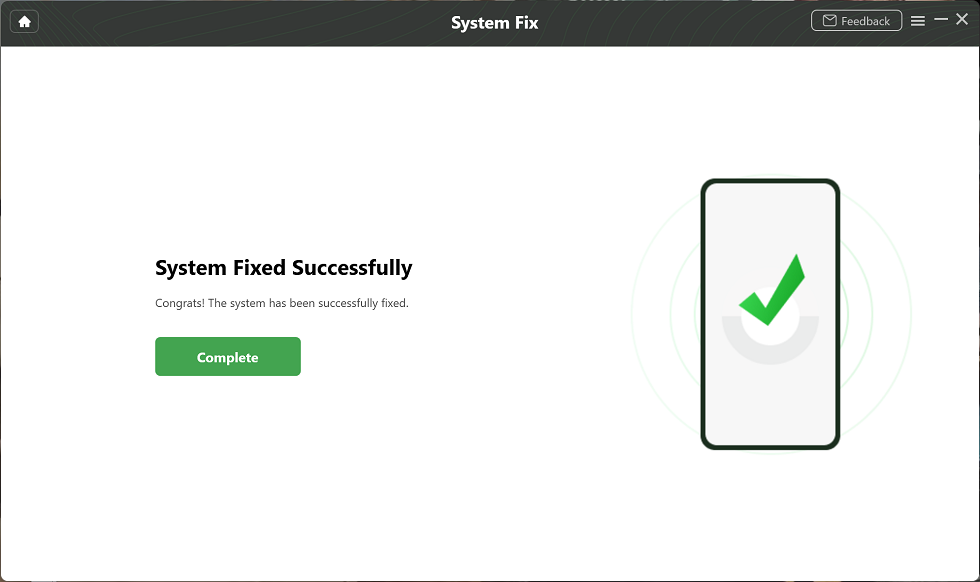
Completing the Repair Process
Bonus Tip. How to Manage and Transfer Android Data
For better management of your Android phone or tablet, you might need an Android manager. AnyDroid is strongly suggested, which enables you to view and manage Android files on the computer and transfer files between the computer and Android handset, or even between Android devices.
Now, please free download it and follow the steps below to see how to manage Android data easily.
Free Download * 100% Clean & Safe
Step 1. Launch AnyDroid on your computer and connect your Android device to your computer > Click on Device Manager at the left panel > Files.
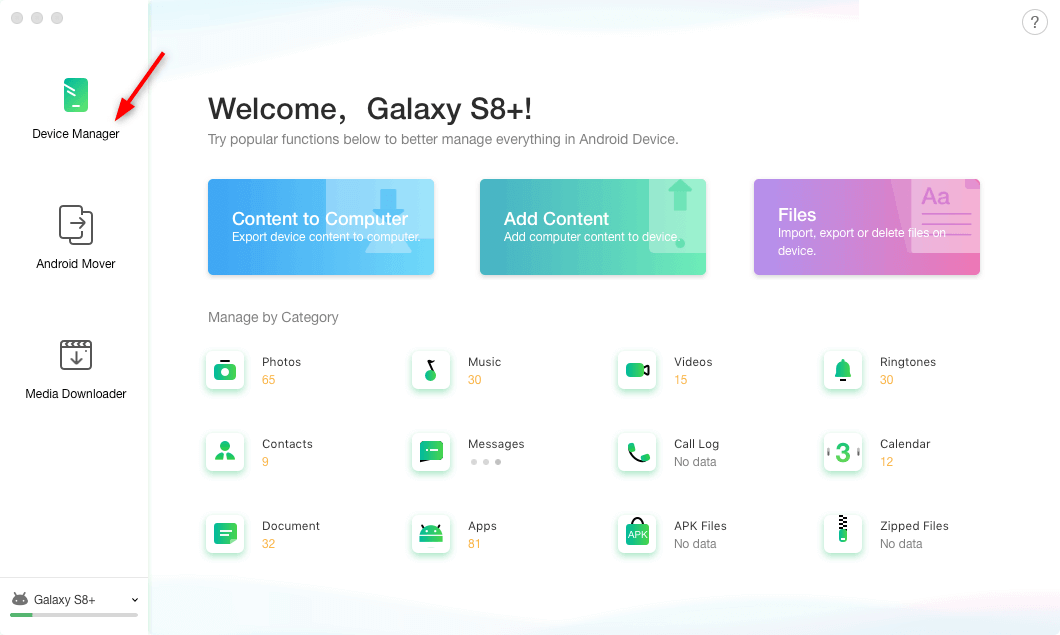
Connect Your Android and Choose Device Manager
Step 3. After entering the Files Management interface, you will see the interface as below. Then you can find the files that you want and add files from your computer/SD card.
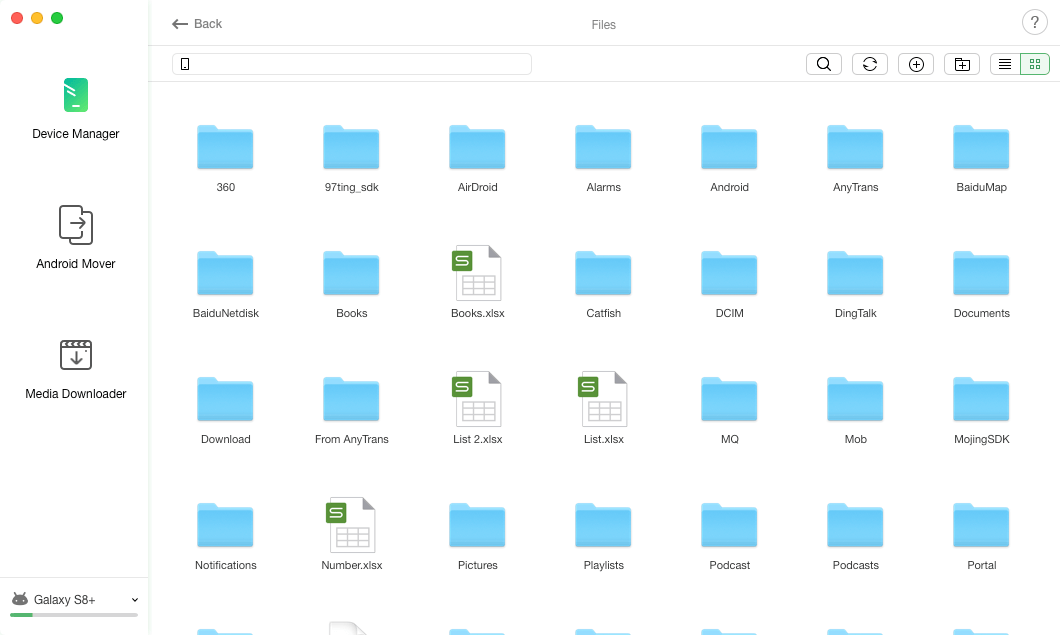
How to View Android Files on Computer
The Bottom Line
If you find any other useful solutions for the SD card not showing up on the Android problem, welcome to share them with us in the comments below. To fix your problem, just download DroidKit. And for more details about the Android files manager and transfer, head to check here >
Free Download * 100% Clean & Safe
More Related Articles
Product-related questions? Contact Our Support Team to Get Quick Solution >

