Two Ways to Transfer Photos from Lumix Camera to iPhone
Users who don’t know how to transfer photos from Lumix camera to iPhone could take this post as a tutorial. We have listed two ways to transfer photos to iPhone, keep reading and learn more on it.
iPhone Photos Tips
Export Photos from iPhone
Import Photos to iPhone
Fix iPhone Photos Problems
Other iPhone Photos Tips
Although iPhone might be the most-used camera in the world, it still can not replace camera in some extent, because camera enables users to take higher quality photos and has more powerful functions. Here in this post, we are going to focus on how to transfer photos from camera, more specifically, from Lumix camera to iPhone. Keep reading and check the details.
How to Transfer Photos from Lumix Camera to iPhone via AnyTrans
To transfer photos from Lumix camera to iPhone, we need to transfer camera photos to computer first. Due to the unique operating system of iPhone, it is not easy for users to transfer contents such as photos from computer to iPhone. Apple tools such as iTunes and iCloud could only transfer photos stored in your Apple ID, they are not helpful for adding photos to your iPhone.
As a result, we need third-party software to help. Here we choose AnyTrans. These are the reasons why.
- With AnyTrans, you can transfer photos between computer and iOS devices without any quality and data loss.
- AnyTrans provides two transferring models, one is one-click, the other is by content. It means you can transfer photos to iPhone both completely and selectively.
- It is compatible with all iPhone/iPad/Mac models, you don’t need to worry whether AnyTrans could detect your device if it is not the latest one.
Now just free download AnyTrans and follow the step-by-step guide to see how to transfer photos from Lumix camera to iPhone with AnyTrans.
AnyTrans – iPhone Photos Transfer
Want to transfer photos from Lumix camera to your new iPhone 7/8/X/XS (Max)/XR? This article is intended to show you two ways to transfer photos from Lumix camera to iPhone. Keep reading on this post to learn more.
Step 1. Use a card reader to copy and paste the photos you want to transfer to your computer first. Install and open AnyTrans, connect your iPhone to your computer.
Step 2. When AnyTrans has detect your iPhone, click Device Manager at the main interface. Then click Add Content.
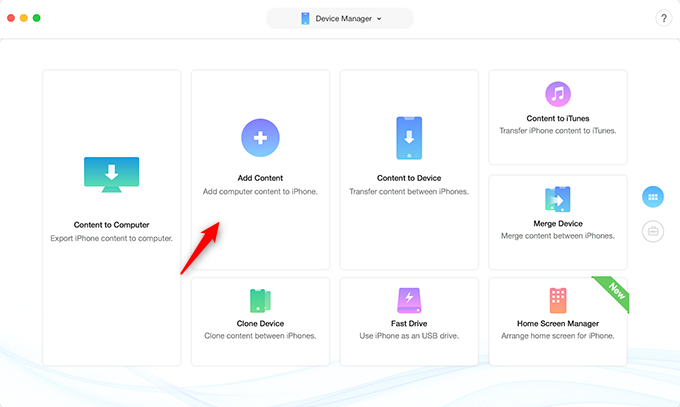
How to Transfer Photos from Lumix Camera to iPhone via AnyTrans – Step 2
Step 3. A window will pop up displaying all available pictures, choose the photos you want to transfer and click Open.
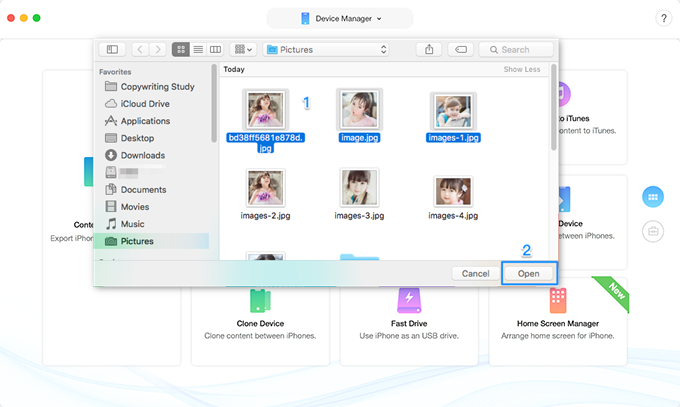
How to Transfer Photos from Lumix Camera to iPhone via AnyTrans – Step 3
Step 4. When it shows Transfer Complete, your photos from Lumix camera are successfully transferred to iPhone.
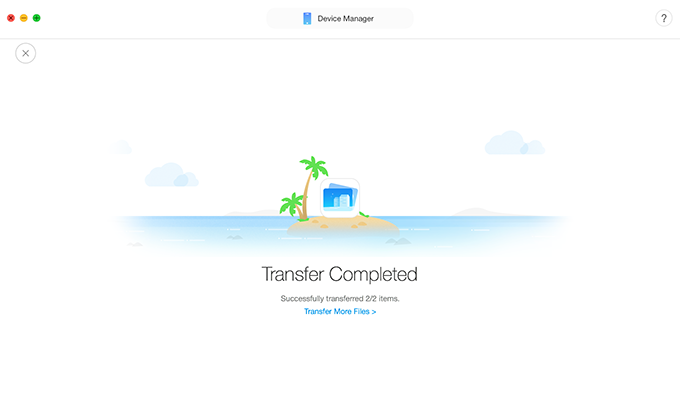
How to Transfer Photos from Lumix Camera to iPhone via AnyTrans – Step 4
How to Transfer Photos from Lumix Camera to iPhone via Wi-Fi
Apart from using computer and third-party software to transfer photos from Lumix camera, there is another wireless way for users to transfer photos via Wi-Fi. However, this method requires your Lumix camera to be Wi-Fi available. If you are not sure, searching your camera model number on Panasonic official website to make sure. Please follow the steps below to see how to transfer photos from Lumix camera to iPhone via Wi-Fi.
Step 1. Download Panasonic Image App from App Store.
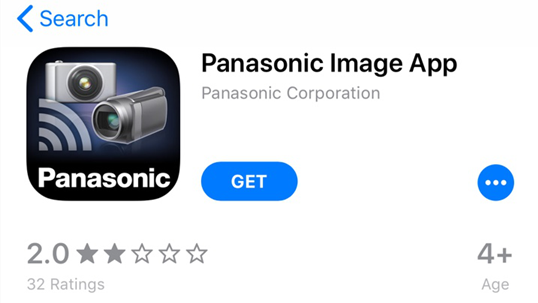
How to Transfer Photos from Lumix Camera to iPhone via Wi-Fi – Step 1
Step 2. Press MENU > Set Up > Wi-Fi > Wi-Fi Function > New Connection > Remote Shooting & View on your camera. There will be a SSID together with Password as well as a QR Code appearing on your camera.
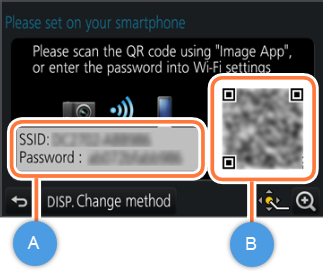
How to Transfer Photos from Lumix Camera to iPhone via Wi-Fi – Step 2
Step 3. Go to Settings > Wi-Fi Connection on your iPhone, find the camera Wi-Fi [SSID] and connect it with password.
Step 4. When your iPhone has connected with your Lumix camera’s Wi-Fi, you could transfer photos through Panasonic Image App.
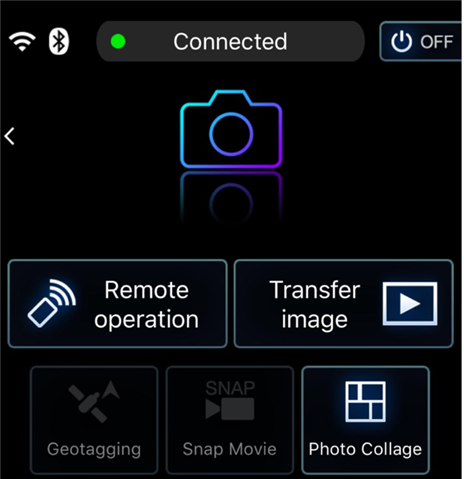
How to Transfer Photos from Lumix Camera to iPhone via Wi-Fi – Step 4
The Bottom Line
As you can see, whether your Lumix camera is Wi-Fi available or not, you can find a way to transfer photos from camera to iPhone. And besides photo transfer, AnyTrans also supports users to transfer music, contacts, messages, notes and so on. If you are interested in it, download AnyTrans now and have a free trial.
Product-related questions? Contact Our Support Team to Get Quick Solution >

