Screen Recorder No Watermark: Top 10 Picks [2024 Updated]
Looking for a reliable “screen recorder no watermark” can be difficult. This guide unveils the top 10 watermark-free screen recorders. The Screenify took the spotlight for its versatile and user-friendly features. While the other nine competitors also provide screen recording without watermark.
Whether for creating tutorials or recording webinars, the screen recorder is always your hero behind the scenes. Yet most free screen recorders come with an unwelcome surprise of a watermark.
That’s why people are always searching for free screen recorders without watermarks.
And your quest for “screen recorder no watermark” ends here!!!
This article will show you the ten best screen recorders that give you watermark-free results. We’ll review the key features of every single screen recorder. Moreover, we’ll also provide a step-by-step guide for the best of these ten screen recorders.
But before we start, let’s answer a simple question that may arise in your mind.
Can You Record Your Screen Without Watermark?
Yes, you can indeed record your screen without a watermark.
Watermark-free screen recordings are pivotal for maintaining professionalism. And every premium screen recorder understands this fact. They all offer screen recording features devoid of any watermarks.
But if you’re hesitant about investing, you still have options. Many free screen recorders also provide a clean recording. Out of many options, the best one is Screenify.
Let’s explore this awesome screen recorder first, and then we’ll move on to the other competitors.
The Best Screen Recorder no Watermark – Screenify [Recommended]
Screenify is an innovative tool that stands distinctively among its competitors. The best thing is that it offers an unmatched watermark-free recording experience.
The emphasis of Screenify isn’t solely on quality. It also focuses on user-friendliness and versatility. So iMobie users can benefit from Screenify in every possible way. Some users can utilize the webcam recording features to make professional tutorials. While others just need the screen-only recording.
Key Features
Here are the distinctive key features of Screenify.
- 100% Free: You can use it to its full potential without any cost.
- Versatility: Record screen, webcam, and audio.
- High-Quality Recording: Options are available for 4K, 1080p, and 720p recordings. And you can record without any watermark or time limit.
- Simple Saving: There is a one-click functionality to save recordings directly to Windows or Mac.
- Safe & Secure: Guaranteed clean and secure software for both Windows and Mac users.
Steps to Record Screen with Screenify
Here’s a stepwise guide for Screenify to record without a watermark.
Step 1. Download and Install Screenify on Computer.
Step 2. Launch Screenify on your computer, and select Record Screen mode.
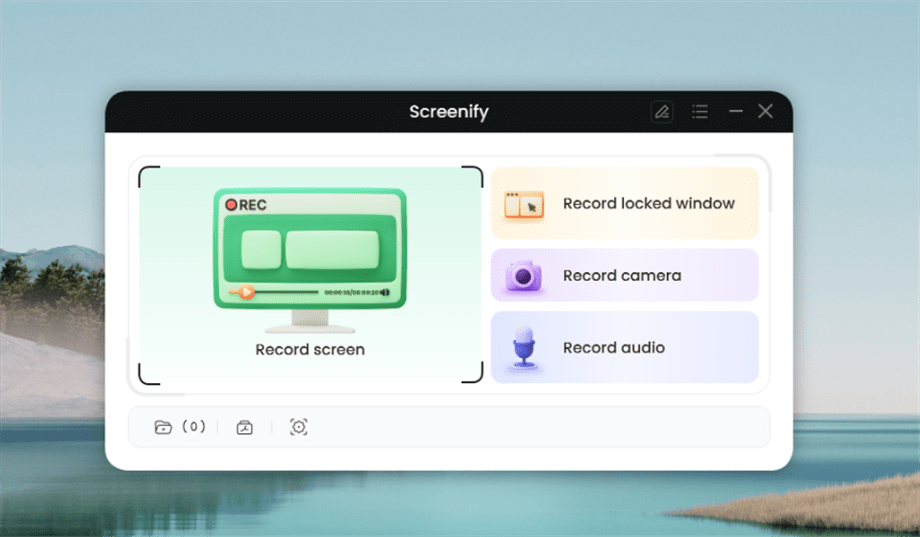
Select Record Screen Mode
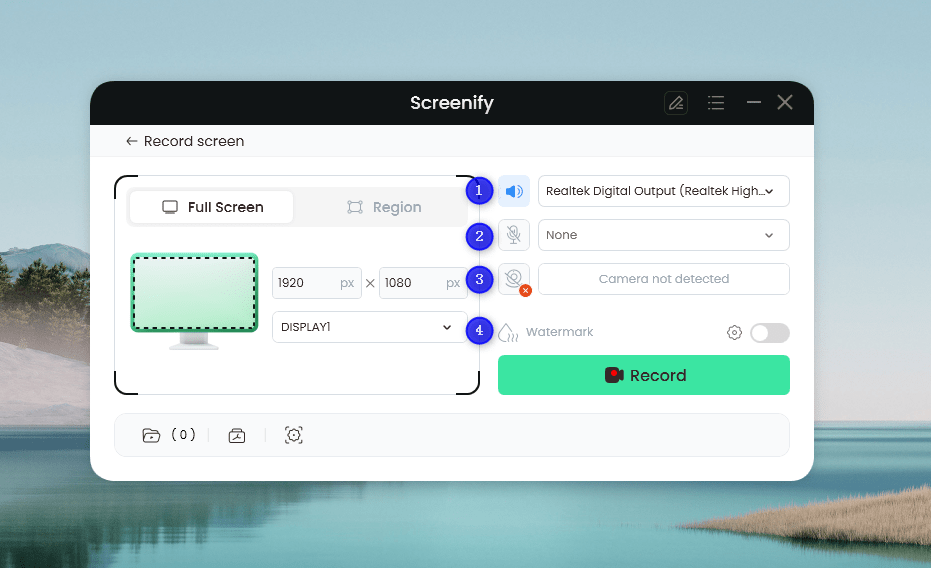
Step 3. Configure Recording Settings aims to configure settings like system audio before recording.
Set Configure Recording Settings
In this setting menu, you can:
1 Choose the System audio.
2 Choose the Microphone you want to record.
3 Choose the Camera you want to use.
4 Choose whether to add a watermark.
Step 4. Select Recording Screen.
The screen mode offers two recording options: you can either record the entire screen or select a specific region to record.
Option 1. Full Screen Record
Please select Full Screen mode and choose the display you need to record. Hit the Record button to initiate recording.
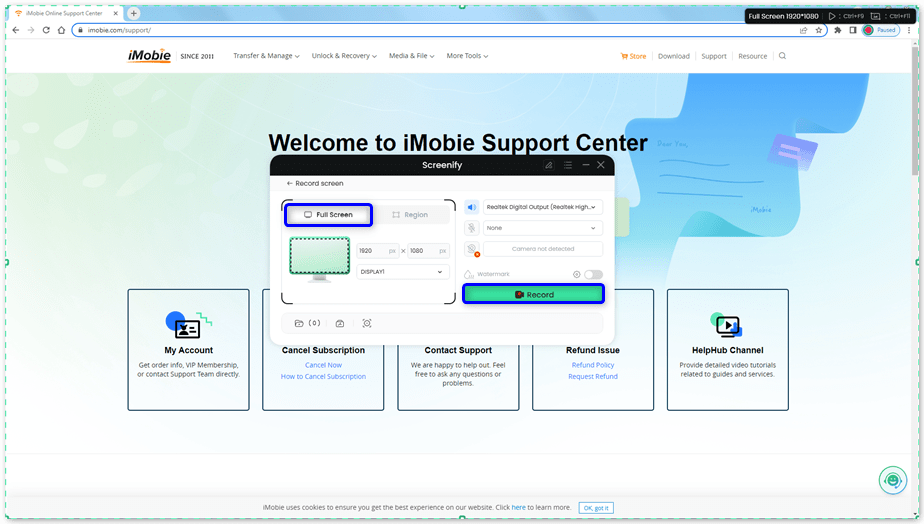
Select Full Screen
Option 2. Region Record
To record the region, you need to manually select the recording area. After selection, you can still adjust the selected area. It supports customize selection, full screen, and proportional selection based on common social media dimensions.
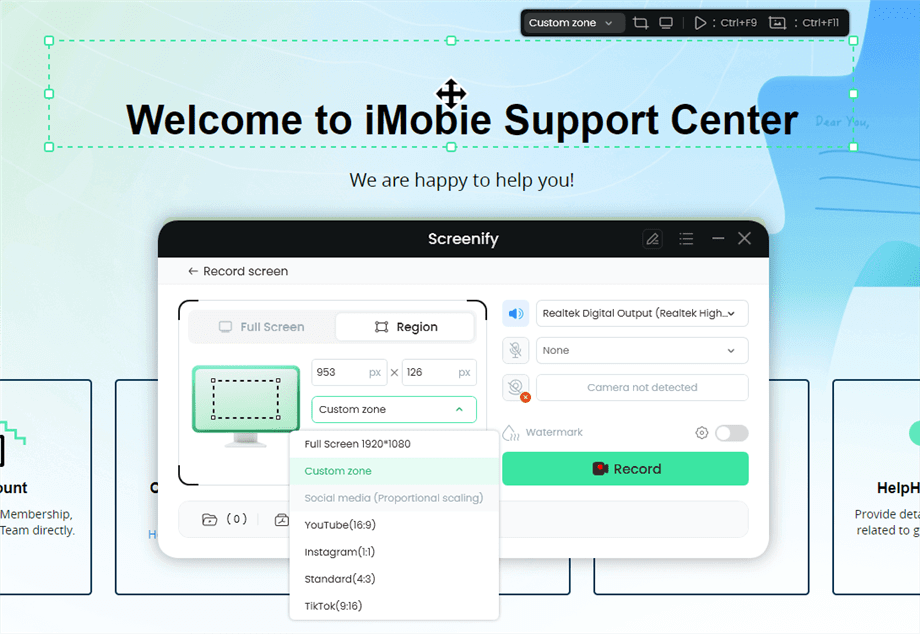
Record Region
Step 5. Wait for the Recording Countdown.
There is a 3-second countdown to help you prepare the recording after you are ready to start recording.
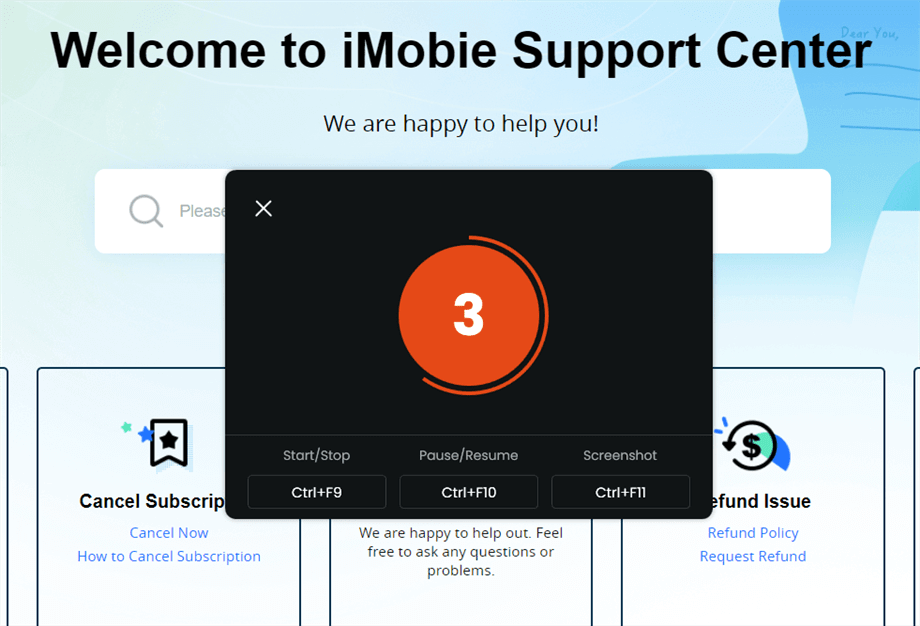
Wait for the Recording Countdown
If you would like to see a recording countdown before your recording starts, you can enable the countdown option. Or you can tap it off. View this post to know how to set the countdown option.
Step 6. Start Recording.
The recording will begin after a 3-second countdown. You can make annotations on the recording interface during the recording.
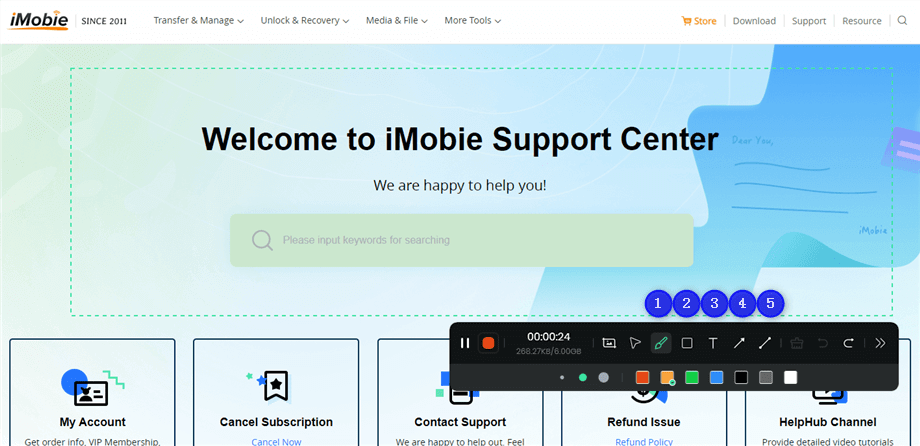
Annotate the Screen during Recording
With the toolbar, you can add the annotation in the screen:
1 Brush: Draw freehand on the screen recording interface to highlight or illustrate specific areas during the recording.
2 Rectangle: Draw rectangular shapes on the screen recording interface.
3 Text: Add written notes or labels directly onto the screen recording interface.
4 Arrow: Draw arrows on the screen recording interface to point out and emphasize specific areas.
5 Line: Draw straight lines on the screen recording interface to underline or connect specific points.
The toolbar can be expanded or collapsed. This feature allows you to access various tools and options when needed, and hide them to keep the workspace uncluttered when they are not in use.
Step 7. Record Screen Process Completed.
When the recording is completed, you can click the red Stop button to end the recording. Your recorded files will be displayed. From here, you can preview and manage the recorded content as needed.
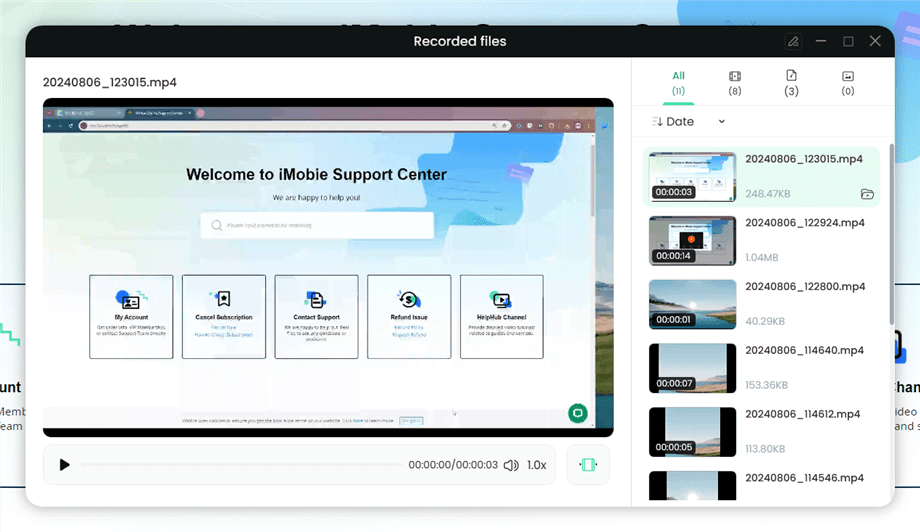
Preview the Recording
You may also want to know: How to screen record protected videos
Nine Other Screen Recorders Without Watermark
Each user has unique requirements. So it’s natural for anyone to seek a tool that aligns perfectly with their needs.
Recognizing this fact, we’ve scoured the internet and brought you a list of nine other commendable screen recorders. Each of these offers a seamless, watermark-free recording experience. It’s ensured that your content will remain untarnished and authentic.
Let’s explore these options and find a tailor-made one for you.
1. OBS Studio
Among many screen recording tools available, OBS Studio holds a distinguished position. Its dual functionality as both a screen recorder and a live-streaming platform sets it apart.
Moreover, it offers flexibility and customizability because of its open-source nature. With extensive features, OBS Studio allows users to produce professional-grade content.
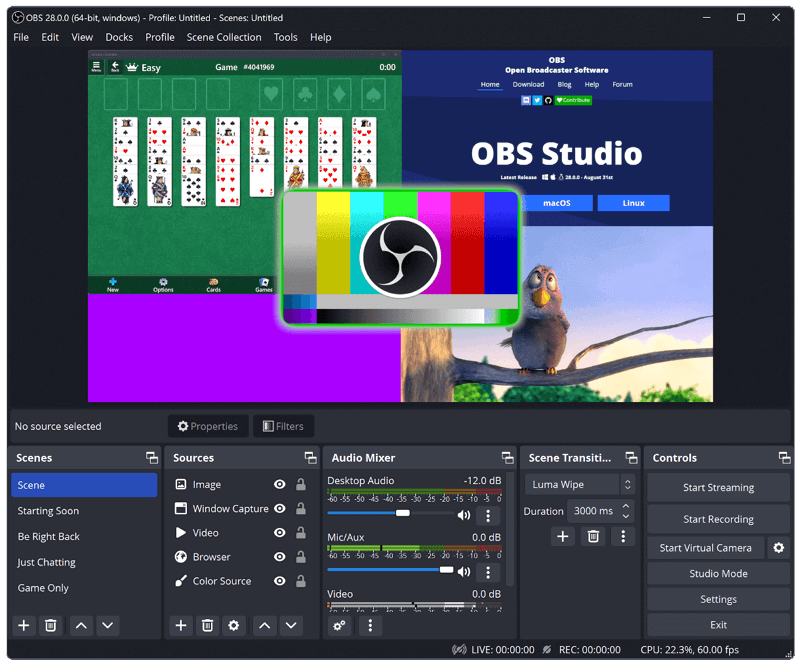
OBS studio operating interface
Key Features
- High-Performance Recording: Blend multiple sources like window captures, webcams, and more in real-time recording.
- Scene Management: Design & toggle between various scenes, enhanced with custom transitions.
- Advanced Audio Mixer: Employ per-source filters such as noise suppression. You also get VST plugin support.
- Streamlined Settings Panel: The dashboard offers you an array of configuration options. So you can fine-tune every aspect of your recording or broadcast.
2. QuickTime Player
Good news for the MacOS users. If you want to record your screen, you don’t need to use any third-party tool. QuickTime Player will get the job done.
QuickTime Player does more than just play media. Its innate ability to record the Mac screen is what truly sets it apart. Taking it a notch higher, QuickTime can also capture the screens of iPhones, iPads, and iPod touch. So you can easily convert your daily experiences into memorable movie files.
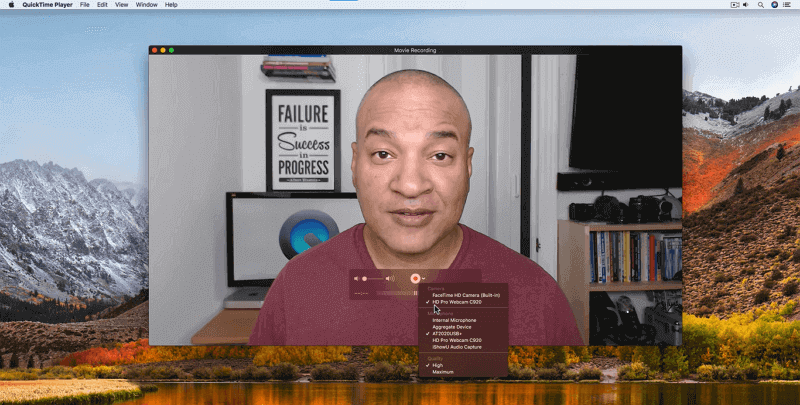
QuickTime player operating interface
Key Features
- Mac Screen Recording: Capture either the full screen or a portion. So it’s ideal for tutorials.
- Device Screen Capture: It comes in-built with all MacOS devices. So you can record iPhone, iPad, and iPod touch screens directly.
- For Window: Although QuickTime is integrated with MacOS, you can also download this tool for Windows PC.
- Versatile Editing Tools: You get many free editing tools, from trimming to rotating with QuickTime Player.
- Intuitive Interface: Gives user-friendly operations and quick access.
3. Recordcast
Tired of downloading third-party tools? No worries, because Recordcast is here!
Recordcast enables you to capture and shape your screen recordings without software installation. This screen recorder is made to be user-friendly and also comes with an in-built video editor. Moreover, its commitment to user privacy further solidifies its place among top screen recording tools.
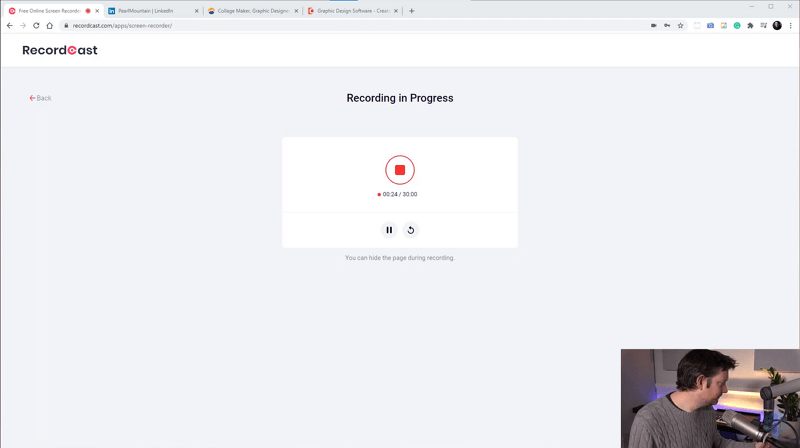
Recordcast operating interface
Key Features
- Easy & Free: No software, no plugins, start recording in just a few clicks.
- Three Recording Modes: Capture screen + webcam, only webcam, or screen with dual audio.
- Integrated Video Editor: Trim recordings, add dynamic elements, music, and much more.
- Privacy-Centric: All edits and recordings are processed locally.
4. ActivePresenter
ActivePresenter is more than just a screen recorder. It offers a suite of tools tailored for eLearning enthusiasts. You can use it to create immersive slide-based courses, software simulations, and interactive assessments.
Moreover, its ability to convert PowerPoint presentations into full-fledged courses is noteworthy.
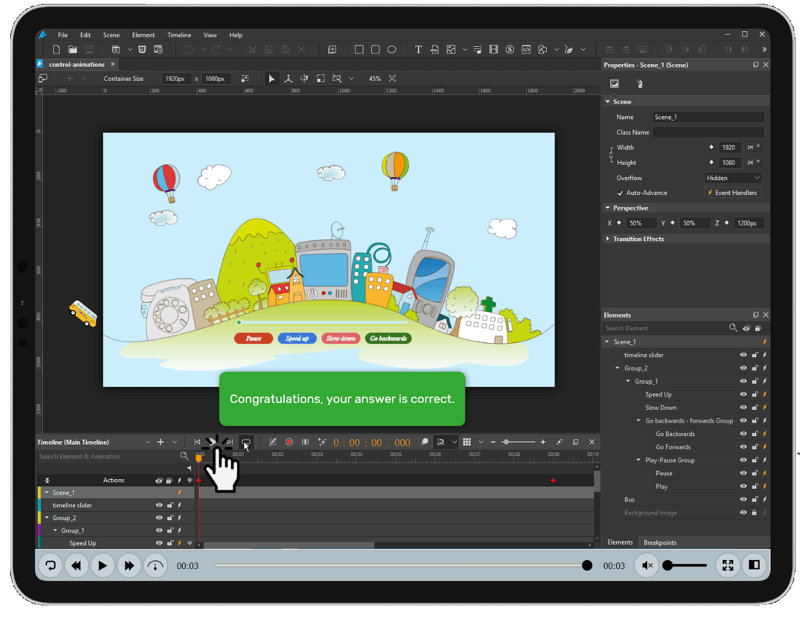
ActivePresenter operating interface
Key Features
- All-in-One Recording & Editing: Capture screen, audio, and webcam easily. Then you can edit with an array of tools for a polished output.
- Dynamic eLearning Creation: From software simulations to slide-based courses, it’s a one-stop solution.
- PowerPoint to Course: Convert PowerPoint presentations to HTML5 or eLearning packages seamlessly.
- Interactive Assessments: Craft engaging quizzes and educational games without needing coding skills.
5. ShareX
ShareX elevates screen capturing to a new level. Like the OBS studio, it’s an open-source tool refined over 15 years.
ShareX is designed for both casual users and professionals. What sets it apart is that it supports over 80 destinations. So whether you want to share a snippet or customize a workflow, ShareX accommodates it all.
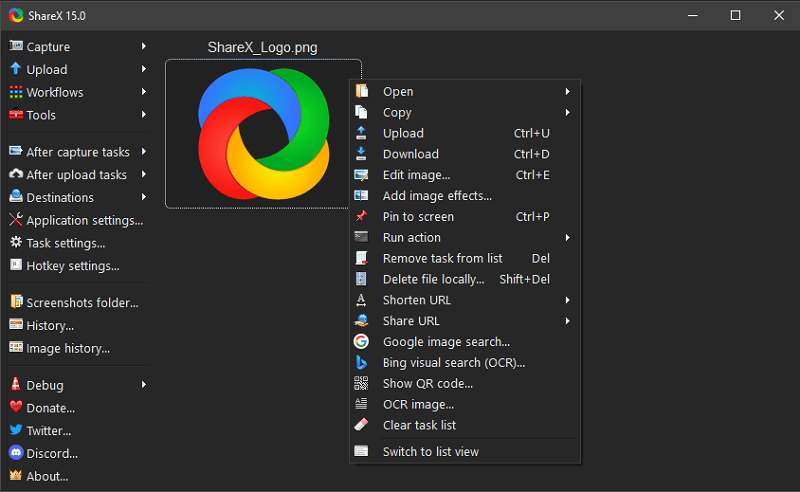
ShareX operating interface
Key Features
- Destination Diversity: From cloud storage to social networks, ShareX supports over 80 platforms.
- Capture Mastery: Features like scrolling capture and region variation are also available.
- GIF & Quick Share: Record animated content effortlessly and share it instantaneously.
- Tailored Workflows: Create post-capture processes for personalized outputs.
- Tools Galore: Built-in OCR, QR code scanner. There’s also a diverse set of annotation tools.
6. EaseUS RecExperts
The next screen recorder on our list is EaseUS RecExperts. It has a feature-rich environment optimized for high-quality results. So this screen recorder is best for users who want more than basic captures. The software’s built-in editor and AI-driven enhancements make it a premium choice for content creators.
And let’s not forget that there’s no watermark on the recorded videos.
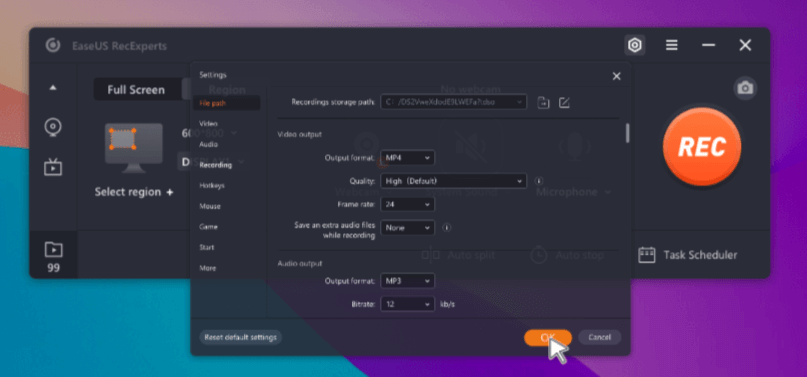
RecExperts operating interface
Key Features
- Gameplay Recording: Capture both 2D and 3D game highlights in high definition.
- AI Enhancements: Noise removal and video amplification for 4K/8K clarity.
- Advanced Capabilities: Scheduled recording and real-time editing for optimum convenience.
- Secure Content Capture: Record encrypted videos from platforms like Netflix.
- Editing & Playback: Integrated tools to refine, watermark, and play your recordings.
7. Free Cam
FreeCam stands out as a dedicated tool for screencast creation. And its watermark-free recordings make it a top choice for everyone. FreeCam has an intuitive interface and an integrated video editor. So you can easily refine your content without relying on additional software.
But if you want to use FreeCam to its fullest, you must get the paid version.
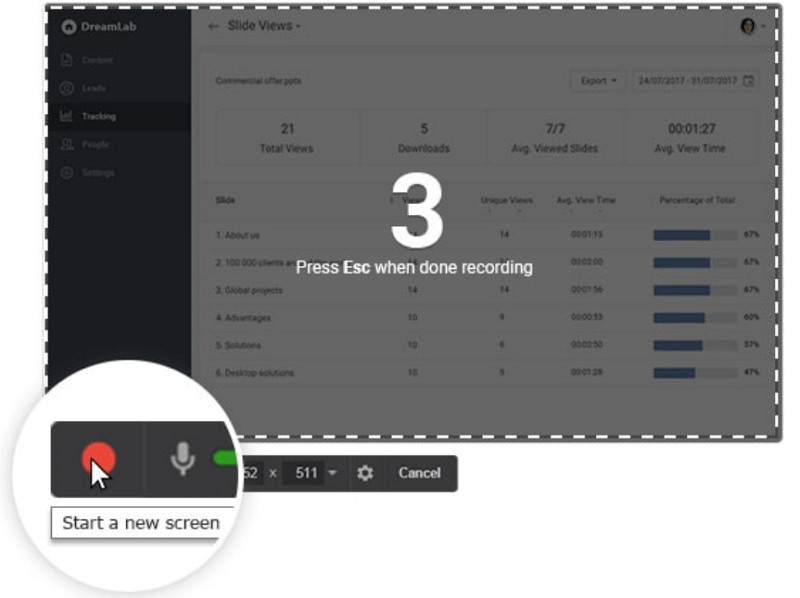
FreeCam operating interface
Key Features
- Focused Capturing: Options to record the full screen, regions, or specific windows.
- Voice Integration: Simultaneous voiceover and system sound capture for rich content.
- Built-in Editing: Tools to delete, enhance, and refine video sections.
- Direct Publishing: Seamless sharing to platforms like YouTube in HD quality.
- Pro Perks: Webcam recording, annotations, and MP4 exporting in the premium version.
8. Windows 10 Xbox Game Bar
The Xbox Game Bar is here for all Windows users. It’s a screen recorder that comes in-built with the Windows ecosystem.
Xbox Game Bar is designed for gamers and is excellent for on-the-fly recording. The users just need to press some keys, and then Game Bar will pop up out of nowhere. Moreover, multiple widgets do more than just screen recording.
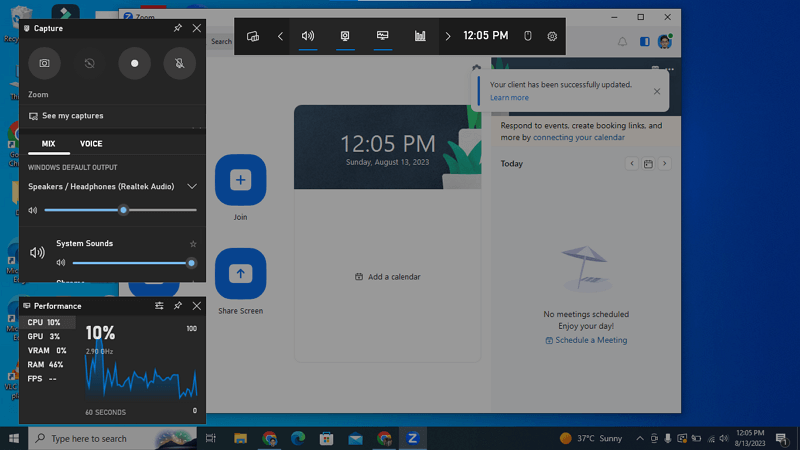
Xbox Game Bar operating interface
Key Features
- Instant Access: System-integrated shortcuts for quick access. Just press the Window key + G to start Xbox Game Bar.
- Gaming-centric: Tailored tools to record gameplay, take screenshots, and manage in-game overlays.
- Performance Monitoring: Widgets that keep a tab on system performance and more.
- Easy Management: Save, review, and organize your clips in a user-friendly gallery.
9. TinyTake
Last but not least, TinyTake is also a popular screen recorder no watermark tool. It fuses cloud integration with easy sharing to offer a professional experience. Moreover, there’s a diverse toolkit to ensure that users always have the right tool. And you also get top-quality screenshot features with it.
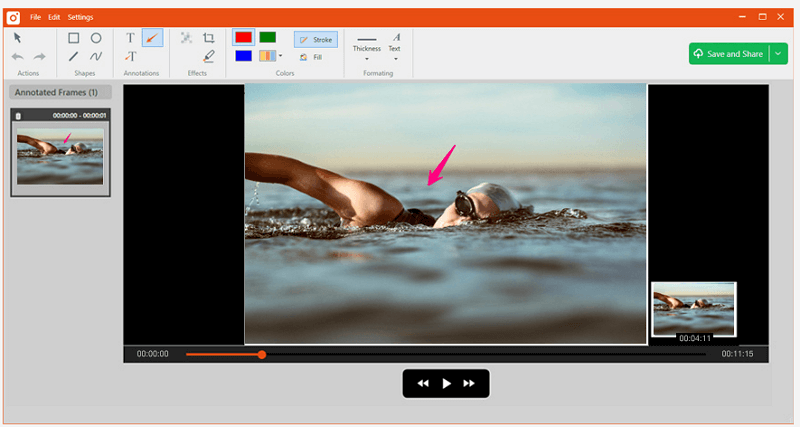
TinyTake operating interface
Key Features
- Capture Versatility: There are options for full screens, specific regions, and webcam insights.
- Annotations & Enhancements: Integrated tools to modify both images and videos.
- Cloud & Share: Drag, drop, upload, and share everything easily. It’s also integrated with the MangoApps cloud.
- Direct YouTube Publishing: Upload your videos on YouTube without leaving the software.
- End-to-end Streaming: Store, revisit, and stream content directly from its online gallery.
And that’s the end of this handpicked list. Before we end our guide, let’s look at some of the FAQs.
FAQs
1. Which screen recorder for PC comes without a watermark and time limit?
There are several screen recording tools available that offer no watermarks and unrestricted recording durations. One such notable tool is Screenify.
This software provides users with a professional recording experience without any time limits. It also ensures that the recorded content remains free of watermarks. Apart from Screenify, other tools can also offer these features. We have already discussed ten tools in this article.
2. How do I Record my screen on Windows without a watermark?
To record your screen on Windows without a watermark, the best choice would be the Xbox Game Bar. Just press “Windows Key + G” to start this tool. Then select the “Record” button from the “Capture” widget to start your screen recording.
But if you want a 4K resolution screen recording without a watermark, you can opt for Screenify.
3. Can I screen-record for 2 hours?
Yes, you can screen-record for 2 hours or even longer with many software tools. The recording duration often depends on the software’s capabilities and the available storage on your PC.
For instance, Screenify doesn’t impose any time restrictions. It allows you to record as long as your storage permits. However, always ensure that your computer has enough battery to complete such long-duration recordings.
Conclusion
As the demand for screen recording increases, the quest for a “screen recorder no watermark” tool is more relevant than ever. A watermark-free recording not only maintains authenticity but also ensures a professional finish.
This guide has unveiled some excellent choices for you. And for iMobie users, Screenify stands out for its unmatched capabilities. So, the next time you aim to capture your screen, Screenify is just a click away.

Joy Taylor


Senior writer of the iMobie team as well as an Apple fan, love to help more users solve various types of iOS & Android-related issues.
Screenify
AnyEnhancer
FocuSee
Vozard
AnyMiro
AnyMirror


