[2025] How to Record Webcam on Mac | 5 Ways
This article guides you on how to record webcam Mac, covering essential tools and methods. We explore built-in apps like QuickTime Player and iMovie and powerful software like Screenify. Each method is explained with simple steps to ensure you can easily record high-quality videos for any purpose.
Try Screenify for free to record screen on Windows or Mac. Whether full-screen or partial-screen recording, recording with sound or with camera, Screenify can do it with ease.
Have you ever needed to record a video on your Mac? Whether for online classes or work meetings, knowing how to record webcam Mac can be a lifesaver. Macs make it super easy and convenient, offering built-in tools and quality features that simplify the process. In this guide, we’ll explore several methods to help you record webcam videos on your Mac. From using QuickTime Player to discovering the benefits of Screenify, you’ll learn the best ways to capture your important moments. Let’s get started!
Part 1. Using QuickTime Player to Record Webcam on Mac
It is a built-in media player on Macs that comes pre-installed. However, only some Mac users are aware of its recording feature. You can record your videos and screen activities through webcam for free.
You can easily record yourself or others on your Mac screen using the QuickTime Player screen recording. Below are the steps to record webcam Mac with QuickTime Player.
Step 1:Launch QuickTime Player on a Mac
Open QuickTime Player from the Applications folder. Next, click the File Option in the top left corner of the screen, then click New Screen Recording.
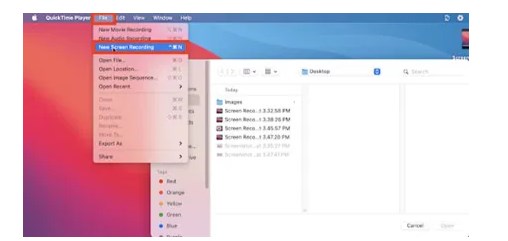
launch quicktime player on your mac
Step 2: Set QuickTime Player to Start Recording
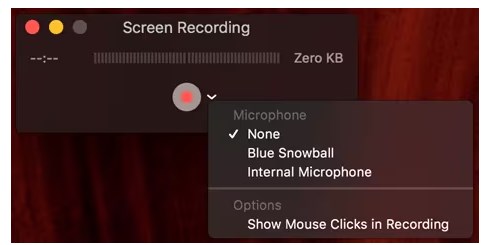
Once QuickTime opens, go to File, then the New Movie Recording option. This will let you customize your recording options to achieve your desired goals. Set the preferences for the cursor, timer, microphone, and saving location.
Step 3: Start Recording with QuickTime
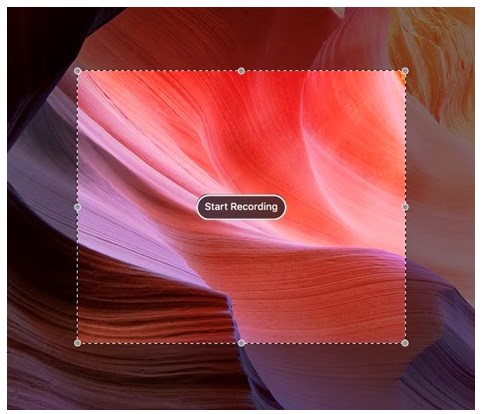
On the screen, you will see yourself via the webcam. Once you’re ready, click the Record button on the floating bar. Ensure to pick your preferred option, whether you want to record the enter screen or just part of it.
Step 4: Save Your Recording
Click on the top button/icon when you are done recording. Then, go to File, then Save to save the recorded video.
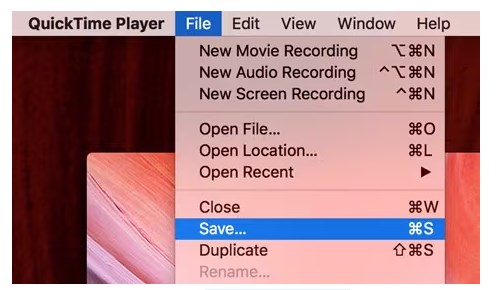
save your recording
QuickTime Player lets you easily record videos on your MacBook. Follow the steps above to save the video on your desktop and make further edits. You can also trim the video using QuickTime Player.
While QuickTime Player is a simple tool for recording via Mac webcam, it isn’t the best option. It offers limited settings and sometimes has issues, like failing to record audio.
Next, let’s move ahead to the other method!
Part 2. Recording Webcam on Mac with iMovie
iMovie is a great app designed to record videos and turn them into movies. Depending on the quality of the camera, you can easily capture 4K videos with your webcam.
Various settings are available to ensure that the recording is top-class and fulfills all your requirements.
If iMovie is not pre-installed on your Mac, you can download it effortlessly from the App Store. Here are the steps to record webcam Mac using iMovie.
Step 1: Launch iMovie on Your Mac
Firstly, install iMovie if you don’t have it on your Mac. Go to the Mac Application Store and search for an installation iMovie on your Mac. Then head to File, and select New Movie to start recording using the app.
launch imovie
Step 2: Find the Import Button
Click on the Import icon (downward arrow) at the top of the window on the next screen.
click the import button imovie
Step 3: Select Cameras
On the left side, go to the Cameras section. Then, select your connected webcam by clicking FaceTime HD Camera. iMovie also lets you choose the project from the top of the screen and import the video.
choose cameras on the left side
Step 4: Start Recording Your Video
Click the Record button at the app’s bottom window to start recording. Once you are done recording, click Stop.
Step 5: Save Your Recorded Video
Click the Close button at the bottom of the Mac screen to stop recording. Then, go to the Projects menu option and save the recorded file.
Part 3. The Most Effective Way to Record Mac Webcams: Screenify
Screenify stands out as a robust tool for Mac webcam recording. It’s completely free and ensures smooth recording sessions. Screenify provides supplementary documents with additional features. Compared to other recording methods, Screenify offers more comprehensive functionality.
- 100% Free: Screenify is totally free, which makes it an excellent choice for users who are looking for a reliable recording tool without the cost. This accessibility allows anyone to use its full features without spending a dime.
- Smooth Webcam Recording: With Screenify, users experience seamless webcam recording. This smooth performance means fewer interruptions and glitches during video captures, enhancing recordings’ overall quality and reliability.
- Comprehensive Functions: Screenify provides more features than many other webcam recording tools. This includes options for adjusting video quality, adding filters, and managing audio settings, making it a versatile choice for beginners and experienced users.
Steps to Record Mac Webcams with Screenify:
Step 1.Download and Install Screenify on Computer.
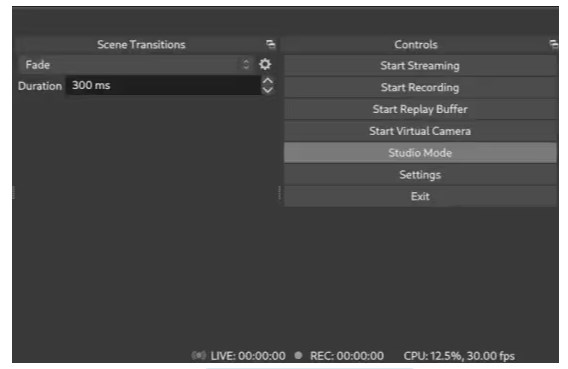
Step 2.Launch Screenify on your computer, and select Record screen mode.

Select Record Screen Mode
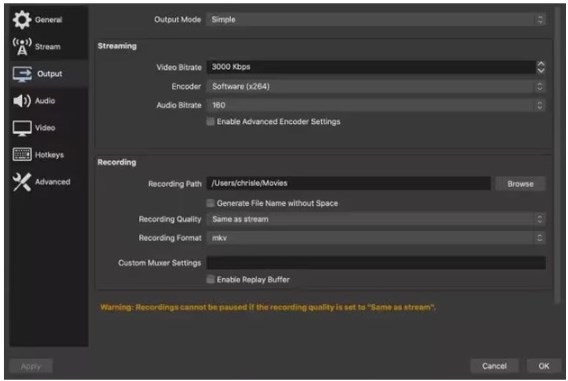
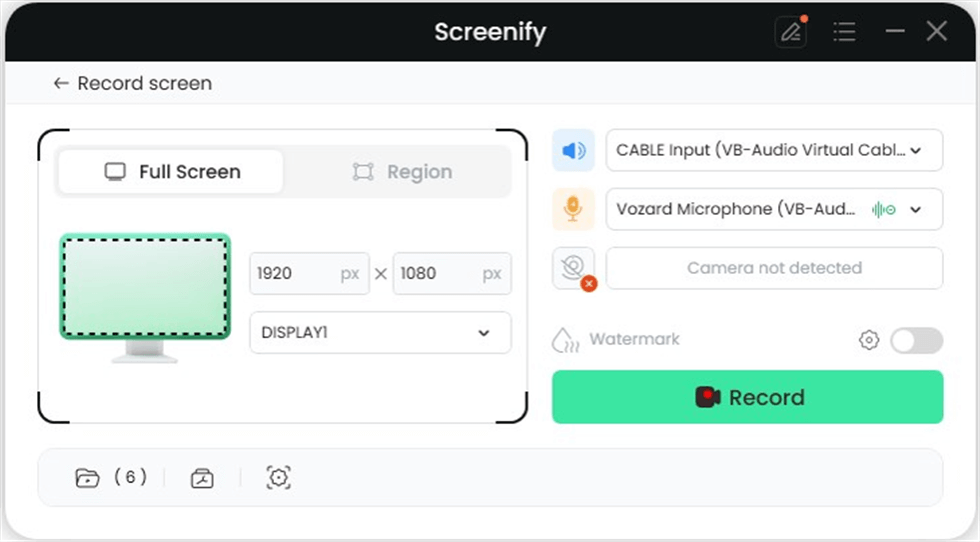
Step 3.Configure Recording Settings aims to configure settings like system audio before recording.
Record Setting
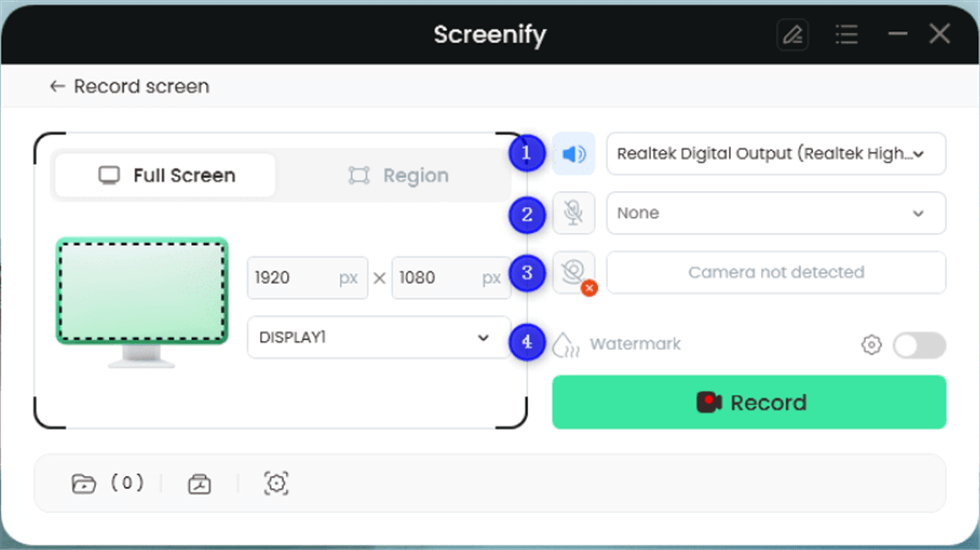
Step 4.Select Recording Screen.
The screen mode offers two recording options: you can either record the entire screen or select a specific region to record.
Full Screen
Option 1. Full Screen Record
Please select Full Screen mode and choose the display you need to record. Hit Record button to initiate recording.
Option 2. Region Record
To record region, you need to manually select the recording area. After selection, you can still adjust the selected area. It supports customize selection, full screen, and proportional selection based on common social media dimensions.
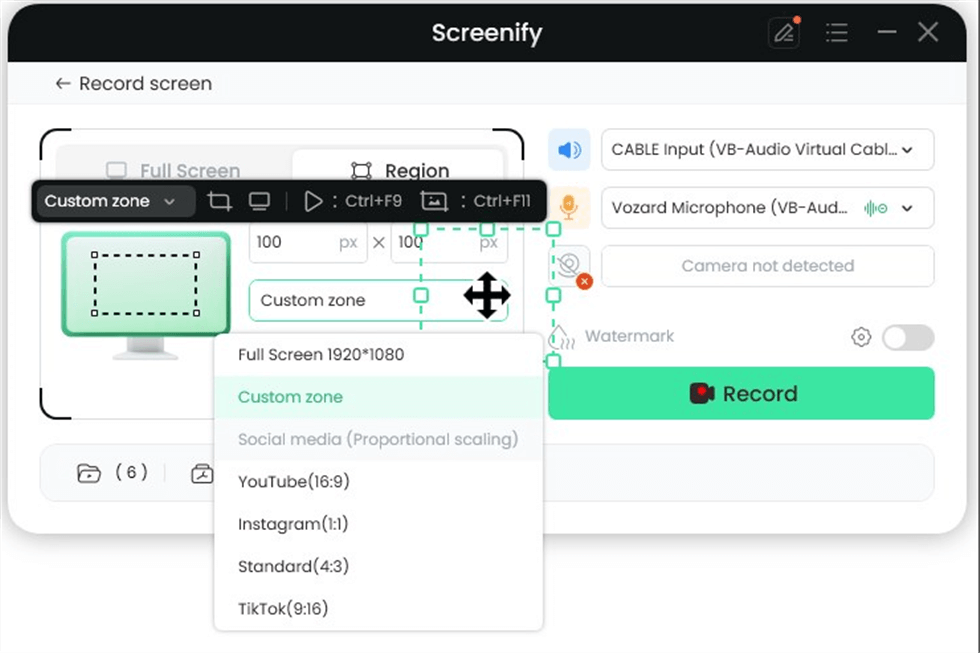
Record Region
Step 5.Wait for the Recording Countdown.
There is a 3-second countdown to help you prepare the recording after you are ready to start recording.
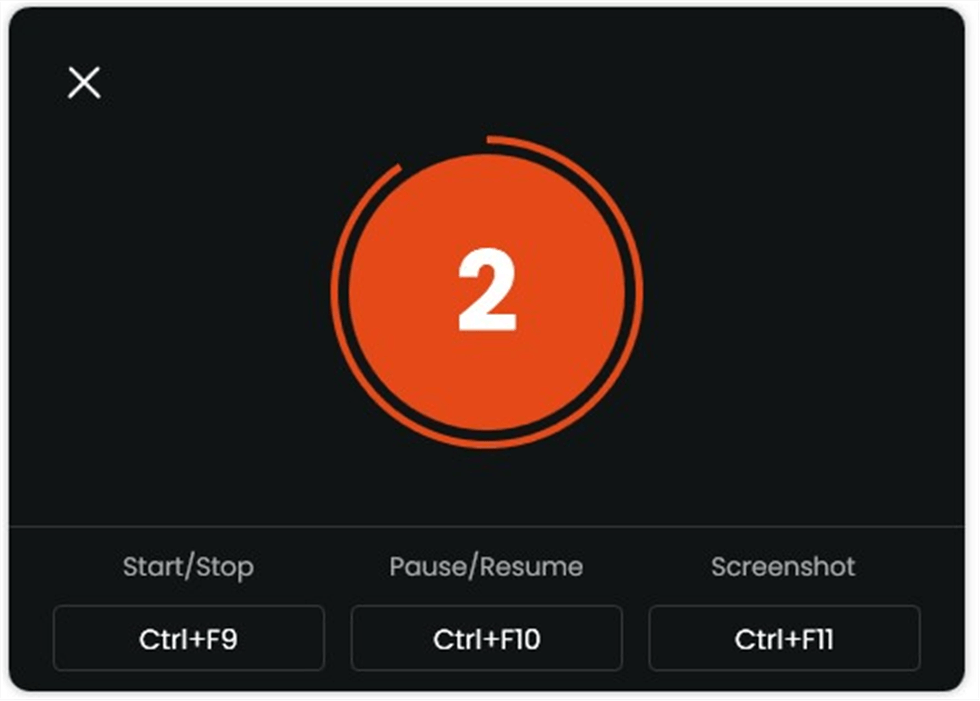
Start recording countdown
If you would like to see a recording countdown before your recording starts, you can enable the countdown option. Or you can tap it off. View this post to know how to set the countdown option.
Step 6.Start Recording.
The recording will begin after a 3-second countdown. You can make annotations on the recording interface during the recording.
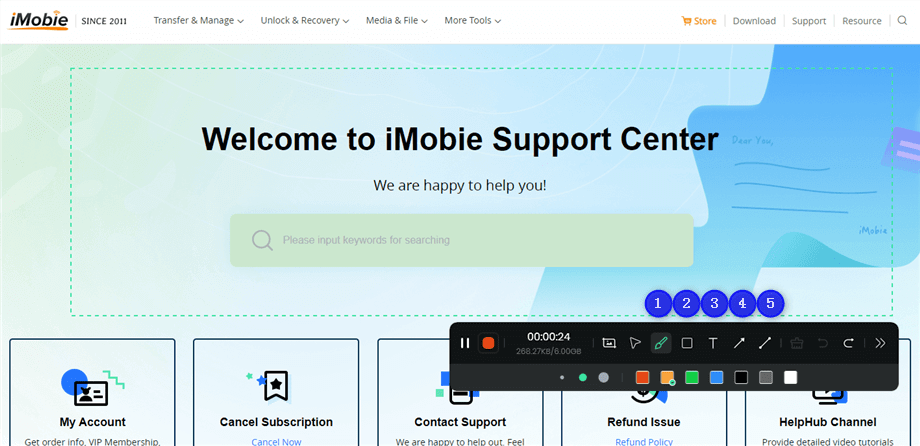
Annotate the Screen during Recording
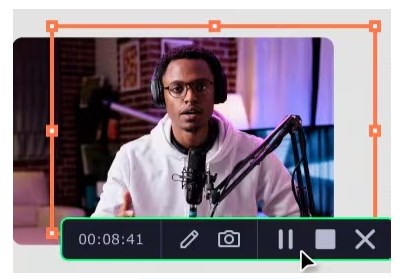
Step 7.Record Screen Process Completed.
When the recording is completed, you can click the red Stop button to end the recording. Your recorded files will be displayed. From here, you can preview and manage the recorded content as needed.

Record Screen Process Completed
Let’s keep up the momentum and discuss the next method to record Webcam Mac.
You might also like: record video from screen
Part 4. Recording the Steps to Record using a Photo Booth
Photo Booth is pre-installed on Macs and designed to capture videos and photos using a webcam. It’s perfect for creating profile pictures, taking selfies, and filming videos. The app makes it easy to record and share content instantly. Here’s how to use Photo Booth to record webcam Mac.
Step 1: Launch the Photo Booth App
Head to the Apps folder and open the Photo Booth app.
launch the photo lab app
Step 2: Select Video Mode
Once the Photo Booth opens, you must see yourself live via a webcam. Tap on the “Record A Movie Clip” icon. Ensure you have clicked the Video icon at the bottom-left corner to turn on the video mode.

choose the video mode
Step 3: Record and Save Your Video
Once you are ready, tap on the Record button. Your Mac will start recording a video, and you can choose the Stop open option when you are done. To share the video immediately, tap the thumbnail in the bottom-right corner to open your recorded video.
Recording videos on a Mac with the Photo Booth app is as simple as that. The app also lets you export and save the recorded video on your Mac. Although the process is simplified, the app lacks impact features compared to other video recording options for Mac.
If you don’t want to try this method, let’s move to the next one.
Part 5. Online Tools to Record Webcam on Mac
QuickTime Player and iMovie are built-in tools on Mac for recording videos with your webcam. However, online tools like AppGeeker Screen Recorder can be more versatile, as they aren’t limited to Mac.
This tool is excellent for recording from any internal or external webcam. Just check that your Mac webcam is functioning properly. Below is a simple guide on how to record webcam Mac online.
Step 1: Launch the Online Program
Launch the program and choose Webcam Recorder on your Mac. You can select Video Recorder to record a Mac webcam and screen in one frame.
launch the program
Step 2: Enable Camera and Microphone Options
Check if everything is OK in the live webcam window. If there are multiple cameras, it is a good idea to switch to another from the webcam selector.
Step 3: Record and Save Your Video
When ready to start, click the REC button. Once you’ve finished, tap the same button to stop recording. You can now use the Play button to preview your recorded webcam video and save it to your Mac.
start recording and save it
Part 6. Tips for High-Quality Webcam Recording on Mac
Creating a top-notch MacBook webcam recording takes more than just hitting ‘record.’ Sure, having the right software helps, but tweaking a few settings can really boost your video quality. Here’s how you can elevate your Mac webcam recordings:
- Find the Right Spot: Pick a quiet place without any echo. Keep your background simple so it doesn’t steal the show from you.
- Adjust Your Camera: Set your camera to eye level to evoke a face-to-face chat. This will make your videos more engaging and personal.
- Frame Yourself Properly: Positioning is key. Sit in the middle of the frame with the top of your head and at least down to your mid-chest visible. Leaving a little space above your head will keep things looking neat.
- Manage the Lighting: If you’re indoors, find a spot with plenty of natural light. but avoid harsh direct sunlight if you’re outdoors. If you need extra lighting, ensure it’s facing you, casting even light across your face. This setup avoids shadows and better highlights your features.
Part 7. FAQ About Record Webcam
1. Why won’t my webcam record?
If your webcam won’t record, check a few things:
- Update Drivers: Ensure your webcam drivers are current.
- Permissions: Verify that your recording software has permission to access the webcam in your Mac’s System Preferences.
- Hardware Check: Test the webcam with different apps to see if it’s a hardware issue.
- Close Other Apps: Other software might block the webcam; try closing unnecessary applications.
- App Settings: Double-check the recording settings in your app to ensure the webcam is correctly configured.
2. Can you tell if a webcam is recording?
To see if a webcam is recording, look for:
- Indicator Light: Most webcams have a light that turns on when recording.
- Software Interface: Check the recording app for a timer or a red recording icon.
- System Settings: On a Mac, go to System Preferences under Security & Privacy to see which apps use the camera.
3. Can I use my laptop camera to record videos?
Yes, you can use a laptop camera to record videos. Just open a video recording app like Camera on Windows or Photo Booth on Mac, and start recording.
Takeaway!
To wrap up, recording your webcam on a Mac is straightforward, versatile, and can be done with several tools. Whether you choose built-in applications like QuickTime Player and iMovie or opt for the robust capabilities of Screenify, you’re covered.

Joy Taylor


Senior writer of the iMobie team as well as an Apple fan, love to help more users solve various types of iOS & Android-related issues.
 Screenify
 AnyEnhancer
 FocuSee
 Vozard
 AnyMiro
 AnyMirror