How to Record Clips on PC?
Discover how to easily record clips on your PC with Screenify, Xbox Game Bar, EaseUS RecExperts, and Icecream Screen Recorder. Whether it’s gaming or tutorials, we guide you step by step. Capture, edit, and share your screen moments like a pro.
Ever wished you could record your PC screen? In a world where every pixel paints a story, the ability to record and share has become an essential digital currency.
Whether you want to capture an epic gaming moment or create a tutorial, recording on a PC is a need. If you’ve ever wondered how to record clips on your PC, you’re in for a treat!
With our comprehensive guide on recording clips on PC using different methods, we have got you covered. From Screenify to built-in Screen Recorder, we know all the tricks!
So, what’s the wait?
Dive in and learn the tricks for yourself!
How to Record Clip on PC Using Screenify?
If you are looking for a way to record clips on a PC, using a dedicated screen recorder is a smart move. For that purpose, we recommend Screenify.
What is Screenify?
In the world of screen recording tools, Screenify stands as a user-friendly gem. It offers solutions for capturing clips on your PC.
Whether it’s for gaming highlights, tutorial creation, or sharing online moments, Screenify has got your back.
This platform provides a range of features to its users. Moreover, it is available for both Windows and Mac.
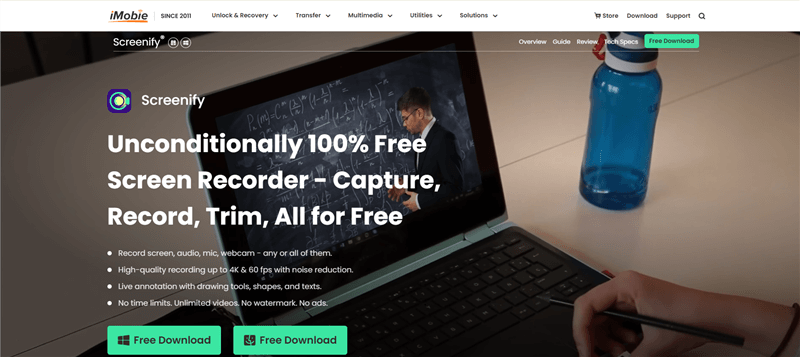
Screenify Website Interface
How to Record Clip on PC?
Now that you know what Screenify is all about. Let’s take a look at how you can record clips on a PC using it.
View our step-by-step guide ahead.
Step-by-Step Guide
Follow these simple steps below.
Step 1. Download and Install Screenify on Computer.
Step 2. Launch Screenify on your computer, and select Record screen mode.
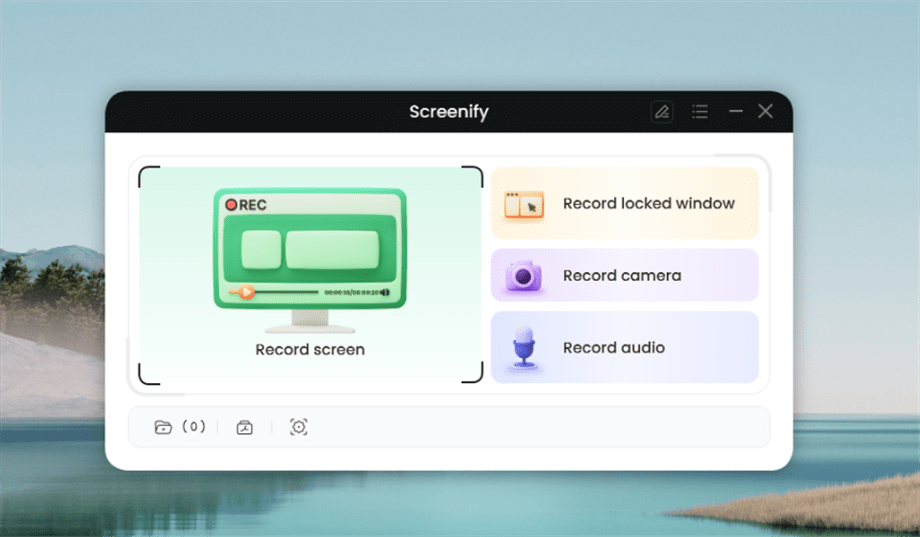
Select Record Screen Mode
Step 3. Configure Recording Settings aims to configure settings like system audio before recording.
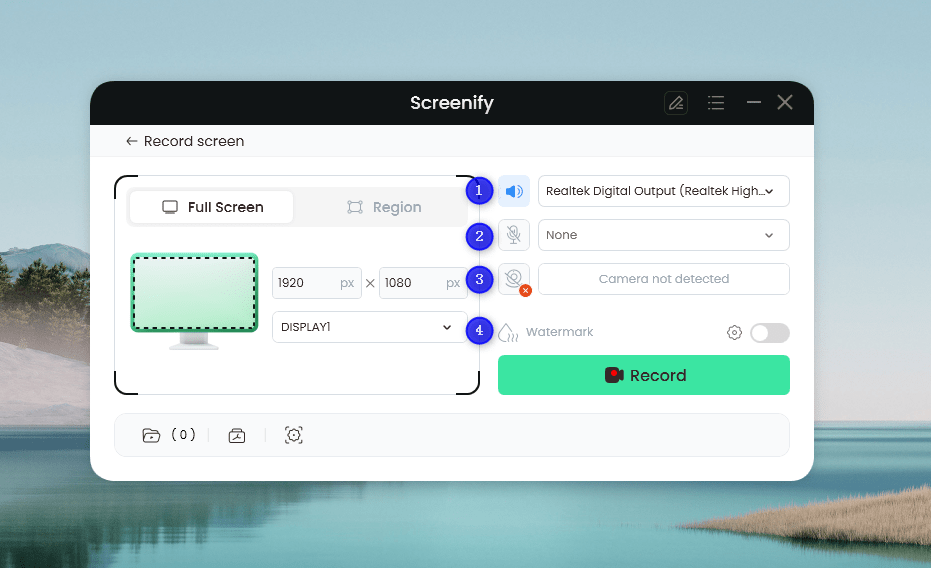
Set Configure Recording Settings
In this setting menu, you can:
1 Choose the System audio.
2 Choose the Microphone you want to record.
3 Choose the Camera you want to use.
4 Choose whether to add a watermark.
Step 4. Select Recording Screen.
Option 1. Full Screen Record
Please select Full Screen mode and choose the display you need to record. Hit Record button to initiate recording.
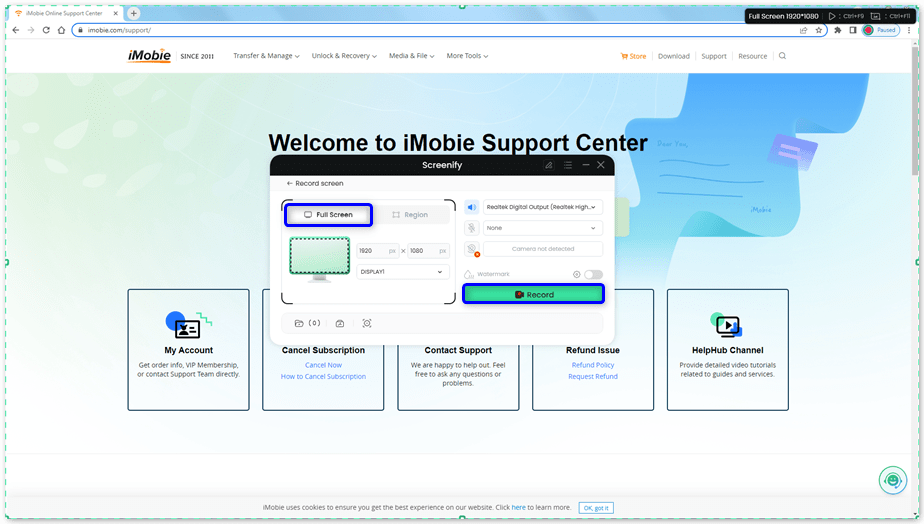
Select Full Screen
Option 2. Region Record
To record region, you need to manually select the recording area. After selection, you can still adjust the selected area. It supports customize selection, full screen, and proportional selection based on common social media dimensions.
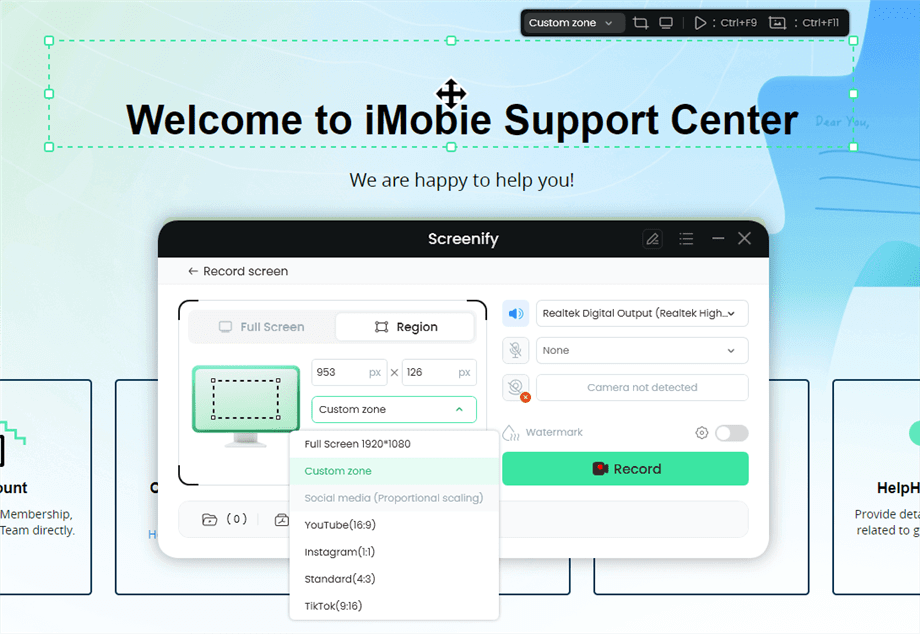
Record Region
Step 5. Wait for the Recording Countdown.
There is a 3-second countdown to help you prepare the recording after you are ready to start recording.
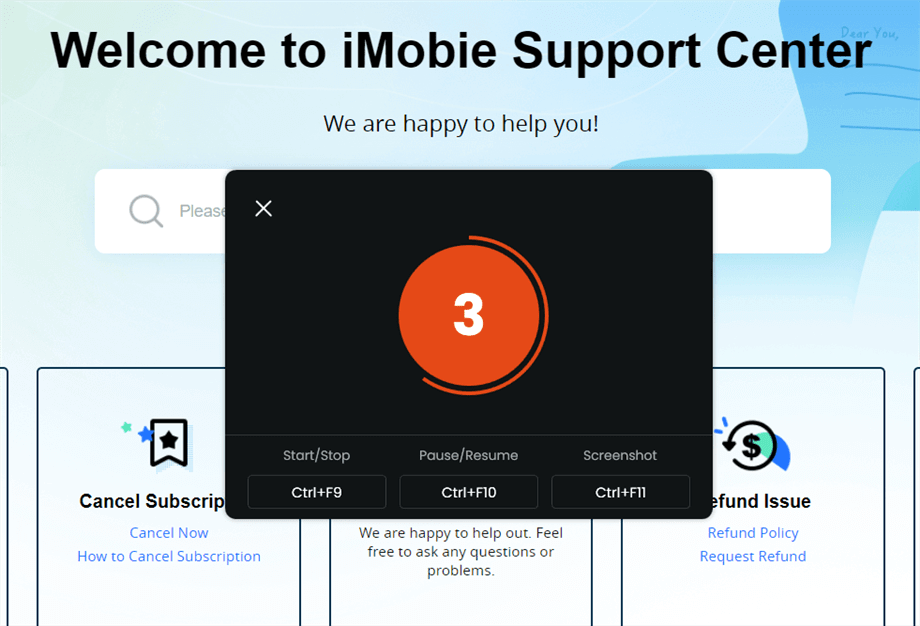
Wait for the Recording Countdown
If you would like to see a recording countdown before your recording starts, you can enable the countdown option. Or you can tap it off. View this post to know how to set the countdown option.
Step 6. Start Recording.
The recording will begin after a 3-second countdown. You can make annotations on the recording interface during the recording.
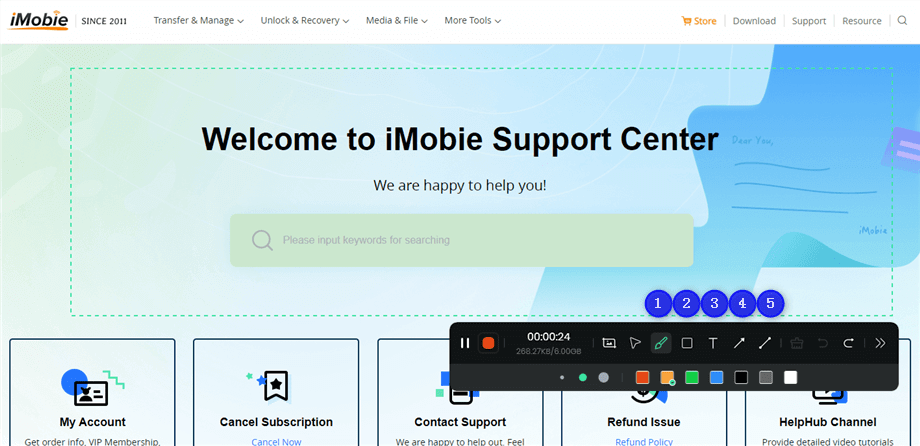
Annotate the Screen during Recording
With the toolbar, you can add the annotation in the screen:
1 Brush: Draw freehand on the screen recording interface to highlight or illustrate specific areas during the recording.
2 Rectangle: Draw rectangular shapes on the screen recording interface.
3 Text: Add written notes or labels directly onto the screen recording interface.
4 Arrow: Draw arrows on the screen recording interface to point out and emphasize specific areas.
5 Line: Draw straight lines on the screen recording interface to underline or connect specific points.
Step 7. Record Screen Process Completed.
When the recording is completed, you can click the red Stop button to end the recording. Your recorded files will be displayed. From here, you can preview and manage the recorded content as needed.
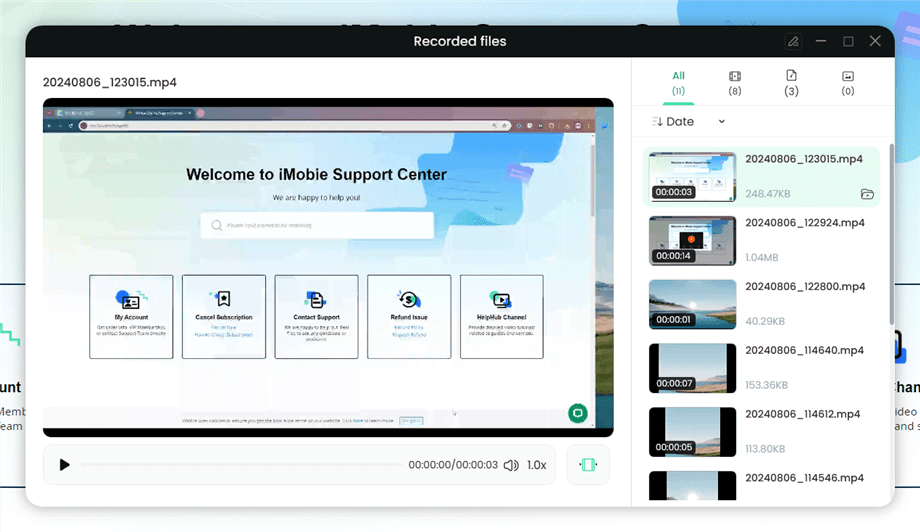
Preview the Recording
You may also want to know: How to screen record protected videos
If you do not wish to use a dedicated screen recorder, then you can also use the Xbox Game Bar to record clips.
How to Record Video Clips with Xbox Game Bar?
Xbox Game Bar is a fantastic tool for recording gaming feats or other on-screen actions. It is built into Windows 10, and it greatly enhances your recording experience.
In this section, we will see how you can use it to record clips on your PC.
Step-by-Step Guide
Follow the instructions we have provided.
Step 1: Go to Windows Settings by pressing the Windows key + I.
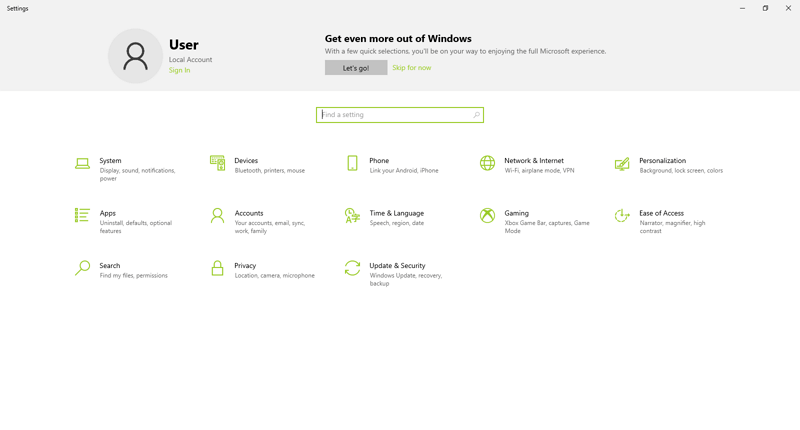
Go to the Windows Settings
Step 2: Search for Xbox in the search bar. Click on “Enable Xbox Game Bar.”
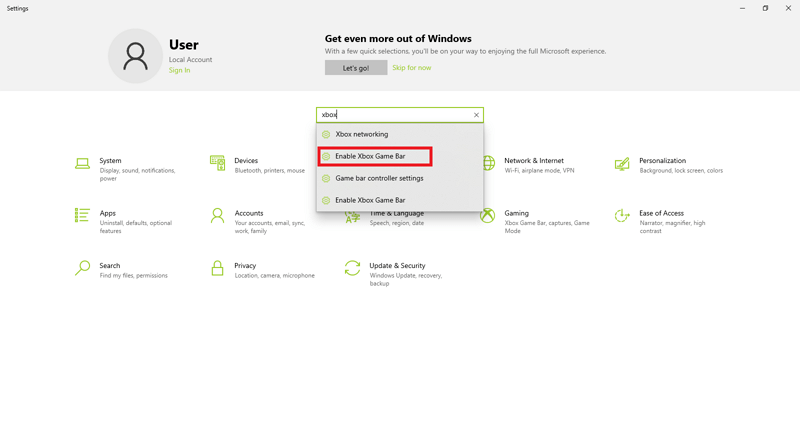
Click on “Enable Xbox Game Bar”
Step 3: Make sure the toggle is on to enable Xbox Game Bar on your PC.
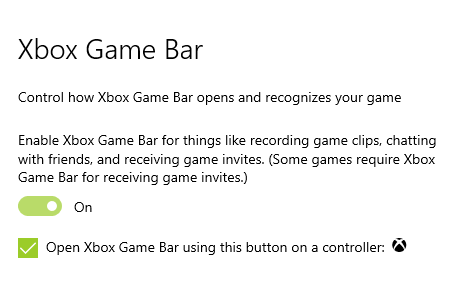
Turn the Toggle On to Enable Xbox Game Bar
Step 4: Now, go to the app you want to record. Press Windows key + Alt + R to start recording. A small bar will pop up in the corner of your screen.

Toolbar
Step 5: If you want to capture audio, activate the mic.
Step 6: Press the stop button once you have recorded your video. You can also stop the recording by pressing the Windows key + Alt + R.
Step 7: To view your recorded video, press the Windows key + G.
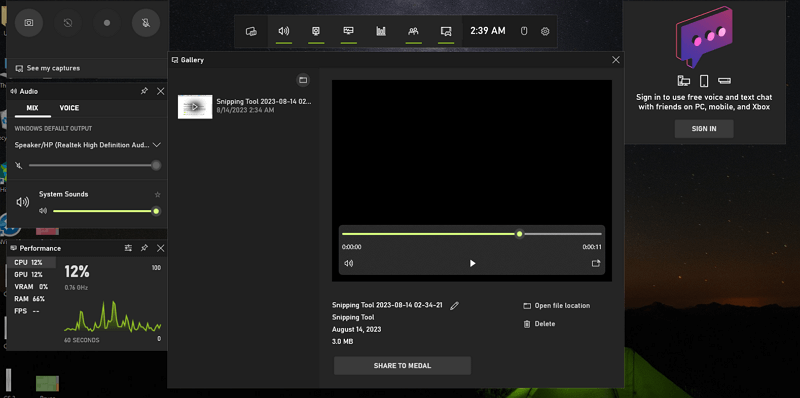
Captured Video
This is a simple method and works best if you use Windows 10.
Moving on, we have EaseUS RecExperts.
How to Record Clip on PC with EaseUS RecExperts?
In the realm of screen recorders, versatility and functionality are prized assets. This is where EaseUS RecExperts comes in.
With a variety of features designed for various scenarios, this tool empowers you to record clips on your PC with ease.
Take a look at our step-by-step guide to learn more.
Step-by-Step Guide
Here are the simple steps you need to follow to record clips on a PC.
Step 1: Download EaseUS RecExperts on your PC for free.
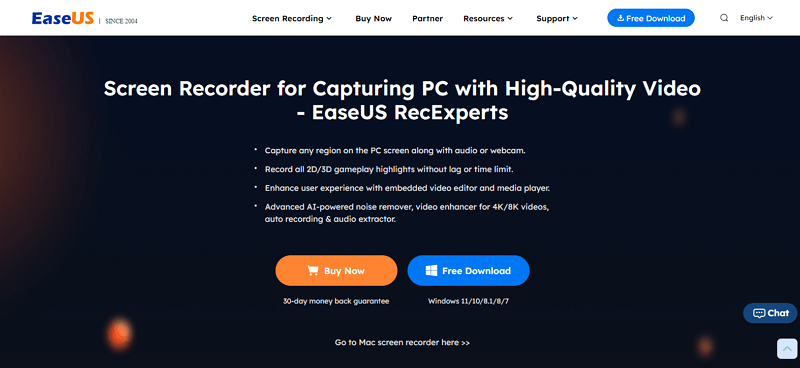
EaseUS RecExperts Official Website
Step 2: Launch the app. Then choose whether you want to record the whole screen or some part of it.
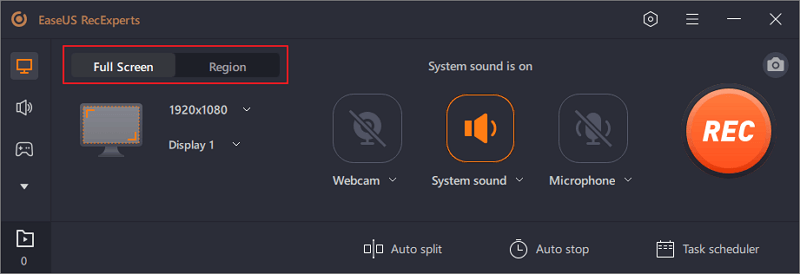
Choose the Recording Region
Step 3: Adjust the recorder’s settings.
Step 4: Once you’re all set, click the “REC” button. A menu bar will appear on the screen. You can see the Pause and Stop button here.
EaseUS RecExperts Menu Bar
Step 5: Record your video. Once you are done, click on the red button to stop it.
Step 6: You will see the following interface after the recording stops. Here you can edit the video as you like.
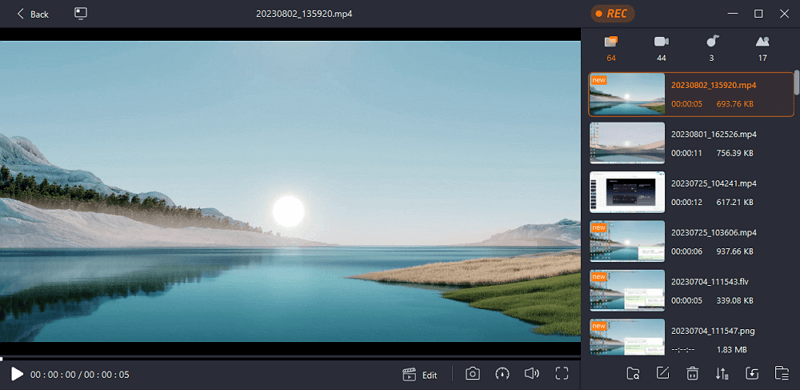
Video Interface
So, EaseUS RecExperts stands as a great solution for recording clips on your PC. But stay tuned for one more method.
How to Record Clip on PC via Icecream Screen Recorder?
Another interesting screen recorder is the Icecream Screen Recorder. You can also use it to record clips on your PC. However, note that it is only compatible with Windows 11, 10, 8, and 7.
In order to learn how to do that, read our guide.
Step-by-Step Guide
Follow these simple instructions.
Step 1: Download and install Icecream Screen Recorder.
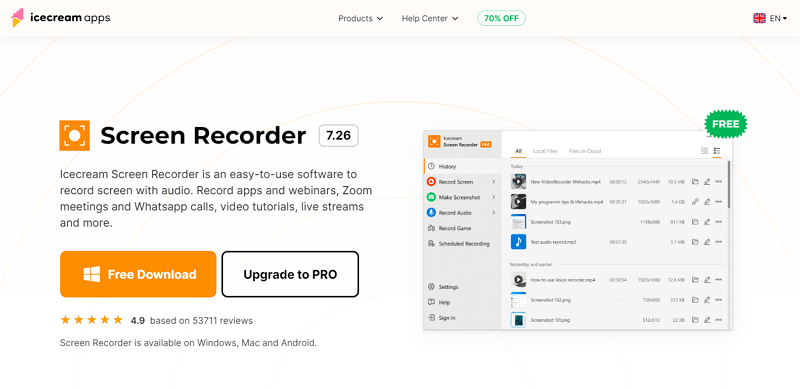
Icecream Screen Recorder Official Website
Step 2: Launch the app on your PC.
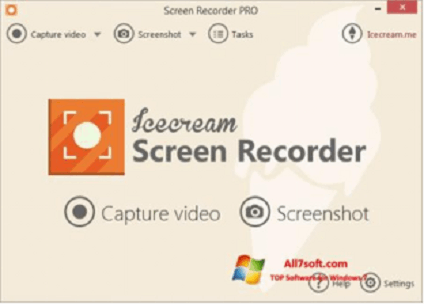
Launch Icecream Screen Recorder
Step 3: Go to the app you want to record. Select the recording area by clicking on “Capture video.”

Select the Recording Area
Step 4: Once you are set, click on the “Rec” button to start recording.

The Recording Button
Step 5: During recording, use the tools present in the toolbar as you see fit.

Screen Recorder Toolbar
Step 6: Once you have captured the video, click on the “Stop” button to stop the recording.
Step 7: In the dialog box, type the name of the video and click on “OK” to save the video.
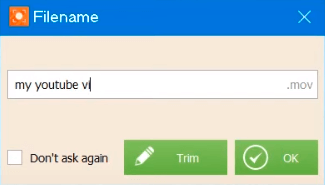
Save your Video
Icecream Screen Recorder is a simple and free tool to capture great clips on your computer.
The screen recorders that we have discussed above are simple and easy to use. All of them are ideal for you. So, don’t hesitate on which to use.
FAQs
As we go through the process of recording clips on PC, questions naturally arise. Here, we address some common queries.
1. How do I clip in Windows 10?
Clipping, also known as screen capturing, is an essential skill. In Windows 10, you can use built-in tools like the Snip & Sketch app (for images) and the Xbox Game Bar (for videos). These tools enable you to capture specific portions of your screen and save them for later use.
2. How do I record the last 5 minutes on my computer?
You can record the last 5 minutes on your computer using third-party apps (Screenify/EaseUS RecExperts) or Xbox Game Bar.
3. How do you Record without a time limit?
Third-party screen recording software like Screenify and EaseUS RecExperts allow you to record without strict time constraints. However, longer recordings may result in larger file sizes, so ensure you have sufficient storage space.
Final Words
The world of screen recording is as diverse as the content you wish to capture. You can explore different tools and techniques to enhance your experience.
In this article, we have highlighted those tools and techniques. We’ve explored Screenify, Xbox Game Bar, EaseUS RecExperts, and Icecream Screen Recorder. Choose what suits you best and get to it right away!
So, go and record a clip on your PC now!
Free Download * 100% Clean & Safe
Product-related questions? Contact Our Support Team to Get Quick Solution >

