Microsoft Surface Pro Screen Recording Full Guide
No matter if you’re a student, teacher, lawyer, or belong to any profession where you need a pen-on-paper feel, Microsoft Surface Pro— a 2-in-1 device merging tablet & laptop feel— is the ultimate choice for you. However, you might need to record meetings, classes, or tutorial sessions on your Microsoft Surface Pro. Wondering how to record screen on Surface Pro? Let’s get to the answer!
There is plenty of software for recording screens on Microsoft Surface Pro, and choosing one depends on your needs. Ask yourself if you want to record in 1080P or 4K, with sound or without sound, and make an informed decision. This article will cover reliable tools to record the Surface Pro’s screen without any distortions. Let’s explore how to screen record on Surface Pro!
Part 1. Record Screen on Surface Pro with Screenify
Many of you might wonder how to screen record on Surface Pro in top-notch quality without lags and interferences! Look no further as Screenify— a 100% free 4K screen recorder— is here to help! Screenify is a completely free screen recorder for Microsoft Surface Pro, which can capture everything from the screen in simple steps— no hidden costs involved.
You can record your Microsoft Surface Pro’s screen in multiple recording modes. You can either choose to capture the full screen (display can be switched) or a region (manually selected portion of the screen). Apart from this, you can even use the Lock Window Recording feature that enables you to record the specified window’s content only without compromising privacy.
The freely set watermarks and cropping features are worth mentioning here. Additionally, you don’t need to worry about the blurriness and distortion in your screen recordings. Screenify can screen record in 4K resolution at 60 frames per second. Record your technical support, gameplay, promotional, or software demonstration videos on Microsoft Surface Pro without any time limit with Screenify now.
Key Features
- Screenify lets users record videos in 4K resolution at 60 FPS on Microsoft Surface Pro.
- Tired of noise in Surface Pro’s recordings? Minimize the noise level with the Noise Reduction feature.
- Microsoft Surface Pro users can also record screen, system sound, and microphone simultaneously.
- Record tutorials or instructional videos on Surface Pro and export them in various formats.
- Want to record a portion of Surface Pro’s screen? Utilize the multiple-screen recording modes to select the capturing region.
- This versatile tool is compatible with all Microsoft Surface Pro models.
Part 2. Surface Pro Screen Recording with Online Screen Recorder
Don’t want to utilize a PC tool for screen recording? No worries! Multiple online screen recorders are available for Microsoft Surface Pro— each having its own distinct features. However, we suggest using Apowersoft Online Screen Recorder due to its ease of usage and versatility. Record your online meetings, lectures, or training sessions on Microsoft Surface Pro in HD quality.
One of the standout features of this online screen recorder is its unlimited screen recording without any limit. Apowersoft is an online screen recorder, but that doesn’t mean it can only record browser activities. You can even record desktop activity or applications alongside a webcam with this versatile tool. This online screen recorder comes with a lightweight user interface that lets you record all your on-screen activities on Microsoft Surface Pro with a simple click.
The picture-in-picture mode allows you to record engaging videos of tutorials or lectures. This online screen recorder for Surface Pro also supports screen and sound synchronization. Record screen, system audio, microphone, and webcam simultaneously. Many Microsoft Surface Pro users are struggling with space issues! Apowersoft has a solution, as the recorded video can be managed via the cloud.
Key Features
- Record the screen of your Surface Pro without worrying about the time limit now.
- You can capture screen activities, webcam, system, and microphone sound— all at once.
- Apowersoft Online Screen Recorder is easy to use and compatible with all Surface Pro models.
- Cloud video management solves the low disk space issues for Surface Pro users.
Steps to Screen Record on Microsoft Surface Pro via Apowersoft Online Screen Recorder
Step 1. Go to Apowersoft Online Screen Recorder’s website. Click on the “Start Recording” button to initiate the capture screen activities on Microsoft Surface Pro.
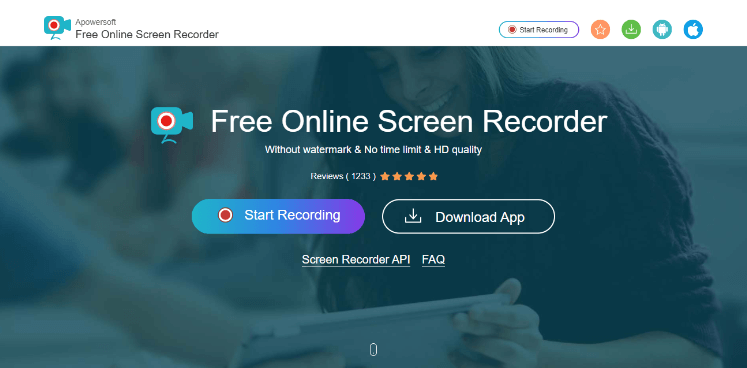
Click on Start Recording
Step 2. Adjust the parameters for recording. Choose to record the “Full Screen” or “Region.” You can also select the “Webcam” to record screen and webcam simultaneously. Similarly, choose to record “System Sound” and “Microphone.”

Adjust Parameters for Recording
Step 3. Click on the “Start Recording” button. Choose the Browser tab, Window, or Entire Screen and click on “Share.” Enable the option to share system audio as well.
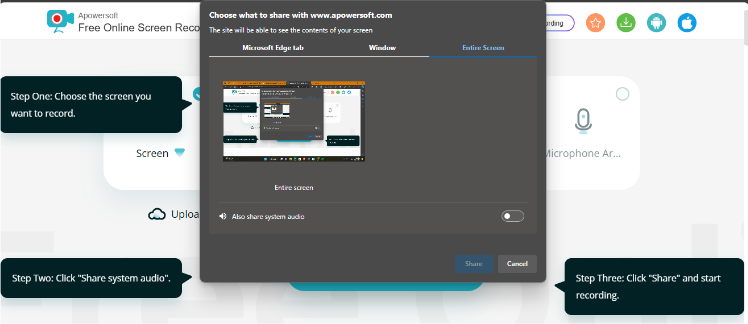
Choose What to Share
Step 4. The recording will start after a 3-second time. Click on “Stop Sharing” to finish the recording process on Microsoft Surface Pro. A preview window will appear on the screen. Choose to Save or Upload the recording.
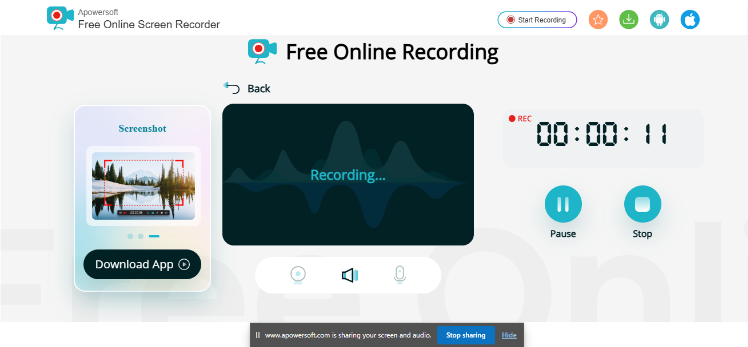
Click on Stop Sharing to Finish Recording
Part 3. FAQs About Screen Recording on Surface Pro
Does Surface Pro have a built-in screen recorder?
Yes, Microsoft Surface Pro users can utilize the Game Bar or Snipping Tool to record screens. Users with Windows 10 can also use Clipchamp to record screens.
How to screen record with audio on Surface Pro 7?
You can use the Game Bar for this purpose. Press the Windows key + G to open the Game Bar. Click on the “Record” button. You can explore the options for audio in settings to choose system audio and microphone.
How do I capture screenshots on Surface Pro?
Press Windows Key + Shift + S to capture a screenshot on Microsoft Surface Pro. If you own a Surface Go, Surface Laptop, or Surface Book, press and hold the Windows button alongside the PrtScn button to capture screenshots.
Conclusion
Microsoft Surface Pro is a brilliant 2-in-1 device that combines the benefits of both tablet and laptop. Microsoft Surface Pro users usually get confused about how to screen record on Surface Pro! Our detailed guide has answered this most-asked question with complete step-by-step instructions to follow. We recommend using Screenify— a 100% free 4K screen recorder for Microsoft Surface Pro. This versatile tool enables users to record at 60 FPS without any time limit and watermarks. Record technical support or course-related videos seamlessly on your Surface Pro with system/microphone audio via Screenify now!

Joy Taylor


Senior writer of the iMobie team as well as an Apple fan, love to help more users solve various types of iOS & Android-related issues.
 Screenify
 AnyEnhancer
 FocuSee
 Vozard
 AnyMiro
 AnyMirror