How to Record Screen on Windows 10 without Xbox: Tutorial
Check out how to record screen on Windows 10 without the Xbox Game Bar in this article. This post will discuss several resources and techniques for simple screen recording. You’ll receive comprehensive guidance on recording your screen for use in tutorials, presentations, and different contexts. We recommend using Screenify— a 4K Windows screen recorder tool with unlimited recording time.
Part 1: Introduction
Screen recording is helpful for various purposes, including making educational videos and tutorials or archiving virtual meetings. However, the Xbox Game Bar is not always the ideal tool for these situations due to its lack of advanced functionalities. Utilizing it can be challenging and restrictive for more specialized or professional needs. In this post, we’ll walk you through several methods to record your Windows 10 screen without using Xbox. Moreover, we’ll look at various programs and techniques that offer capabilities like multiple file formats and infinite recording time. So, let’s explore how to record screen on Windows 10 without Xbox!
Part 2: Best Ways to Record Screen on Windows 10 without Xbox
You can capture your Windows 10 screen using several reliable methods without using the Xbox Game Bar. Let’s analyze a few of the top ones!
1. Screenify
Looking for a reliable tool to record instructional videos, tutorials, or a Windows 10 PC screen? Screenify can be the best choice in this regard! It is a reliable alternative to Xbox, packed with features to simplify screen recording. It may be downloaded for free on both Mac and Windows platforms. You can capture in 4K resolution at 60 frames per second with Screenify, so your videos will be prominent.
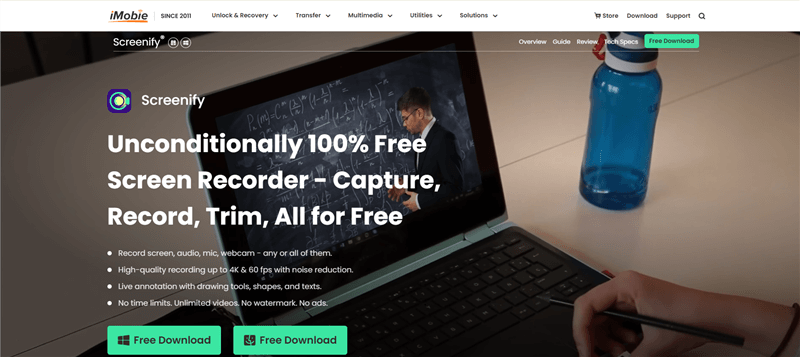
Screenify Website Interface
You may use various recording settings to capture precisely what you need, whether the entire screen or a specific area, and you can record for as long as you want, so you never miss a detail. You can even lock onto specific windows to record only their contents.
Screenify also lets you set custom text watermarks, making it easy to brand your videos. Need to crop? The tool’s simple cropping feature has you covered. With various marking tools and screenshot capabilities, Screenify is perfect for creating professional, polished videos without much effort.
Key Features and Advantages
- With Screenify, you can capture in 4K quality at 60 frames per second, guaranteeing crisp and smooth recordings.
- You can record the entire screen, a specific area, or even lock onto a particular window for focused recording.
- You don’t have to worry about time constraints while using Screenify because you can record as much content as required.
- With the application, adding text watermarks to your films is simple and helps you brand and personalize your recordings.
- Screenify offers simple cropping and pointer tools (text, arrows, and lines) to help you emphasize important parts of your recording.
Now, let’s have a look at the simple steps to use Screenify:
Step 1. Download and install Screenify on your computer. Launch Screenify and choose the “Record screen” option.
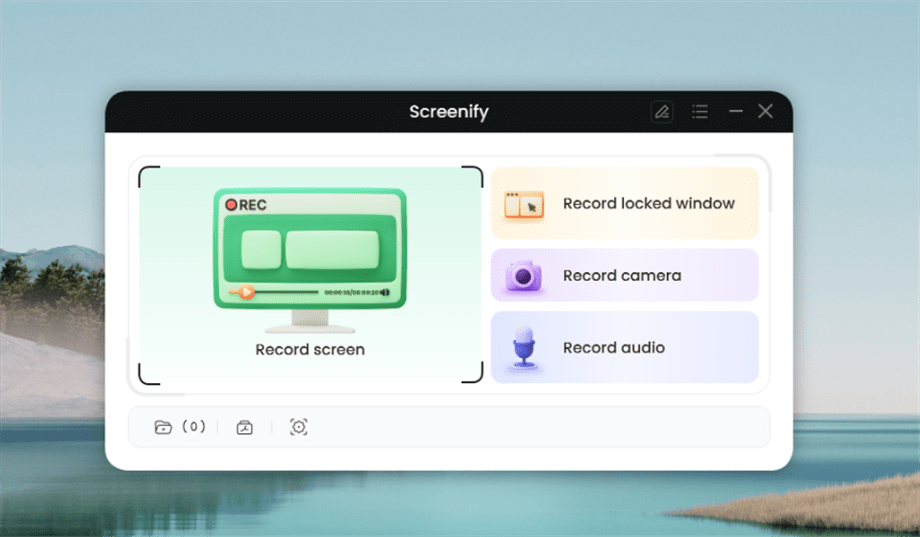
Select Record Screen Mode
Step 3. Adjust your recording settings, including audio options, before starting. You can choose to record internal audio, microphone, or both. You can also enable to disable the watermark.
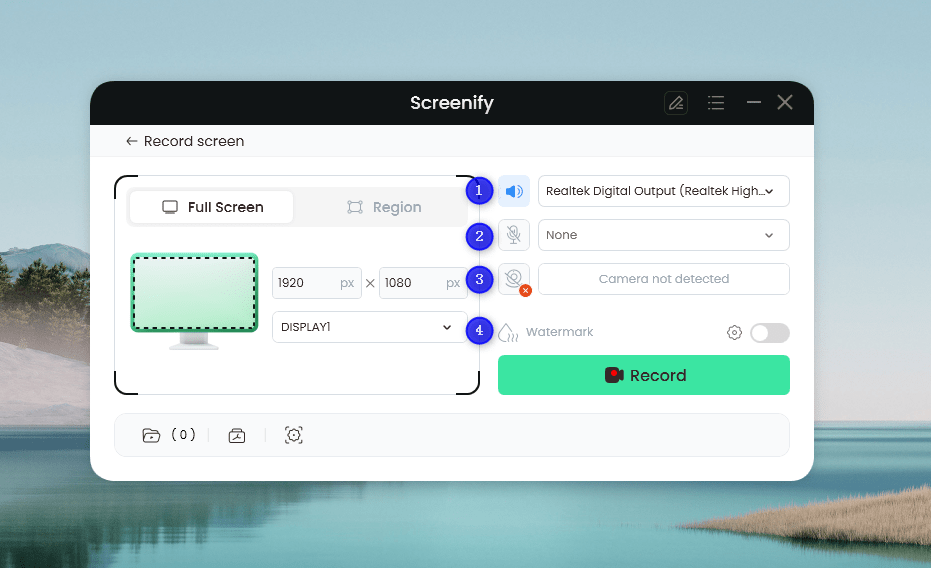
Set Configure Recording Settings
Step 4. Select the area you want to record. Click “Full Screen” for a complete capture, or manually choose a specific region. You can also adjust the selection to fit social media formats if needed. Click “Record” to start.
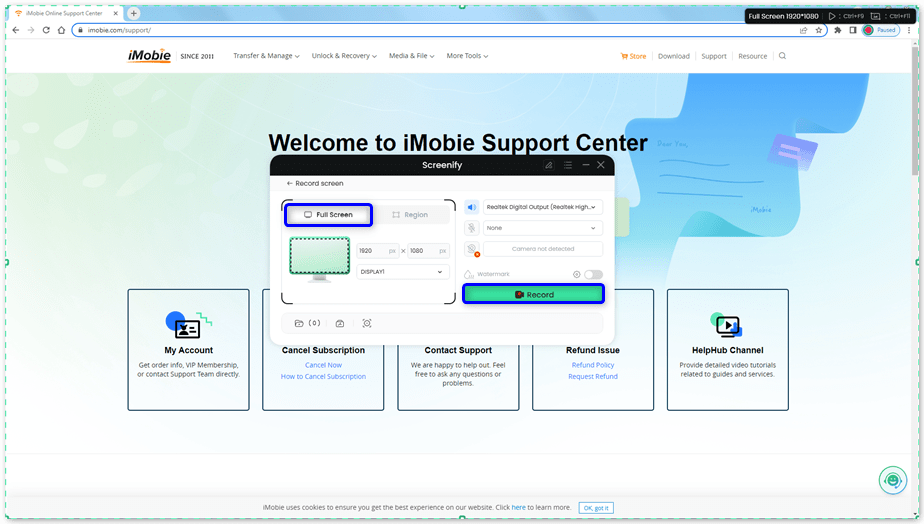
Select Full Screen
Step 5. A 3-second countdown will begin, giving you time to get ready.
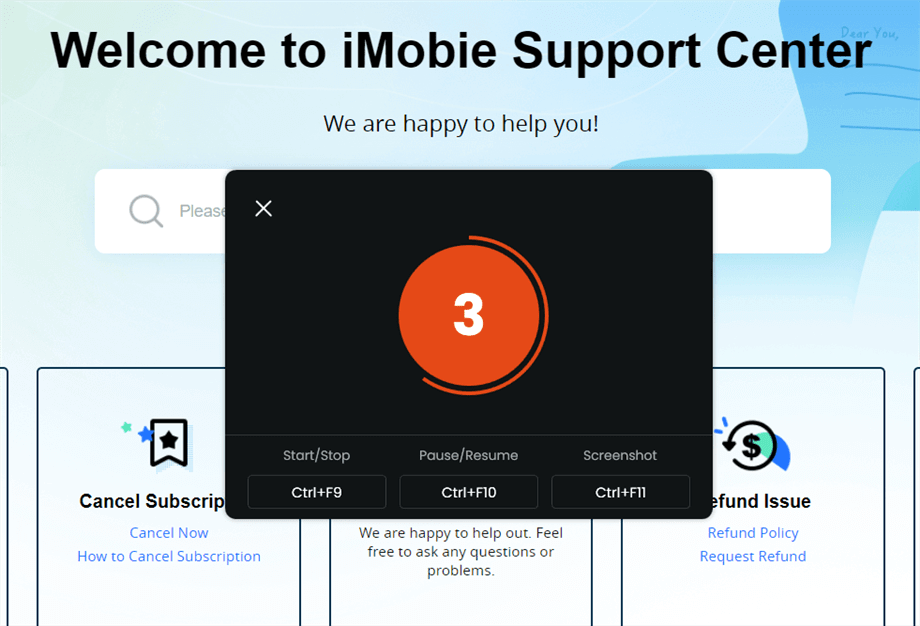
Wait for the Recording Countdown
Step 6. After the countdown, the recording will start. You can add notes or annotations during this time.
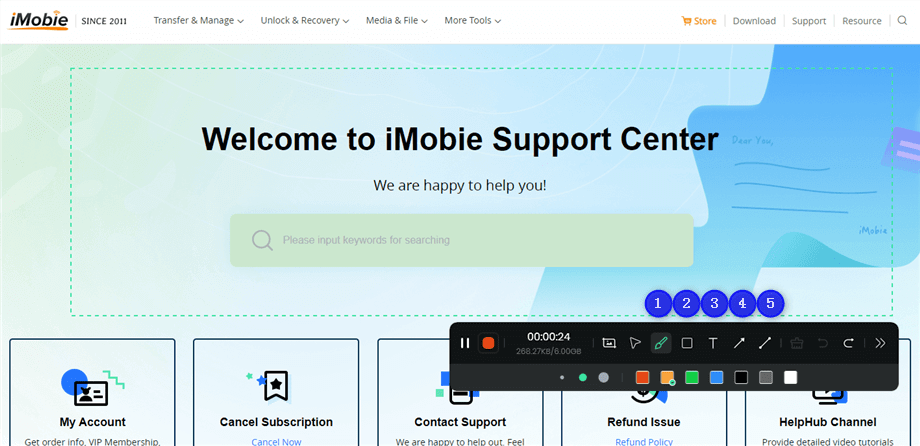
Annotate the Screen during Recording
Step 7. Select “Stop” to finish the recording process. You can then preview and manage your saved video.
2. Use Microsoft PowerPoint
Another option to record your PC’s screen is via Microsoft PowerPoint. You can choose to record a specific region or full screen using PowerPoint. It also supports capturing system audio and microphone sound with an additional feature to add narration or annotations. The recorded video can be saved in various formats for sharing. It’s a handy tool if you already have PowerPoint installed. To use this tool:
Step 1. Access the “Insert” tab and then select “Screen Recording” from the Media section.
Step 2. Choose the area to record or press the Windows key + Shift + A.
Step 3. Choose the recording area by clicking and dragging. Use the toolbar to adjust settings.
Step 4. Click the record button or press the Windows key + Shift + R to start recording. Use the same shortcut to pause or resume.
Step 5. When done, click the stop button on the toolbar or press the Windows key + Shift + Q.
3. With VLC
VLC Media Player is not just for watching videos; it can also record your screen. With this free software, you may record in several formats and capture the entire screen or a chosen area. It is possible to record microphone and system sounds using the custom audio settings via this open-source tool. VLC is generally accessible and user-friendly for both Mac and Windows platforms. The easy steps to utilize it are listed below:
Step 1. Open VLC Media Player. If you don’t have it, download it from the VLC website for free.
Step 2. Click on “Media” at the top left, then choose “Open Capture Device.” You can also use the Ctrl + C shortcut keys for this purpose.
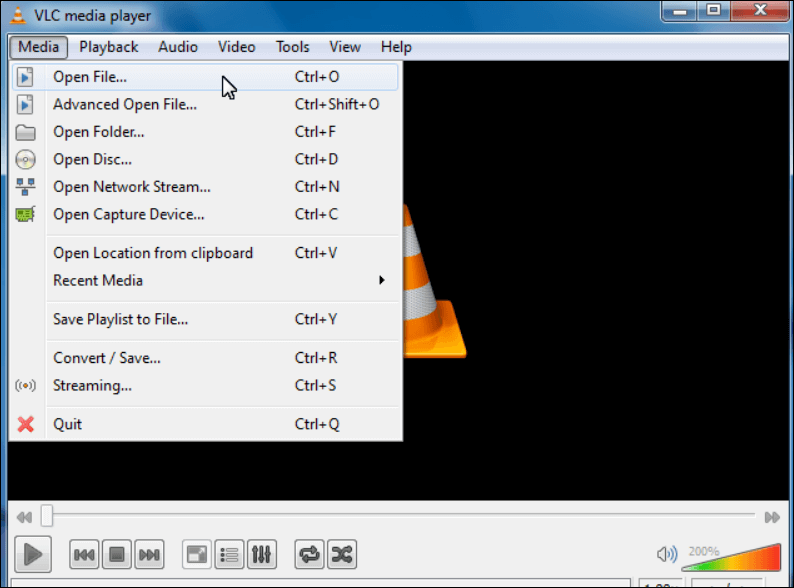
Tap on Open Capture Device
Step 3. Set the capture mode to “Desktop” and click the small arrow next to the “Play” button. Select “Convert” from the dropdown menu.
Step 4. Choose where to save the video and enter a file name.
Step 5. Click “Start” to begin recording. When finished, click “Stop” and find your video in your selected folder.
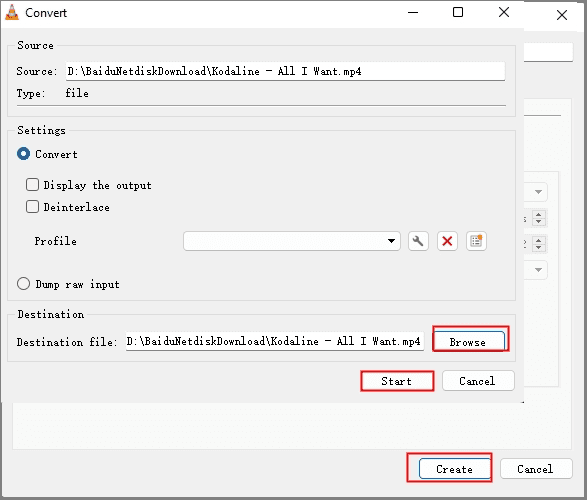
Start Convert in VLC
4. Snagit
Snagit is a versatile tool for screen recording and capturing images. It offers high-quality video recording in full-screen or selected regions. You can record both system audio and microphone sound, and it includes options for adding annotations, text, and effects. Snagit also supports saving videos in multiple formats and provides simple editing tools. It’s perfect for creating detailed tutorials or presentations. Below are the easy steps to use Snagit:
Step 1. Open Snagit and choose the “Video” tab from the start menu.
Step 2. Ensure “Region” is selected from the dropdown menu to record a specific part or the entire screen.
Step 3. Click the “Capture” button. The crosshairs will appear, letting you select the area you want to record.
Step 4. Once you’ve chosen the area, recording will start automatically.
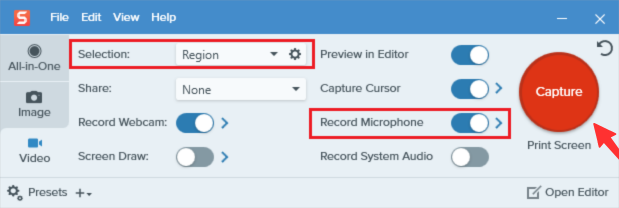
Adjust Video Settings and Cclick Capture
5. OBS Recorder
OBS Studio is a powerful, free tool that lets you record your entire screen or just parts of it in high quality. You can capture system and microphone audio and customize your recording setup with multiple sources and scenes. OBS also supports various file formats and offers advanced features for professional-quality recordings. Not only can you capture the screen of your laptop in 1080p UHD quality, but at 60 frames per second, that even supports any videos/animations being played.
Additionally, OBS Studio allows you to record audio with pre-set filters such as noise suppression, noise reduction, noise gate, and more.
For this:
Step 1. Download, install, and open OBS Studio. Click on “Sources,” then the “+” icon. Choose “Window Capture” for a specific app or “Browser” for a website.
- For “Window Capture“: Name your project, select the app from the dropdown menu, and click “OK.”
- For “Browser“: Name your project, enter the website URL, and click “OK.”
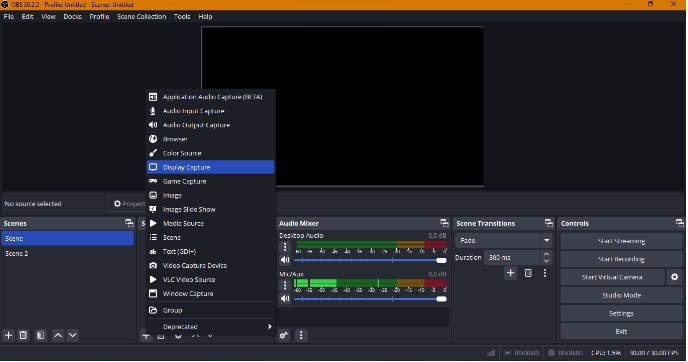
Open OBS Studio
Step 2. Set up your audio by going to “Audio Mixer” and adjusting the settings. Click “Start Recording” to begin.
Step 3. Select “Stop Recording” to finish the process. Use “Pause” to halt temporarily.
Part 3: Conclusion
In conclusion, this how to record screen on windows 10 without Xbox tutorial discussed several non-Xbox screen recording options for Windows 10. We examined a variety of tools, each with a unique set of capabilities and advantages, including Microsoft PowerPoint, VLC, Snagit, and OBS Studio. For the best overall experience, we recommend using Screenify. It offers unlimited recording time, supports multiple file formats, and allows easy watermarking for a versatile and user-friendly recording experience.

Joy Taylor


Senior writer of the iMobie team as well as an Apple fan, love to help more users solve various types of iOS & Android-related issues.
Screenify
AnyEnhancer
FocuSee
Vozard
AnyMiro
AnyMirror


