How to Record Internal Audio on Mac: Stepwise Guide
Discover how to record internal audio on Mac easily. We’ll review several resources and detailed methods to assist you in capturing high-quality audio straight from your device. Regardless of your experience or preference, this guide will simplify and provide clear instructions for any user.
Have you ever thought about how to record audio from within your Mac? Let’s say you want to record audio from a video, create a podcast, or save a crucial online meeting, but your Mac won’t let you do so. Isn’t that annoying? Many users encounter this issue because internal audio recording is not a built-in capability. In this post, we’ll explore several methods for how to record internal audio on Mac. These detailed instructions will walk you through the process of using different programs to record high-quality audio straight from your Mac, regardless of your experience level.
Part 1: Best Way to Record Internal Audio on Mac
The most effective method for recording internal audio on your Mac is to use dedicated programs made specialized for this purpose. Although direct internal audio recording on a Mac is not possible due to built-in characteristics, there are dependable third-party software that simplify and streamline the procedure. Let’s look at some of the best methods and tools for recording crisp internal audio on your Mac.
#1. Screenify
Are you trying to find a way to record audio from within your Mac? Screenify is a convenient tool for this purpose. It makes recording sounds from the system or a microphone simple, and you can easily change the volume to achieve the ideal sound quality. One of its best features is its audio noise reduction feature, which guarantees your recordings are crystal clear and noise-free.
Screenify Website Interface
Your audio recordings won’t have a watermark applied when you use Screenify, keeping your files organized and polished. It’s a dependable option for all your audio recording needs because it’s free and provides infinite recording time. Screenify has all the tools to easily record high-quality audio, whether recording a podcast or archiving a crucial meeting.
One of the most brilliant features is its multiple-screen recording modes, such as an entire screen or a region. Additionally, you don’t need to worry about the lags and poor-quality screen recording as Screenify allows users to screen record Mac in 4K resolution at 60 FPS.
Key Features and Advantages
- Record system sound or microphone audio with adjustable volume for clear and precise recordings.
- It has a noise reduction feature to reduce ambient noise and enhance music quality.
- Your audio recordings are left unwatermarked, guaranteeing polished and error-free output.
- It is free and has no additional fees, making it available to everyone.
- Versatile across multiple operating systems, accessible on Mac and Windows.
- You can record audio for as long as you like without worrying about wasting time.
Now, let’s explore some simple steps to use this tool to record internal audio on Mac:
Step 1. Download and install Screenify on your computer, ensuring a stable internet connection.
Step 2. Launch Screenify and select the “Record Audio” option from the main menu.
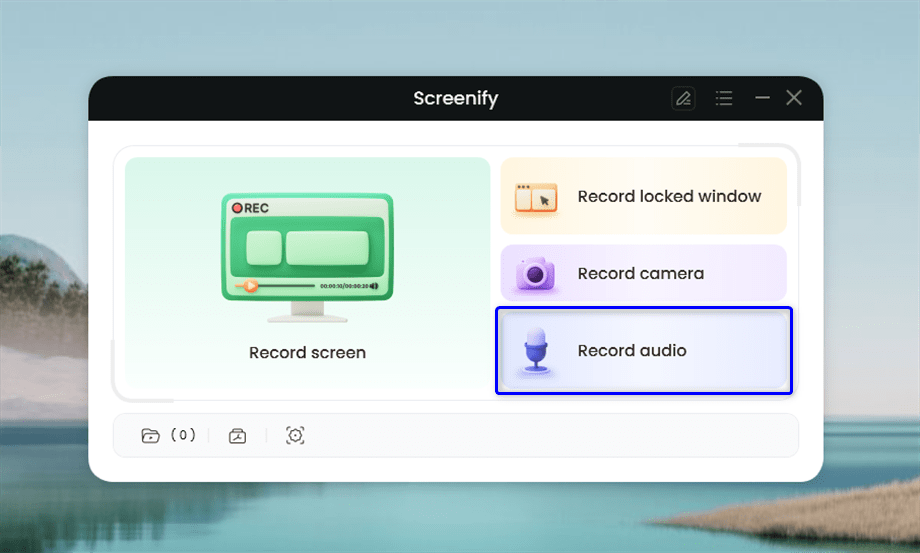
Choose the Record Audio Mode
Step 3. Choose the speaker or microphone you’d like to use for recording in the audio recording interface. Select “Record” to initiate your session.

Select the Audio Input
Step 4. A short countdown will appear, giving you a few seconds to prepare before the recording starts.
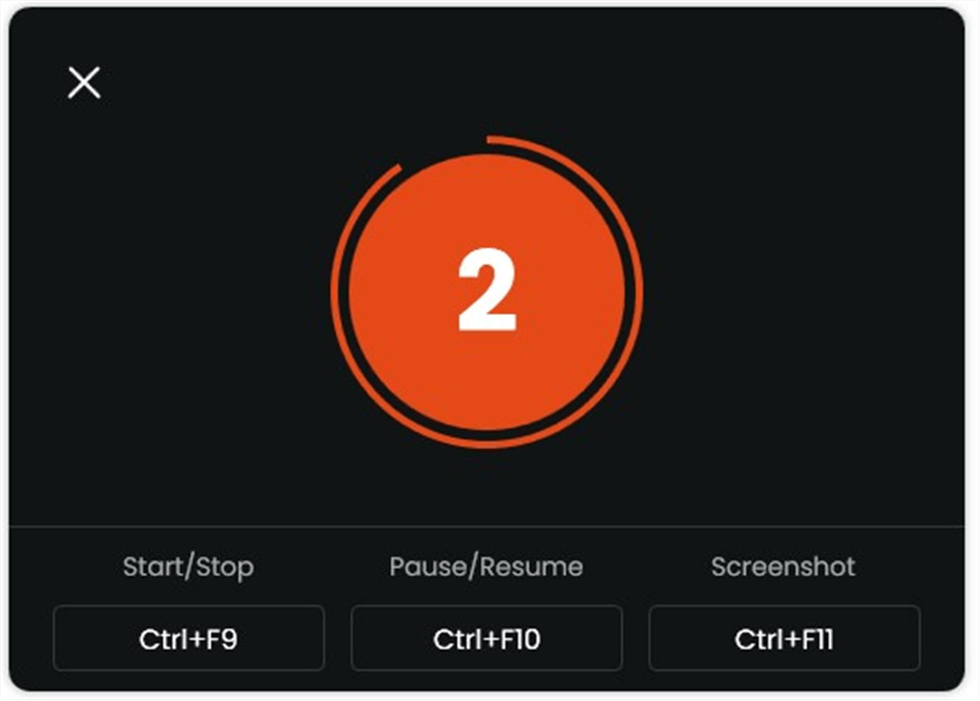
Recording Countdown
Step 5. After the 3-second countdown, recording will automatically begin, with the interface displaying your progress.
Step 7. Once you’ve finished recording, click “Stop” to end the session. Now, you can listen to preferred recorded audio.
#2. QuickTime Player
Regarding using the Mac application to capture internal audio for free, QuickTime Player is one of the best. However, to record what is being played on the system of your Mac, you will need another tool called Soundflower. Soundflower is a virtual audio tool that allows your device to route audio internally to the recording software, in our case, through QuickTime Player.
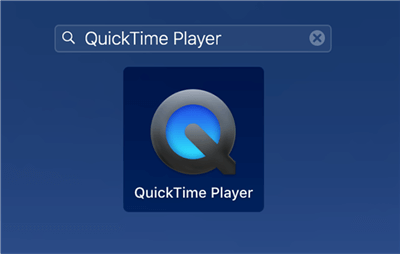
Access QuickTime Player on the Mac
Recording internal audio on a Mac is vital for various purposes, such as making lessons, maintaining streaming media, or improving your multimedia projects. Thankfully, several resources and techniques are available to address this problem.
Compared to QuickTime Player, which comes directly with macOS, Soundflower is a free add-on that you download and install yourself. Once both are set up, internal audio can be recorded at high quality at no cost. This method is perfect for users who do not want to waste their money on additional applications and use the tools available in macOS. Here is the simple procedure to use this method:
Step 1. Download and install Soundflower on your Mac. Then go to “System Preferences,” click “Sound,” and select “Soundflower (2ch)” under the “Output” tab.
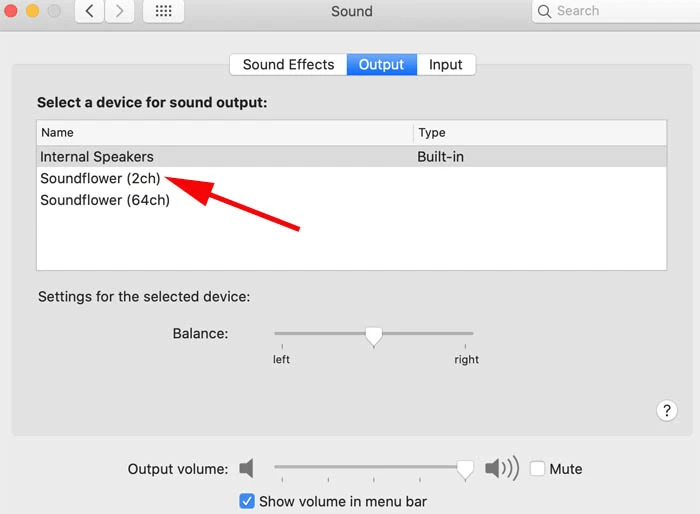
Select Soundflower
Step 2. Open QuickTime Player by clicking “Launchpad” in your Dock and searching for “QuickTime Player.” Then, go to “File” in the top menu and select “New Audio Recording.”
Step 3. Click the down arrow next to the record button and choose the appropriate audio source.
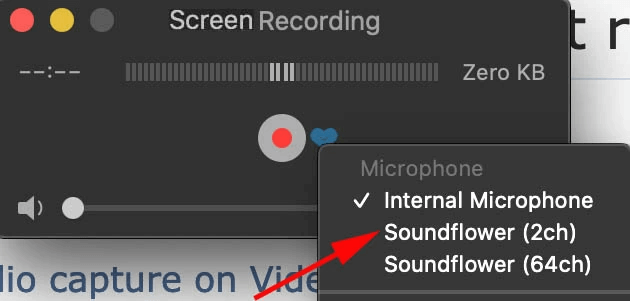
Choose the Appropriate Audio Source
Step 4. Start recording by clicking the large record button. When done, choose the stop button.
Step 5. Play back the audio by clicking the play icon. If satisfied, go to the “File” menu and select “Save” to save your recording.
#3. MP3 Audio Recorder
The MP3 Audio Recorder is a suitable tool for recording internal audio on Mac for users who prefer to have detailed options for their recording needs. This tool is convenient for creating new records and has many features for making records as specific as possible.
One standout feature of MP3 Audio Recorder is its ability to display recorded files in the Finder app automatically. This feature can save you time and make file management more convenient. Whether you want to tweak recording settings or need an efficient way to save your audio, this tool covers you. Check out the simple steps to get started with MP3 Audio Recorder.
Step 1. Open the MP3 Audio Recorder app and choose your audio source from the dropdown menu next to “Audio Device.”
Step 2. Click the “Settings” icon to adjust recording options as needed.
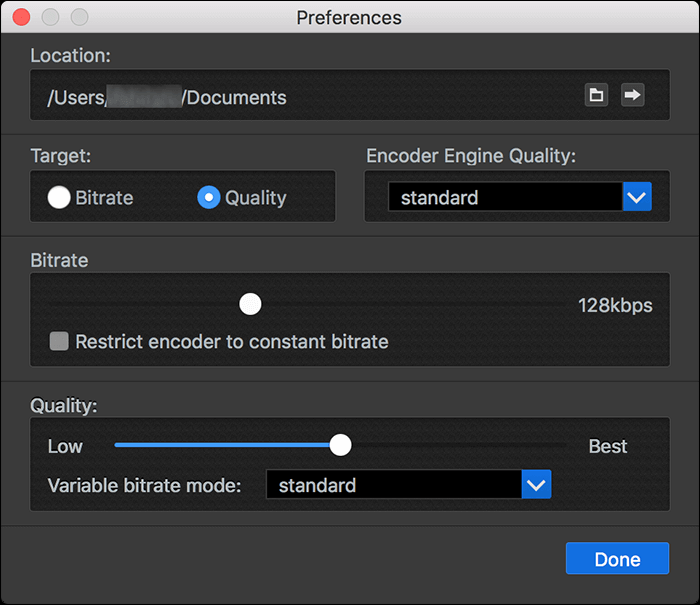
Click the Settings Icon
Step 3. Return to the main screen and click the red record button to start recording. Click the stop button when you’re finished.
Step 4. The app will automatically open the folder with your recording. Double-click the file to play it in your default media player.
#4. Voice Memos App
Another useful app is the Voice Memos App, which can be used to record internal audio on iOS gadgets and Macs. It is free to download and use and was created to record high sounds with minimal effort. The Voice Memos App is a simple and easy-to-use application to capture meetings, conversations, ideas briefing, or simple note-taking.
The Voice Memos App enables one to record without a time limit and provides basic editing options. Furthermore, owing to advanced iCloud support for recordings, file management has been made quite easier. To use this tool:
Step 1. Open Voice Memos from your Applications folder or search using Spotlight.
Step 2. Click the red record button to start. For best quality, select “Lossless” in Preferences.
Step 3. Click “Pause” to stop recording temporarily, then “Resume” to continue.
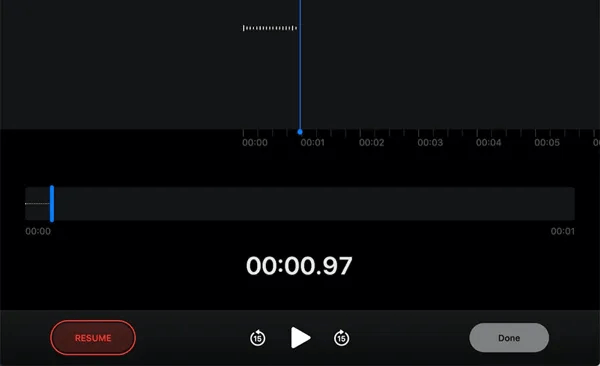
Click Resume Button
Step 4. Click “Done” when finished. Click the “Play” button to listen to your recording.
Step 5. Click on the recording in the app to playback or edit.
Step 6. Save your file to iCloud or your Mac for access on other Apple devices.
#5. OBS Recorder
The OBS Studio is ideal for recording internal audio on Mac devices. It is free and can be used with an open-source platform. It is commonly used for streaming and screen recording. Using OBS, one can record the audio from the system by simply selecting it and following the recording process, whether recording a podcast, game, or online meeting. With real-time audio and video mixing alongside perfect synchronization, you can record and refine your screen recording alongside crisp and clear audio.
Some forms of audio customization for your recording setup include audio filters and mixing. Even though OBS Studio initially seemed rather complicated, this software provides all the necessary options and features that are easily customizable according to your requirements. It is a versatile tool for beginners and professionals seeking an effective solution to capture internal audio. For this:
Step 1. Begin by downloading and installing OBS. Follow the easy installation instructions to set it up on your Mac.
Step 2. Open OBS Studio and create a new scene with a name of your choice. Add sources to your scene by clicking “Add” and selecting “Audio Output Capture” to record internal audio. Choose the default device or another audio source. If no sound is heard, you might need additional software like Soundflower.
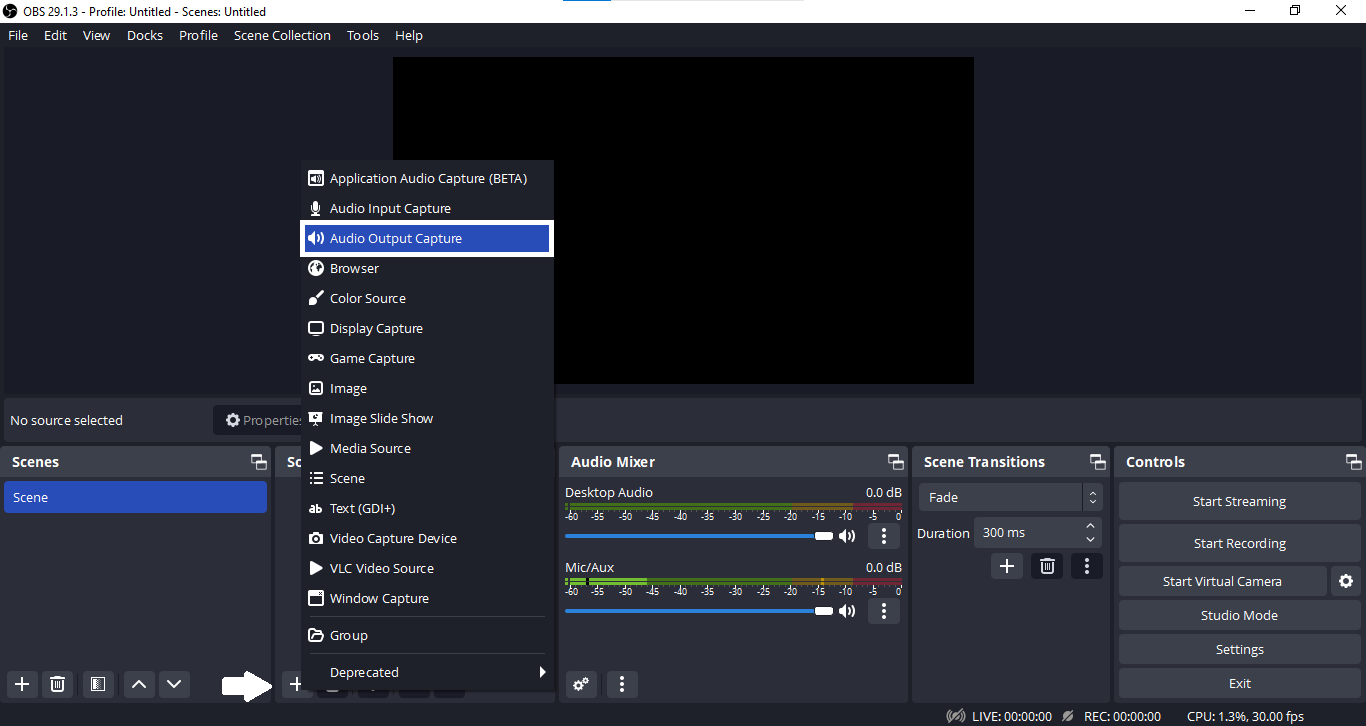
Select Audio Output Capture
Step 3. Click “Start Recording” to begin capturing your video and audio. When done, click “Stop Recording.” Consider doing a test recording first to ensure everything is working correctly.
Step 4. OBS Studio will save your recording in a folder in your Documents. To find your file, click “File” and select “Show Recordings,” or set a custom folder in Settings under the “Output” tab.
Part 3: Conclusion
In this article, we discussed how to record internal audio on Mac with the help of tools like Screenify, QuickTime Player, MP3 Audio Recorder, Voice Memos, and OBS Studio. These tools come with individual features that enable you to record sound of varying quality depending on your need, ranging from basic to more sophistically complex. Out of the presented options, Screenify is worth using as it is simple to work with and offers almost all the essential functionalities. It can also record system and microphone audio, control volume, and add noise reduction to the screen. Apart from sound recording, it enables users to record Mac screens in 4K quality at 60 FPS.

Joy Taylor


Senior writer of the iMobie team as well as an Apple fan, love to help more users solve various types of iOS & Android-related issues.
 Screenify
 AnyEnhancer
 FocuSee
 Vozard
 AnyMiro
 AnyMirror