How to Edit a Zoom Recording – Effective Tools to Use
In this article, we will discuss how to edit a Zoom recording. We’ll explore ways to use the built-in Zoom editor options. We’ll also go over the steps to follow for advanced-level editing using third-party tools. In the end, we’ll see how Screenify is a handy tool to help us record Zoom sessions.
A raw video directly from your hosted Zoom meetings can be janky to share. Who wants to share unnecessary pauses, awkward silences, or virtual flares? That’s why learning how to edit Zoom recordings before sharing them is essential.
Most people, whether newbies or even pros, struggle when it comes to editing their Zoom recordings. This guide is to help you people out there! Through this detailed guide, we will explain to you how you can trim, edit, and download your Zoom recordings. In the end, get your hands on an awesome online tool to take your virtual recording to another level.
Ready to Learn? Let’s get into it!
How to Edit a Zoom Recording
Since COVID, Zoom and similar platforms have become lifelines for virtual collaboration and communication. But the real struggle starts when you have to act as a video editor as well with your Zoom recordings. Fortunately, Zoom offers an in-built option for doing some basic editing. Let’s have a look!
How to Edit Your Recordings with Zoom’s Built-in Tool
On Zoom, if you have enabled your recording option, your recording will automatically be saved in Zoom. To edit it, follow the steps below:
Step 1: Log in to your Zoom account. Next, go to the “Recordings” option in the list of options on the right-side layout pane.
Zoom Recording Tab
Step 2:You will get two options “Cloud Recordings or Local Recordings”. Choose the recording you want to edit.
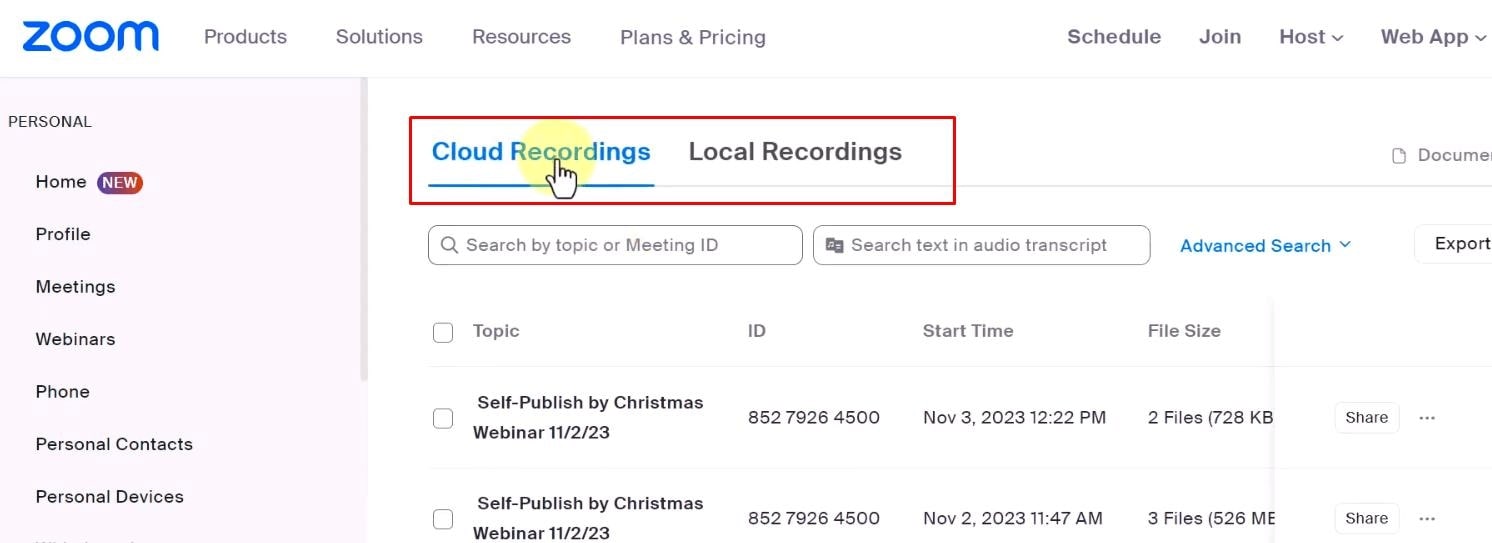
Choose Cloud Recordings or Local Recordings
Step 3:Before trimming, you will get the option to edit the title and description of the recording.
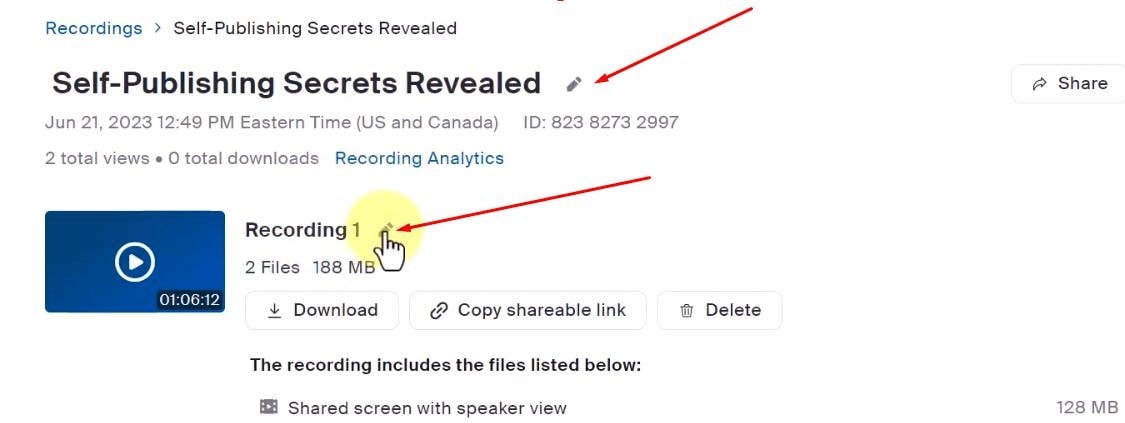
Edit Recording
Step 4:Play the video to trim it. Depending on the size of the recorded video, it might take some time to open.
Step 5:Once the video is played, click the “Scissors Icon” in the lower right corner to trim the beginning or the end.

Click the Scissors Icon
Step 4:Move the play bar to the desired start and end points where you want to trim the video. One satisfied click the blue Trim button.
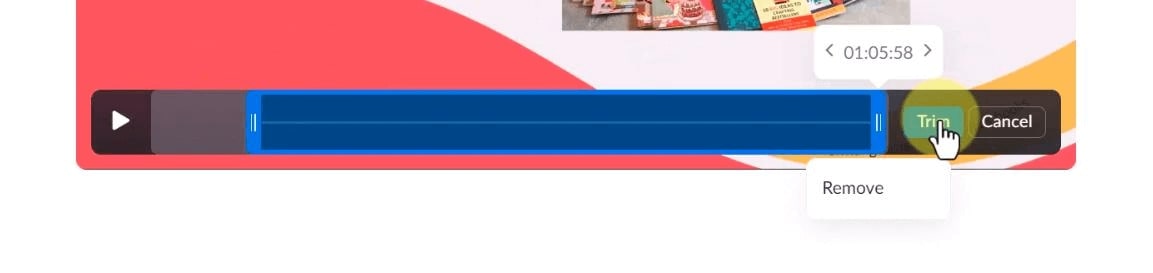
Trimming the Recording
At the end, a message will appear indicating that trimming is in progress. The trimmed version will be available after the process is completed.
There are certain limitations when trimming using Zoom’s built-in options.
- Firstly, you can only trim the beginning or the end, not in between. You will not get other editing options such as trimming, cutting, adjusting audio, adding text, cropping, and adding effects.
- Secondly, although the video is trimmed, the trimmed parts are not actually removed; they can still be visible to viewers if they download the video.
Advanced Zoom Video Editing
So, for advanced-level editing, the inbuilt zoom option cannot help you. The other option you have is to use some third-party software available.
Follow the steps below for using any third-party software:
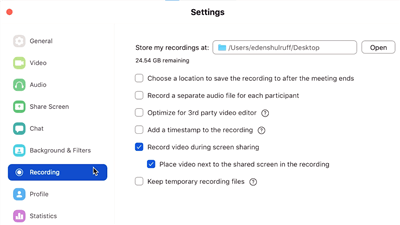
Step 1: After your Zoom meeting ends, download the recorded video from Zoom. Save the video file to your computer.
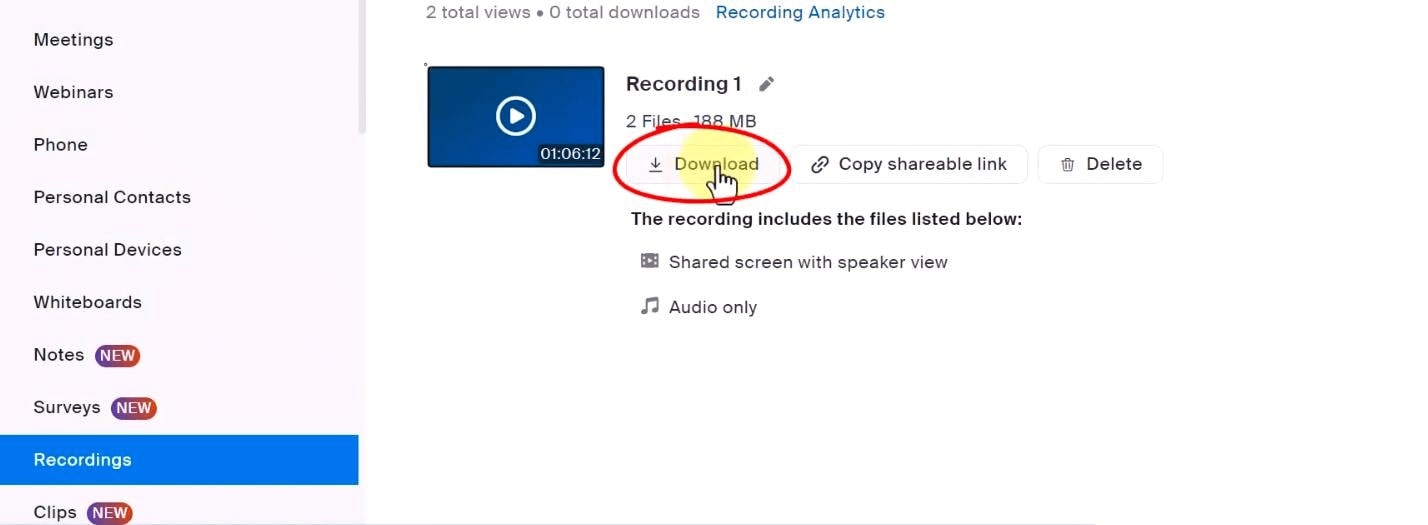
Download the Recording
Step 2: Open your preferred video editing software, such as Adobe Premiere Pro, Final Cut Pro X, or iMovie. Then, Import the downloaded Zoom recording into the app.
Step 3: Next, edit the video. Such software allows you to trim, add annotations, voiceovers, transitions, and apply visual and audio effects.
Step 4: Play the video to ensure that all edits are correctly applied and the content flows smoothly. Once you are satisfied with the changes, export the video in your desired format.
Step 5: Save the final edited video to your computer. Use the exported video for your intended purpose, whether it’s for training, presentations, or sharing with others.
The steps for uploading and editing a Zoom recording can vary depending on the software. For detailed information on a specific software, refer to its official website.
Effortlessly Record Zoom Videos with Screenify – A Bonus Tip🔥
For a tech-averse person, it must be a daunting task. Who has enough time first to record the whole Zoom Meeting and then count the clock while waiting for it to download, only to use another tool to edit it?
What if we told you there’s an amazing tool to help save you the effort? We’re talking about Screenify. It is actually a free screen recording tool available for both Windows and macOS.
What Screenify Offers
It’s not just a simple screen recording tool. It has some incredible options to make your Zoom recording process fun. It allows to:
- Capture screen, windows, and webcam.
- High-resolution recording with noise reduction.
- Add drawings and text live.
- It’s free to use.
- No time limits or watermarks.
- Personalize with branding.
- Save in various formats.
- Manage recordings with keyboard shortcuts.
- Record specific windows uninterrupted.
How to Use Screenify to Record and Edit Zoom Meetings
The whole idea of using Screenify with Zoom meetings is that, rather than using the inbuilt Zoom recording and triming options, you can use this tool.
Follow the steps below for this.
Step 1: Go and download Screenify on your computer. Install and launch it properly.
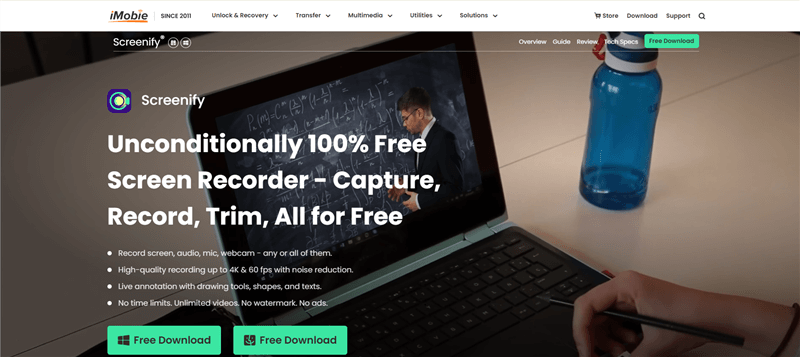
Screenify Website Interface
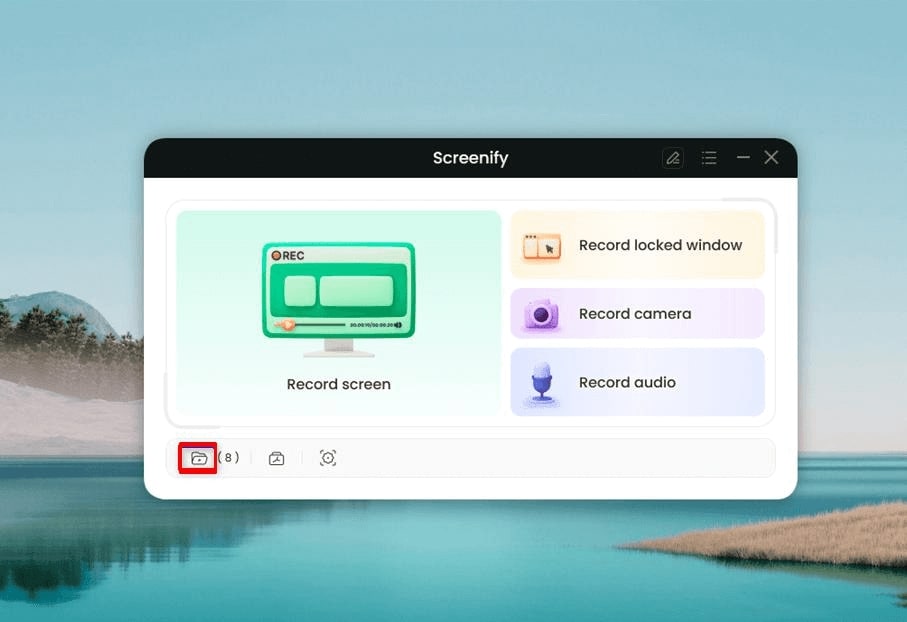
Step 2: Next, launch Screenify on your computer. Then, select “Record Locked Window” mode.
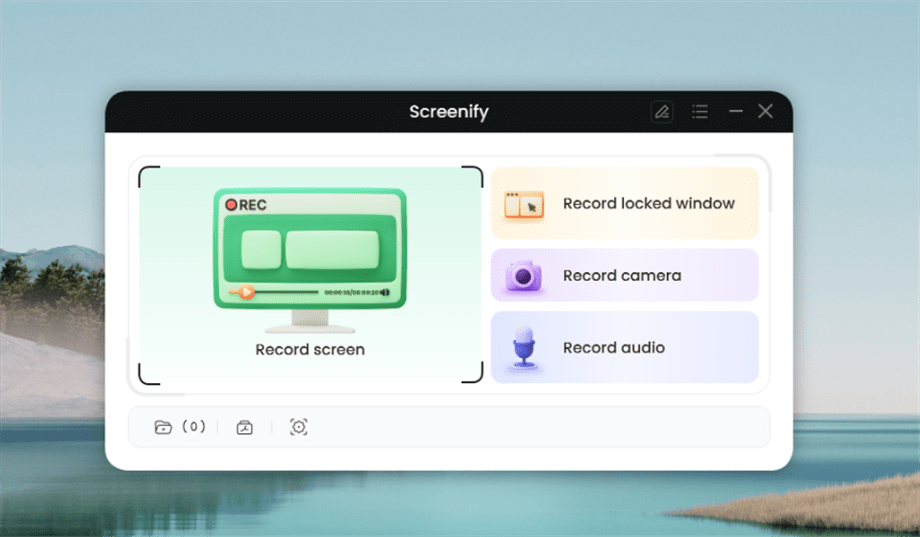
Select Record Locked Window Mode
Recording Locked Screen can help you avoid capturing unwanted pop-ups from other windows. You can also choose the “Record Screen” option to capture the whole screen or just a part of it, depending on your preference.
Step 3: After choosing the “Record Locked Window Mode,” the next interface will appear. Click the “Select Window” option.
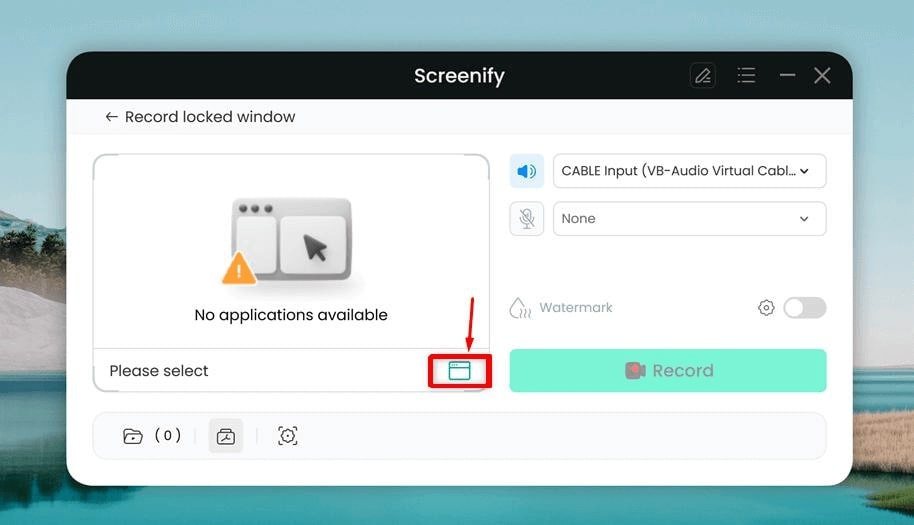
Select A Window
Step 4: All open windows will be displayed. Select the Zoom meeting window. Ensure it is not minimized, as Screenify may not recognize minimized windows.
If no windows are open, an error message will appear: “No application available.”
Step 5: Once you select the window you want to record, configure the recording settings.
In this settings menu, you can:
- Choose the system sound.
- Select the microphone you want to record.
- Decide whether to add a watermark.
Visit the Settings guide for additional customization, such as video format, quality, frame rate, recording countdown, and storage path.
Step 6: Click the “Record” button to start recording. A 3-second countdown will appear to help you prepare.
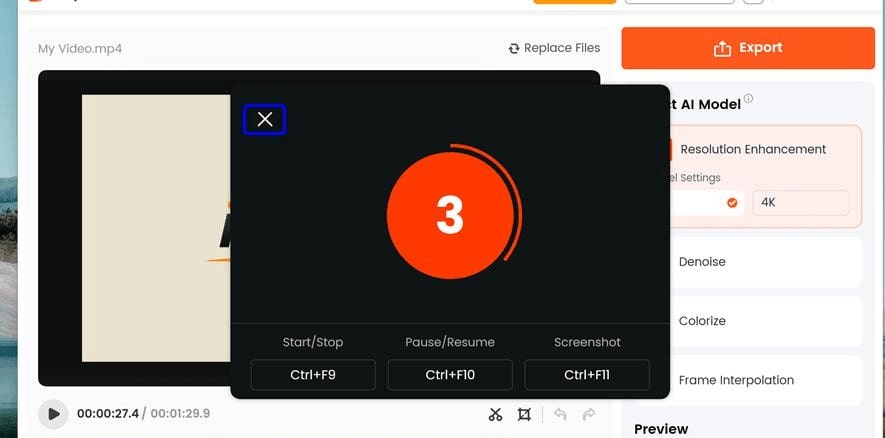
Step 7: Once the recording starts you can dd drawings, shapes, and text. After finishing the recording, click the red “Done” button. The file will automatically be saved. You can access it in your recording file list.
Step 8: Select the Recorded Files option; the interface will display a list of your recorded files.
Select the Recorded File Option
By selecting a file and right-clicking, you can
- Trim
- Open a folder
- Rename
- Delete the recorded file.
Step 9: In order to trim the recorded Zoom meeting, you need to select its folder and click the right button. Next, select the trim option.

Select the Trim Option
Step 10: When the trimming markers appear, drag the progress bar to adjust the start and end points. When you finish trimming, click Export and then Confirm to save the trimmed file.
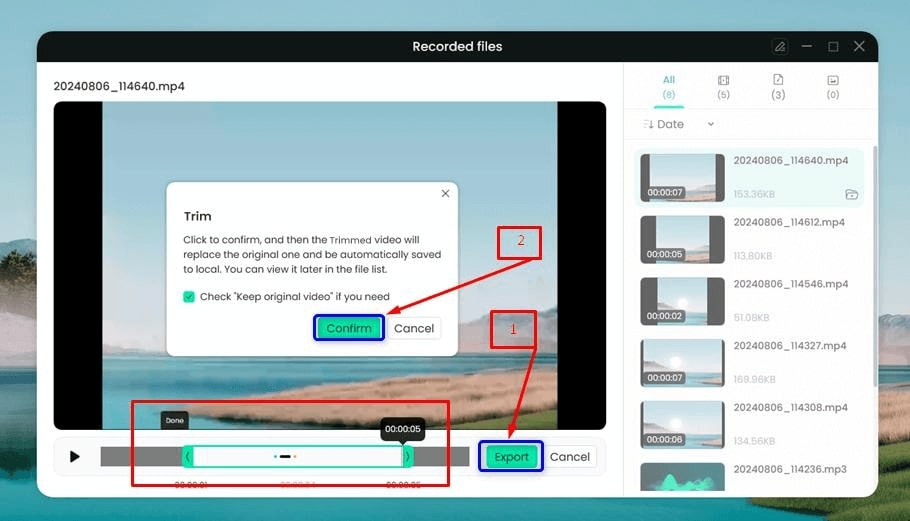
Click Export Them Confirm Button
FAQs
1. Is it possible to edit a Zoom recording?
Yes, it is possible to edit a Zoom recording. To do so, one can use video editing software or tools. They can help trim, cut, or enhance recorded Zoom meetings.
2. Can you cut out parts of a Zoom recording?
Yes, cutting out specific parts of a Zoom recording is possible. Most video editing software allows this.
3. How do I edit a Zoom meeting?
One can use video editing software like iMovie, Adobe Premiere, or Screenify to edit a Zoom meeting. After importing the Zoom recording into the software, it allows to trim, cut, and adjust the video.
4. What is the best software to edit Zoom recordings?
For editing the Zoom recording, the choice of the software depends on the needs and experience level. For beginners, tools like Screenify or iMovie are user-friendly options. For more advanced editing, Adobe Premiere Pro or Final Cut Pro offers extensive features.
Conclusion
Sometimes, editing a Zoom recording is essential. For such situations, you should know how to edit a Zoom recording. Zoom’s built-in options let you trim the beginning or end, but they may not suffice for complex tasks.
To cut out specific sections, add effects, or adjust audio levels, third-party software is needed for a more polished result. Screenify is a great tool for recording and editing Zoom sessions. It provides more flexibility and advanced options compared to Zoom’s built-in features, helping you create a professional-looking video.

Joy Taylor


Senior writer of the iMobie team as well as an Apple fan, love to help more users solve various types of iOS & Android-related issues.
 Screenify
 AnyEnhancer
 FocuSee
 Vozard
 AnyMiro
 AnyMirror