How to Record Screen with Adobe Screen Recorder [Full Guide]
This article provides a step-by-step guide for recording your screen using Adobe Screen Recorder. It covers Adobe Screen Recorder’s usage and suggests better alternatives like Screenify, and answers common questions about Adobe’s screen recording features. We recommend using Screenify – an efficient screen recording tool – for a smoother experience to capture your display in 4K quality at 60 FPS.
Adobe Screen Recorder is useful if you want to capture a screen for a project or a presentation. In this tutorial, the basics of screen recording will be explained; therefore, one does not have to be a professional to learn them. You will find out what Adobe Screen Recorder is, its method of usage, and other third-party screen recording alternatives. By the end of this article, you will be prepared to record your screen effectively for almost any need!
Part 1: What is Adobe Screen Recorder?
Adobe Screen Recorder, with a range of features, which is also known as Adobe Captivate, is the perfect tool for creating proper screen recordings. Due to the recording regions’ adjustable modes, one can capture the whole or part of the screen. Its biggest strength is that it allows immediate quizzes and PowerPoint presentations, making it ideal for tutorials. Advanced sound management allows recording from a microphone, the system audio, and both or neither. The panning capability enables the screen to move with your mouse. Additionally, you can edit videos in real time before publishing.
Key Features:
- Full-screen and custom-area recording: Choose to capture your entire screen or a specific region.
- Interactive elements: Add smart objects, quizzes, and PowerPoint slides for comprehensive tutorials.
- Audio control: For flexible sound options, record system audio, microphone input, or both.
- Panning mode: Enables screen tracking that follows mouse movements.
- Editing tools: Allows real-time edits before publishing content.
Part 2: How to Record Screen with Adobe Screen Recorder
Adobe Screen Recorder is easy to use when recording a screen. This tool is considered ideal for tutorials, presentations, and demos, as one can capture the whole screen or just a section. Therefore, it will be an effective option for experts and novices, thanks to its user-friendly interface and tunable features, such as voice recording and video editing. This is how to operate the tool:
Step 1. Launch Adobe Captivate and open the application you want to record.
Step 2. Choose “Video Demo.” After that, click the “Create” button.
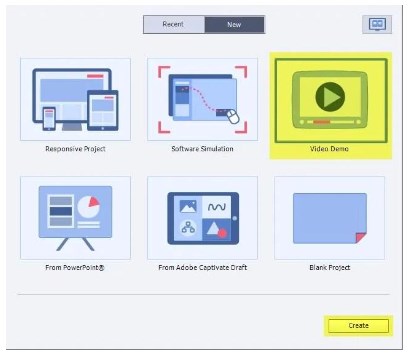
Choose “Video Demo”
Step 3. Choose “Screen Area” or “Application” on the next screen.
- Select “Screen Area” to record the full screen or a custom section.
- For specific applications (like PowerPoint), choose “Application” for better responsiveness. Adjust the “Audio” settings as needed. You can record both system audio and microphone.
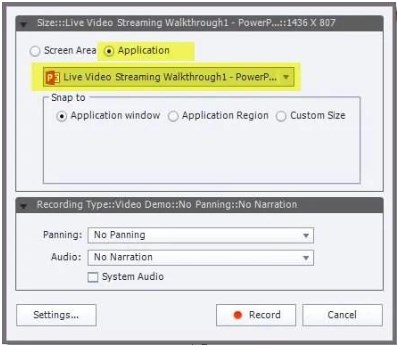
Choose “Application”
Step 4. Click on the “Record” button to start capturing the screen.
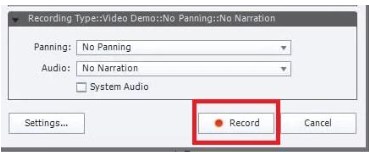
Click on the “Record” button to start capturing the screen
amera recording will not work in this mode to ensure privacy. Want to add voice narration to your screen recording? Enjoy the dual audio recording, i.e., microphone and system sound, without any hassle.
Part 3: Alternatives for Adobe Screen Recorder
If you are looking for a good replacement for Adobe Screen Recorder, we recommend using Screenify. It supports both Windows and macOS and allows you to record with a quality of up to 60 fps. This means that your videos will appear sharp and seamless. Thanks to Screenify, a user can capture 4K videos without losing important details, which is helpful for gamers and creators. One of the most brilliant features is its multiple-screen recording modes, such as an entire screen or a region.
It is also important to note that your recordings are not time-limited, allowing you to concentrate fully on developing your content. You can lock the recording window so that no other content can be recorded except the opened application or game—even the camera recording will not work in this mode to ensure privacy. Want to add voice narration to your screen recording? Enjoy the dual audio recording, i.e., microphone and system sound, without any hassle.
Key Features:
- You can record for as long as you like, which lets you make long tutorials or gameplay recordings.
- Custom text watermarks are a great way to add flair and personalization to your films while strengthening your brand.
- The tool’s customizable recording modes allow you to choose between full-screen, area, or window recording.
- Screenify supports various export formats, ensuring compatibility with multiple editing software and sharing platforms.
- Capture stunning 4K videos at 60 frames per second, providing professional-quality results for your projects.
Now, let’s check out the basic steps for screen recording using Screenify:
Step 1. Begin by downloading and installing Screenify on your device to prepare for recording.
Step 2. Open Screenify and click the “Record Screen” option to start the process.
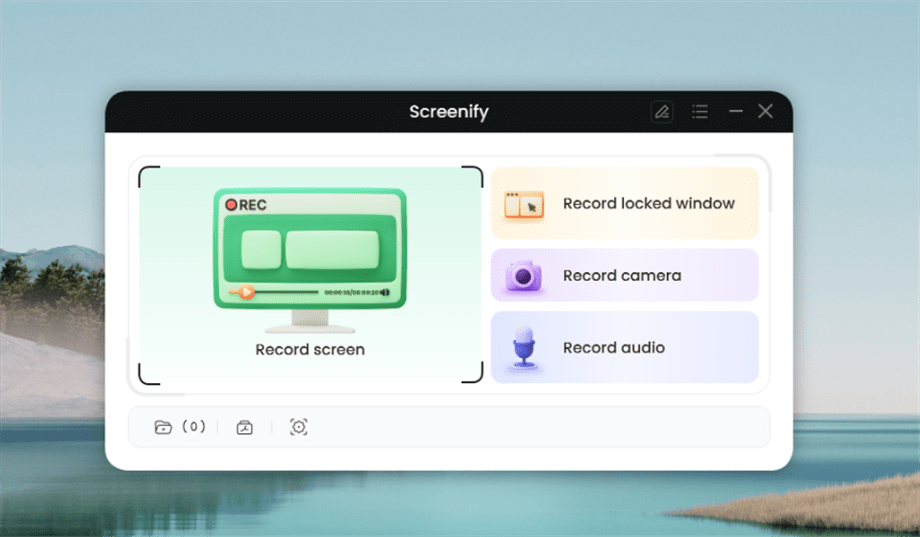
Select Record Screen Mode
Step 3. Adjust your recording settings, especially the audio options, to ensure clear sound from both sides.
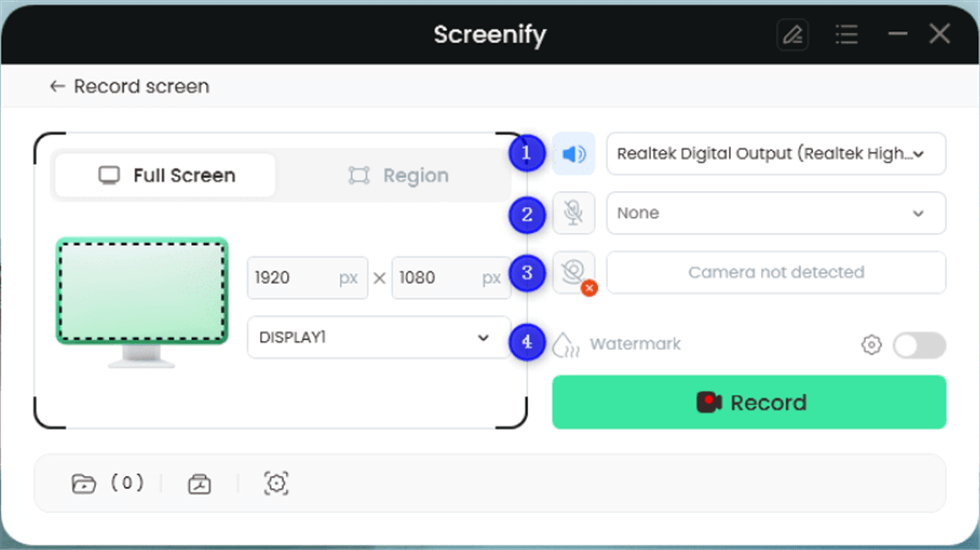
Record Setting
Step 4. Select the area you wish to record. You can choose “Full Screen” or drag to select a specific location. Resize the recording area if necessary, especially for social media, before clicking “Record.”
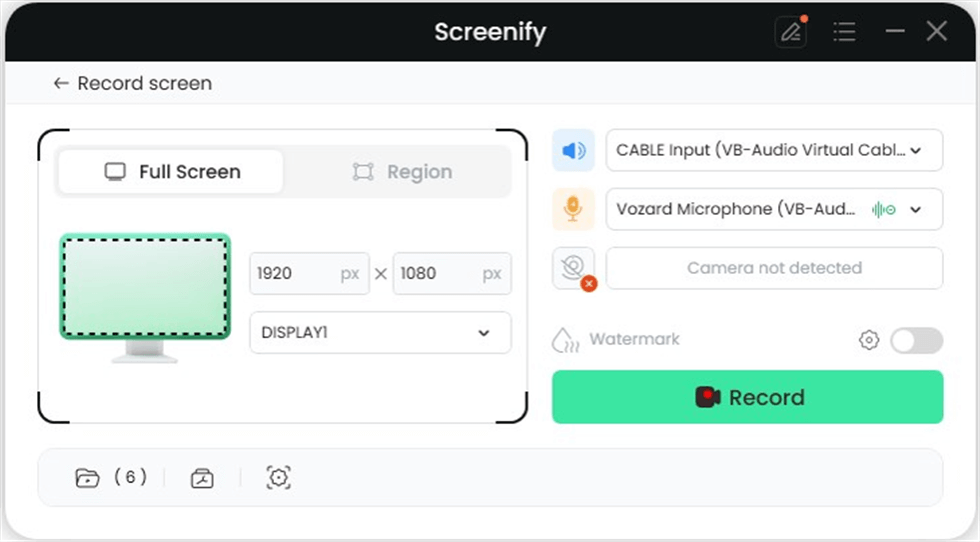
Full Screen
Step 5. A countdown timer will show for three seconds, giving you time to prepare for recording.
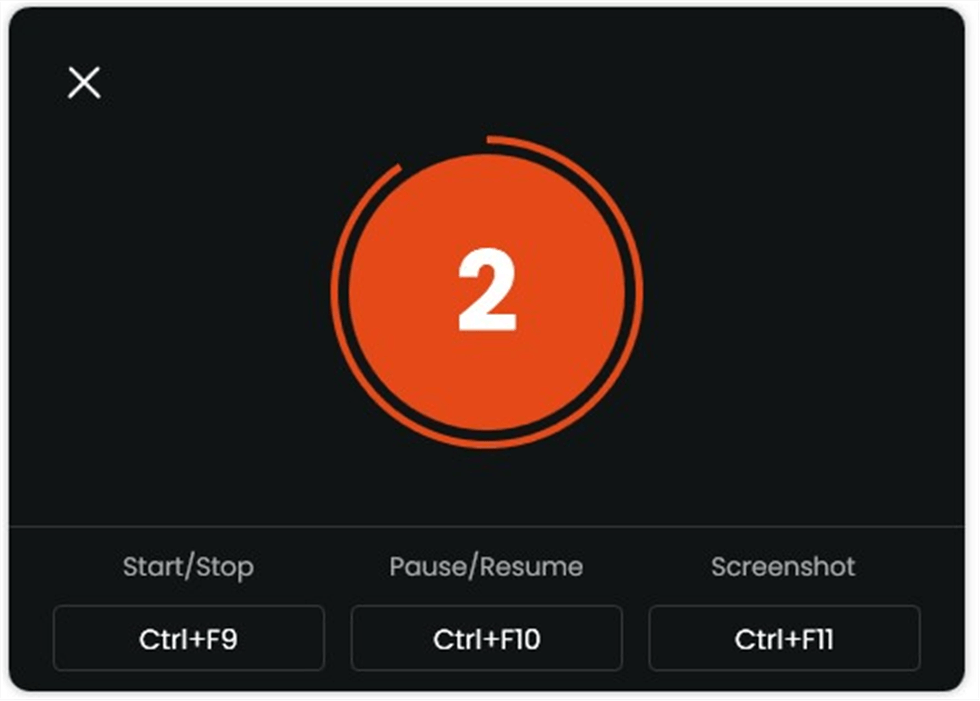
Start recording countdown
Step 6. After the countdown, your recording will start. If needed, you can add annotations or notes during the session.
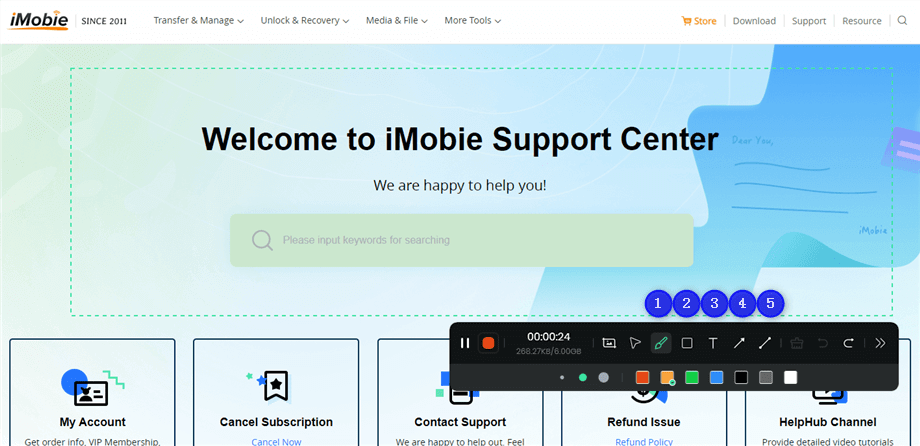
Annotate the Screen during Recording
Whether creating tutorials, broadcasting live streams, or creating promotional videos, Screenify is a good solution to meet your every need.
Part 4: Frequently Asked Questions
1. Is there an Adobe app for recording?
Indeed, Adobe has several recording applications, such as Adobe Captivate and Adobe Premiere Pro. Adobe Captivate is an application designed for screen recording to develop interactive eLearning materials and can quickly capture the user’s device’s screen. On the other side, Adobe Premiere Pro, a video editing software, can perform the best screen recording.
2. How do you take a screenshot in Adobe?
To capture the desired area, choose ‘Edit > More > Take A Snapshot’. You’ll be asked to draw the area with the mouse. Press Escape to cancel.
3. How can I activate my screen recorder?
To record the computer screen using Adobe Captivate, open the program and click the “Record a New Project” button. In other recording tools, you only need to run the application and follow the steps indicated on the interface. Many programs allow keyboard shortcuts, so check the documentation for specifics.
Conclusion
This article explored how to record your screen using Adobe Screen Recorder effectively. We covered its features, provided a step-by-step guide for recording, and discussed alternatives like Screenify. This tool is user-friendly and offers high-quality recordings without interruptions. For a seamless recording experience, we highly recommend downloading and using Screenify. It’s an efficient option for all your screen recording needs, ensuring professional results every time.

Joy Taylor


Senior writer of the iMobie team as well as an Apple fan, love to help more users solve various types of iOS & Android-related issues.
Screenify
AnyEnhancer
FocuSee
Vozard
AnyMiro
AnyMirror


