How to Recover Permanently Deleted Files in Windows 10
Lost your files? Dive into “How to recover permanently deleted files in Windows 10” with 6 effective solutions and practical tips to ensure your data is never lost again.

Are you faced with the daunting task of recovering permanently deleted files in Windows 10? Accidentally deleting an important document or irreplaceable photo can be distressing, especially when you realize they are seemingly gone forever. Whether due to accidental deletion, a system crash, or a formatting error, the loss of important files can disrupt work and personal projects.
Fortunately, Windows 10 offers a variety of ways to retrieve these files, from leveraging built-in recovery tools to utilizing third-party software solutions. In this guide, we’ll explore effective strategies for recovering permanently deleted files in Windows 10, ensuring you have the best chance of recovering your valuable data.
Method 1: File History (if enabled)
Windows 10 has a built-in feature called “File History” that can sometimes save copies of files.
You can use File History to recover deleted files in Windows:
①Type “File History” in the Windows search bar and select “Recover files with File History”.
②Browse different versions of the file and restore the version you want.
Method 2: Restore Personal Files
Open Control Panel, select System and Security, click File History, and then select Restore personal files in the left sidebar. After the restoration is complete, check whether the target file is restored.
Method 3: Use professional data recovery software (such as Glary File Recovery)
Glary File Recovery is a free file recovery software developed by Glarysoft, designed to help users recover accidentally deleted files from computer hard drives, external storage devices or mobile devices. Glary File Recovery can recover files from Windows 10 systems.
Main features:
- Compatibility: Glary File Recovery supports multiple Windows operating systems including Windows 10, and is suitable for 32-bit and 64-bit versions.
- File recovery: It can recover files that have been deleted, lost, formatted, or lost due to system failure, including various types of files such as documents, pictures, audio, video, etc.
- Multiple storage devices: Supports data recovery from hard drives, USB flash drives, SD cards, and other external storage devices.
- Scan and recovery: Provides deep scan and quick scan options to better find and recover lost data.
Steps for Glary File Recovery to recover files:
Step 1. Download and install Glary File Recovery and follow the installation instructions to set it up on your Windows PC.
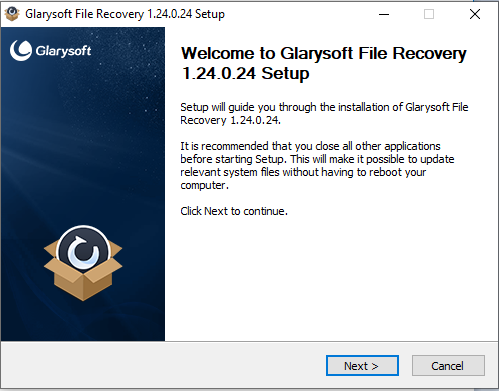
Download and Install Glarysoft File Recovery
Step 2. Launch the software and select the drive or storage device you want to scan for lost files. Click on the ‘Scan’ button to initiate the scanning process.
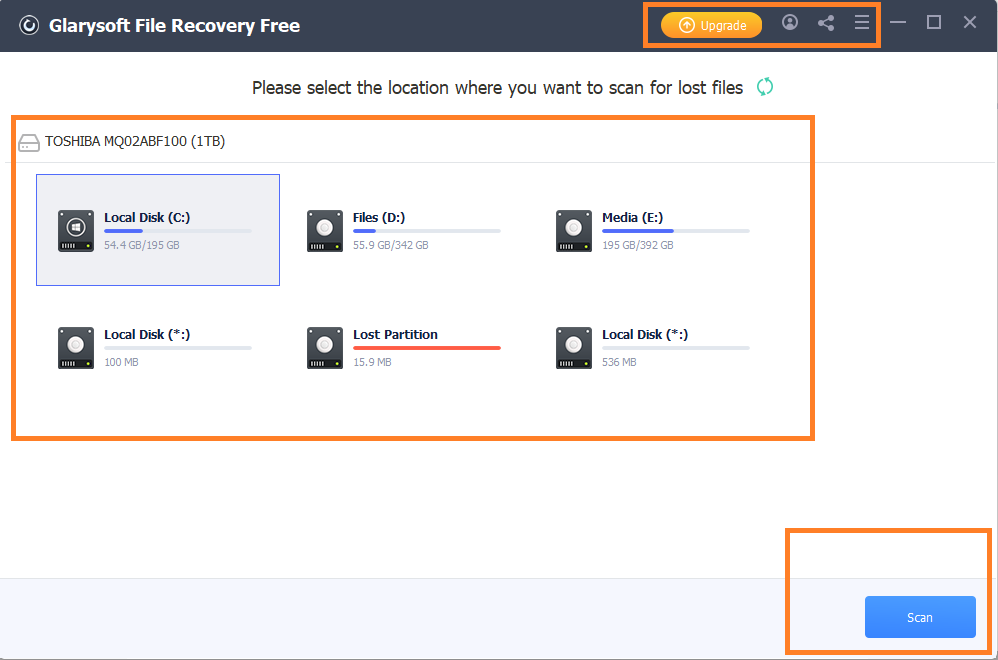
Click the Scan Button
Step 3. Once the scan is complete, browse through the list of recoverable files. Use the preview function to check the files and select the ones you wish to recover.
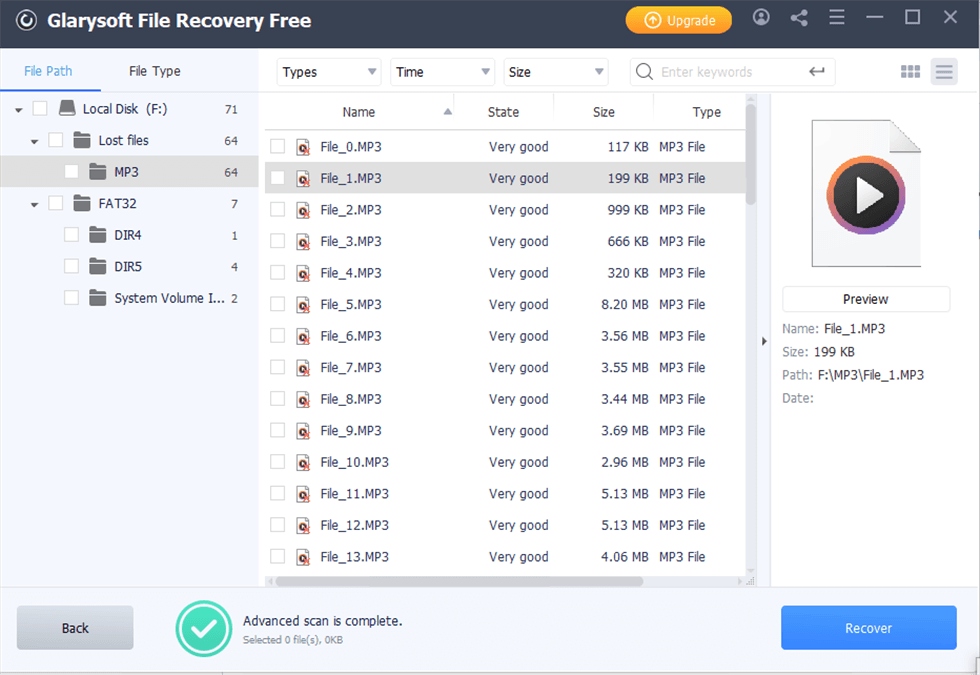
Advanced Scan Results
Step 4. Click on the ‘Recover’ button and choose a destination folder to save the recovered files.
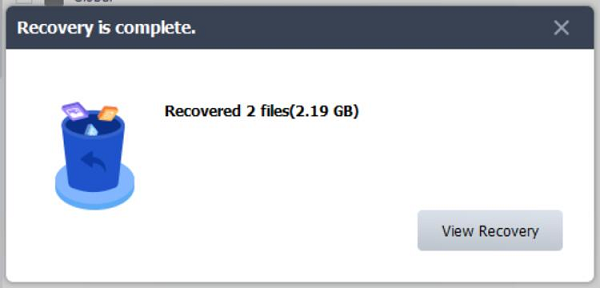
view recovered files
Method 4: Check the Recycle Bin
First, check the Recycle Bin. If you deleted files by mistake, they may still be there.
①Double-click the Recycle Bin icon on the desktop to open the Recycle Bin.
②Search for deleted files. If found, right-click and select “Recover” to restore them.
Method 5: Use Windows File Recovery
Windows File Recovery is a command line tool that can recover deleted files by specifying different recovery modes. Please follow the steps below:
① Download and install the Windows File Recovery tool:
- First, make sure your computer is connected to the Internet.
- Open Microsoft Store, enter “Windows File Recovery” in the search box or directly visit the download page: Windows File Recovery.
- Click “Get” and install the tool.
② Open the command prompt:
In Windows 10, in the search box on the left side of the taskbar, type “cmd” to open the command prompt running as an administrator.
③ Run the Windows File Recovery tool:
In the Command Prompt window, enter the following command to run the Windows File Recovery tool: winfr
If you want to use a specific recovery mode, add the corresponding parameters after the command. For example, to recover files on a local drive using the default mode, you can use the following command: winfr C: D:\Recovery
Note: C: is the drive to be scanned, and D:\Recovery is the destination to save the recovered files. Please modify these parameters according to the actual situation.
If you need to use a different recovery mode, you can add the parameters -r (Segment mode) or -x (Signature mode). The specific commands are as follows: winfr C:
- D:\Recovery -r
- winfr C: D:\Recovery -x
④Wait for the scan to complete:
The tool will start scanning the specified drive and try to recover deleted files. The scanning time depends on the drive size and the number of files.
⑤Check the recovered files:
After the scan is complete, the recovered files will be saved to the destination you specified (such as D:\Recovery). Open the destination and check whether the recovered files contain what you need.
Note:
①Choose the right recovery mode: Choose the appropriate recovery mode (Default, Segment, or Signature mode) based on the situation to increase the chances of a successful recovery.
②Avoid saving recovered files on the original drive: To avoid further overwriting of deleted data, save the recovered files to another drive or external storage device.
Method 6 Recover files using Windows 10 Backup and Restore
①Open the Control Panel:
You can open the Control Panel by pressing Win + X keys and then selecting “Control Panel”.
②Enter the “Backup and Restore (Windows 7)” settings:
- In the Control Panel, click “System and Security”.
- On the “System and Security” page, find and click “Backup and Restore (Windows 7)”.
③Choose to restore files from backup:
In the “Backup and Restore” window, click “Restore my files”.
④Select a backup location:
Windows 10 will display available backups, including local backups and network location backups. Select the backup location that contains the files you want to restore and click “Next”.
⑤Select files to restore:
- On the next screen, Windows 10 will display the files and folders that can be restored from the backup.
- Browse to the folder containing the files you deleted and select the files you want to restore.
⑥Restore files:
- After selecting the files you want to restore, click the “Restore” button at the top of the screen.
- If you want to restore the files to their original location, select “Restore to original location”. If you want to restore the files to another location, select “Restore to” and specify the destination.
⑦ Wait for the recovery to complete:
Windows 10 will start restoring the selected files to the specified location. The recovery time depends on the size and number of files.
Through these methods, you can try to recover permanently deleted files in Windows 10 and reduce the loss caused by data loss.
Final Thought
In conclusion, it is indeed possible to recover permanently deleted files in Windows 10 using the right tools and methods. In this guide, we explored various strategies. Whether you have lost important documents, precious photos, or critical work files, Glary File Recovery provides a simple solution. Remember, taking prompt action and selecting the appropriate recovery mode can greatly increase your chances of successfully recovering your files. Don’t let accidental deletion disrupt your workflow – download Glary File Recovery today and protect your valuable data.
Product-related questions? Contact Our Support Team to Get Quick Solution >
