How to Change/Remove Apple ID Phone Number?
Forgetting the phone number linked to your Apple ID or wanting to change the Apple ID phone number is usually a big hassle! But don’t worry anymore! We’re going to teach you how to change your Apple ID phone number in this post. Please read on>>
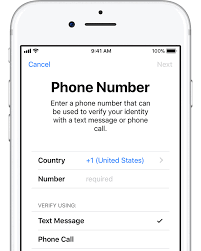
Change Apple ID Phone Number
Do you have issues modifying or deleting your Apple ID phone number? We’ve got you covered, so don’t worry. We’ll walk you through how to change your Apple ID phone number in this article.
We’ll review two techniques for changing your iPhone and Mac phone numbers. What transpires to iMessage when your phone number changes will be covered. Finally, we’ll offer AnyUnlock to you so you can delete your Apple ID without a phone number. So let’s get going and simplify the procedure as much as we can!
Further Reading: How to Find Apple ID Password? >>
How to Add or Change Apple ID Phone Number in Settings?
It’s important to add or change your Apple ID phone number in settings for various reasons. In the first place, it makes sure that your account information is valid and current. This is important if you ever need to reset your password or restore your account.
Additionally, it enables you to access a variety of Apple services. They call for an associated phone number, like iMessage, FaceTime, and Find My iPhone.
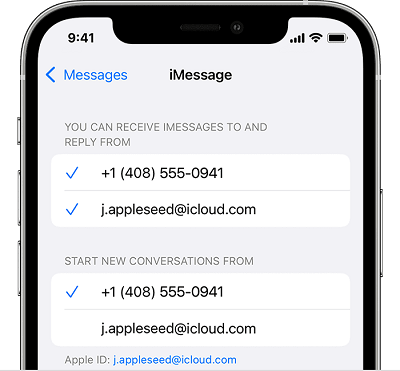
Add or Change Apple ID Phone Number
Scroll below to get to know about the opportunities of changing or removing the phone number of Apple ID!
Option 1. Changing Apple ID Phone Number on iPhone
Here are two options for you to change your password in the settings:
How to Change the Apple ID Phone Number on iPhone?
Step 1. On your iPhone, launch the Settings app, then touch on your name at the top of the screen.
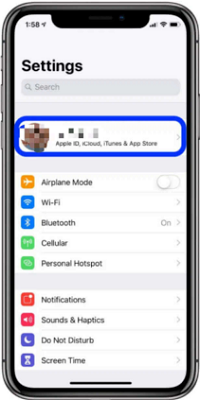
Tap on Name of the User in Settings
Step 2. From the list of choices, pick “Password & Security.”
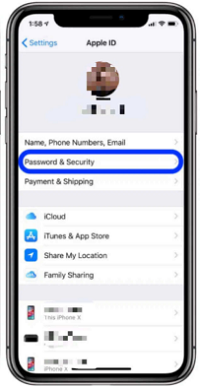
Password and Security in Settings
Step 3. Tap “Edit” to the right of your phone number. After entering your new number, select “Next.”
Step 4. You’ll get a text message with a verification code. On the following screen, enter the code. Then tap “Done.”
There you go! A new phone number has been added to your Apple ID. You can change your trusted phone number if you have activated two-factor authentication. When you sign in, Apple will call this number to provide a verification code.
Option 2. Changing Apple ID Phone Number on Mac
It’s just as vital to update your Apple ID phone number on your Mac as on your iPhone. If you use more than one Apple product, you should update your phone number on each device. You can use iPhone and a Mac to keep your account information current and correct.
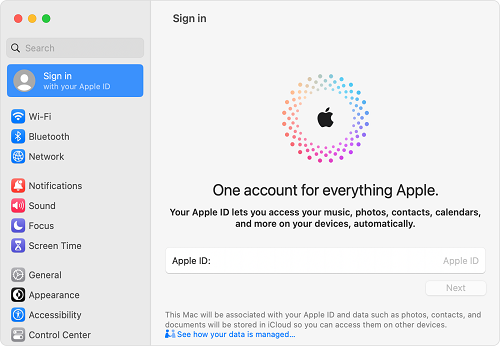
Change Apple ID Phone Number on Mac
Additionally, changing your phone number on your Mac will guarantee that you can use Apple services. It is uninterrupted on your computer, even if your phone number changes.
You can keep your account by updating your phone number on your Mac.
How to Change Apple ID Phone Number on Mac?
1. Launch the Apple menu, then select “System Preferences.”
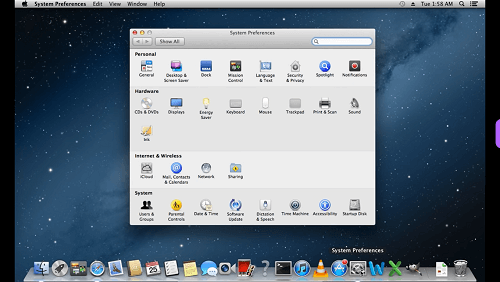
System Preferences on Mac
2. Toggle to “Apple ID” > Enter your Apple ID and password if asked > select “Password & Security.”
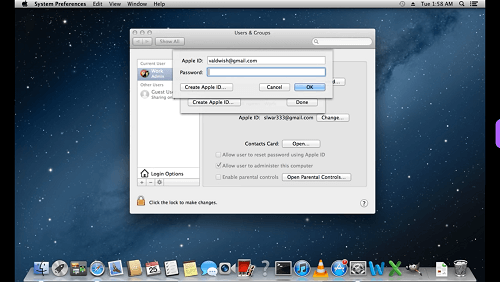
Enter Apple ID on Mac
3. Next to the phone number, click “Edit.” > Enter your new number, and select “Next.”
4. You’ll get a text message with a verification code. On the following screen, enter the code.
5. To save your new phone number, click “Done.”
There you have it! On your Mac, your Apple ID phone number has been changed. You can require to change your trusted phone number. It is possible if you have two-factor authentication activated.
What Happens to iMessage if I Change Number?
If you change your Apple ID phone number, you know what happens to your iMessage discussions. What you need to know is as follows:
If the phone number linked to your Apple ID changes, iMessage will automatically update. It is done by using the new number. This indicates that with your new phone number, all of your previous iMessage chats will remain accessible.
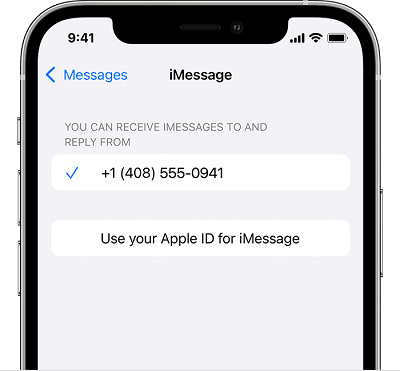
Change the Number to see Changes in iMessage
However, you must manually change your phone number on each Apple device. It is only if you own more than one, such as an iPhone, iPad, or Mac. This is crucial since some of your devices cannot receive iMessage notifications. You can’t get messages if you don’t change your phone number across all of them.
It’s also crucial to remember that you have to alter your trusted phone number. It is only if you have a two-factor authentication setup. You can log in to your account from a new device or browser. Then Apple will email you verification codes using this phone number.
Remove Apple ID without a Phone Number Easily via AnyUnlock [Easy &Fast]
Deleting an Apple ID without a phone number can be difficult. It is especially if you’ve forgotten your password. It is done when you can’t contact the phone number linked to your account. AnyUnlock can help with this.
With the potent professional tool AnyUnlock – iPhone password unlocker, you can unlink an Apple ID from your iPhone. You can do this without providing a phone number. AnyUnlock offers a clean iOS unlock interface that makes your operation easy and quick.
- 1-click to permanently remove Apple ID lock, no need to enter password. Operate at home by yourself.
- Fully cover all iPhone/iPad models, and all iOS versions. You don’t need to worry about system or model support issues. iOS16 & iPhone 14 included.
- 100% success & 100% secure. You never have to worry about your personal information being leaked.
- Apart from unlocking Apple ID, it also helps you unlock the screen time passcode, bypass the iCloud activation lock, and remove the SIM lock, among other features.
Free get AnyUnlock and ready to unlock Apple ID follow the guide below:
Free Download * 100% Clean & Safe
Step 1. Download and launch AnyUnlock on your computer. > Select the “Unlock Apple ID” option.
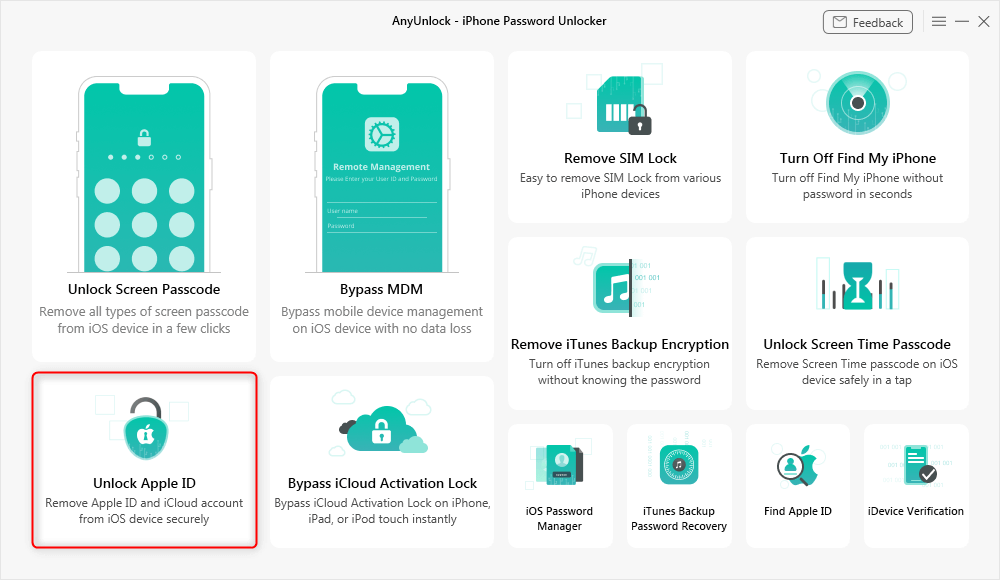
Click Unlock Apple ID from the Homepage
Step 2. Click “Unlock Now” after using a USB cord to connect your iPhone to your computer.
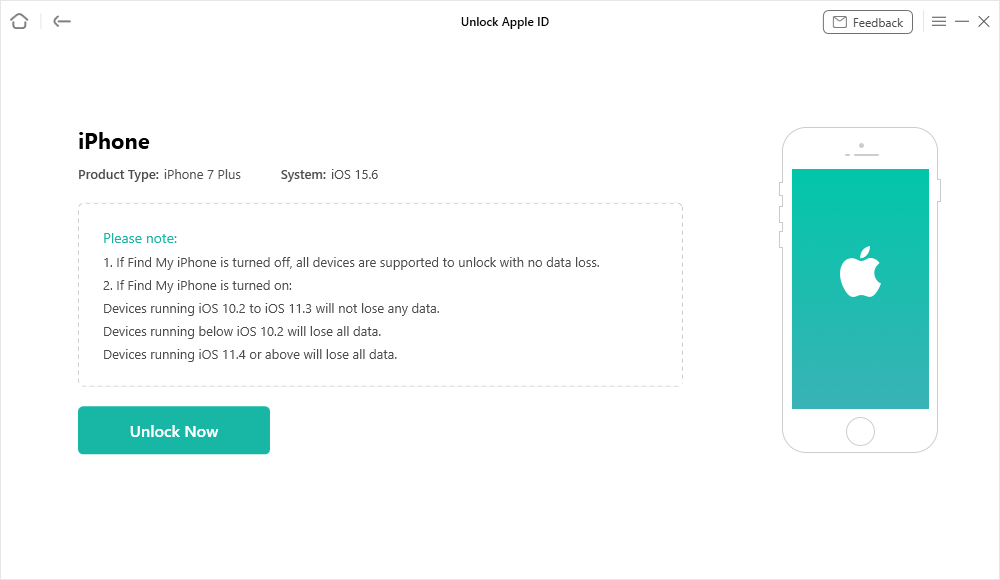
Click Unlock Now Button
Step 3. Next, AnyUnlock will remove Apple ID automatically. When the removal process is completed, you will see the interface below.
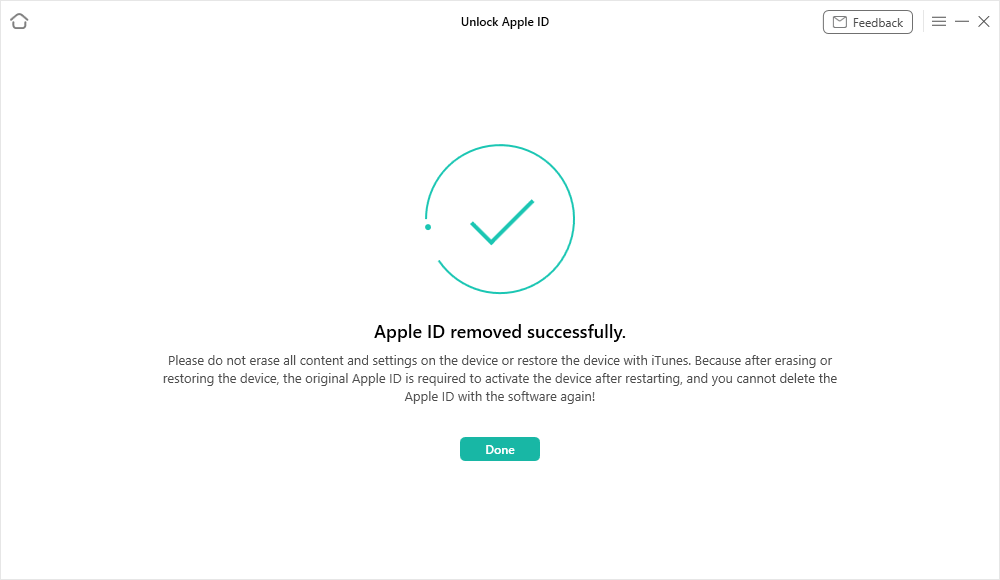
Apple ID Removed Successfully
If Find My iPhone is turned on or Two-Factor Authentication is enabled, you can click here and follow the guide to unlock your Apple ID. And after Apple ID is removed successfully, please do not erase all contents and settings on the device or restore the device with iTunes.
The Bottom Line
Adding or changing your Apple ID phone number is essential. Because doing so is helping you to reclaim control of your device and safeguard your account. Changing your phone number is a straightforward operation that can be done fast and efficiently.
Removing your Apple ID without a phone number is also a crucial task. It is done if you’ve forgotten your password or lost access to the phone number that was connected to it. With the aid of the AnyUnlock, you can quickly and easily delete your Apple ID in a few clicks.
Free Download * 100% Clean & Safe
Product-related questions? Contact Our Support Team to Get Quick Solution >

