How to Trim/Cut Videos on iPhone
If you do not want a part of a video on your iPhone, our guide below would teach you how to trim a video on your iPhone. Trimming helps you cut the unwanted parts from your videos so you have only the best scenes in your files.
For many users, video capture just happens spontaneously. You are on a beach and suddenly you see something interesting and you start recording it. We have all been there. While doing this is completely fine and there are no issues, sometimes you end-up recording certain things in your videos that you do not want in the final version of your file.

Trim/Cut Videos on iPhone
At those times, you will want to trim or cut those parts from your video file. Fortunately, as long as you use an iPhone, you have multiple free video trimmer options available for you. You can use the built-in apps, an Apple-developed app, or even third-party apps to cut videos on your iOS-based device.
Regardless of what method you use, the procedure to trim a video on an iPhone is extremely easy. All you basically need to do is select the video that you want to trim, define the start and the end part of the clip you want to trim, and you are all set. Your chosen app will have that part removed from your video file and save the resulting video on your device.
Part 1. Cut iPhone Videos with Photos
If you prefer not to install an app to cut videos on your iPhone, you can use the built-in Photos app to do the task. This app has received significant updates in the past few months and these have brought many new features including the improvements to the trimming feature.
Since the Photos app is where normally most people store their videos, you will not have to go around looking for the file you want to trim. The following shows how to cut a video using Photos on an iPhone.
Step 1. First, tap and launch the Photos app on your iPhone. Then tap on the album where the video you want to cut is located. Most videos are usually located in the default Videos album.
Step 2. Choose the video you want to edit from your selected album and it will open in full-screen. Then, tap on the edit icon at the bottom bar to edit your selected video. In iOS 13, the edit button is on the upper right.

Use the video editing options in Photos
Step 3. The following screen lets you define both the start and end points for your video. Drag the left sidebar to where you want for the video to start and use the right slider to choose an end point for your video. When you are done, tap on Done at the bottom-right corner to save your changes.

Trimming a video in the Photos App for iOS
Your video will now only have your chosen part. In iOS 12 or earlier, the Photos app saves the edited file as a separate video file so you still have your old file available in the app on your iPhone. While in iOS 13, only the edited video will be saved.
If you need the shorter version of the video somewhere, you can use the newly edited file. When you need the full version of your file, you can choose the full video file in the app.
Part 2. Cut iPhone Videos with iMovie
For users who have a higher requirement to video editing, iMovie is a good choice. It is a video editing app developed by Apple and it lets you trim and cut videos for free on your iOS-based devices. It can be downloaded from the App Store to then edit videos on your device.
Here we show you how to clip a video on an iPhone using the iMovie app:
Step 1. Generally, iMovie is built in your iPhone. If your iPhone does not have this app, go to the App Store to download and install iMovie on your iPhone. It is free and downloads in a jiffy.
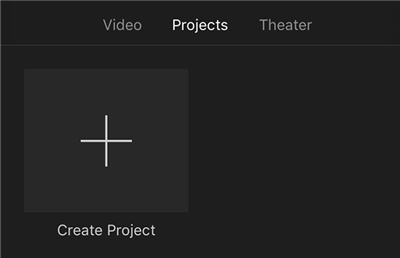
Step 2. Launch the app when it is installed. On the main interface, you will find three tabs at the top of your screen. Select the tab that says Video as you want to cut a video on your iPhone.

Accessing the Videos Section in iMovie for iPhone
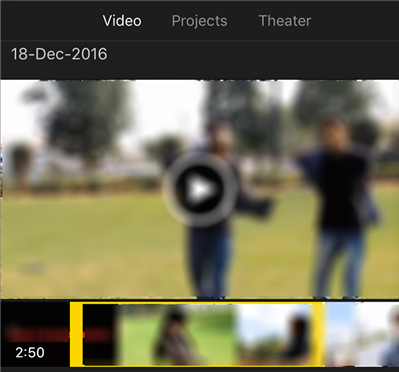
Step 3. Tap on the video you would like to cut and it will open in iMovie video editor. Both at the beginning and at the end of the video you will see yellow sliders. Use these sliders to adjust your clip, trim and cut it, and iMovie will get it done for you.

Cutting a Video in the iMovie App for iPhone
Your chosen file will be trimmed and saved on your iPhone’s storage. If you want, you can also share this edited file directly to various platforms right from within the iMovie app.
Part 3. Cut iPhone Videos with Third-Party App
It would be a very rare case where you will need a third-party app to trim videos on your iPhone. However, if that is the need, let us fulfill it. There are a ton of video editing apps available to help you cut videos on your iPhone and you can use any of those to your task done.
In the following steps, we are going to use a completely free video editing app called Quik to cut videos on your iPhone.
Step 1. Launch the App Store on your iPhone, search for Quik, and tap on Get to download and install the app on your device.
Step 2. Launch the app once it is installed. You will be asked to provide the app with access to your video files. Allow it.
Step 3. When the main interface opens, you will find a + (plus) sign at the bottom. Tap on it to add your video to the app.

Add a Video to the Quik app
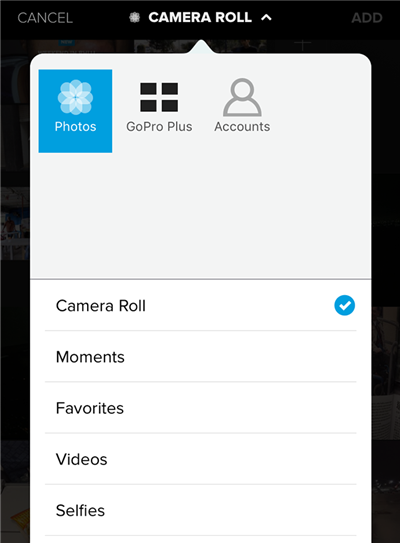
Step 4. You will see your Camera Roll items on the following screen. Tap on the down-arrow icon at the top and select the option that says Videos to view your videos.

Access Videos in the Quik App
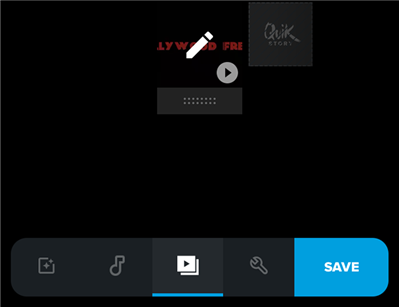
Step 5. Select the video you want to cut and then tap on Add at the top-right corner. Then, tap on the media icon on the following screen and select the edit icon in the middle.

Accessing the Editing Options in Quik
Step 6. Tap on Trim on the following screen and it will let you trim your video according to how you want to trim it. Tap on OK when you are done to save the changes.

Trim a Video with Quik on iPhone
Your trimmed video should be available in Photos on your iPhone.
The Bottom Line
There are multiple options to trim a video on an iPhone, and if you are not aware of these, our guide above should teach you how to use these methods.

Joy Taylor


Member of iMobie team as well as an Apple fan, love to help more users solve various types of iOS & Android related issues.
Screenify
AnyEnhancer
FocuSee
Vozard
AnyMiro
AnyMirror


