Detailed Guide to Put Your iPad in DFU Mode
Are you tired of searching out easy and quick methods to put the iPad in DFU mode? If yes, you don’t need to search anymore as we are here with easy-to-follow methods that will help you put iPad in DFU mode without any hassle. Read on and learn everything about putting your iPad in DFU mode!
Like any other piece of hardware, your iPad can anytime run into some random issues. These issues can range from simple to complex depending upon their resolving methods. For most of the quick fixes, simply force-quitting an application or restarting the iPad solves the problem, and in some, turning on and off the Airplane mode may help. But what if your iPad is stuck in a more pressing issue? Well, in such a case, you may need to put the iPad in DFU mode.
Putting an iPad in DFU mode helps to diagnose and resolve some pressing iOS related issues, but it is more commonly used for those who participated in jailbreaking their devices. So, if you have jailbreak your iPad or looking for methods to fix severe iPad issues, then entering in DFU mode will help you.
In this guide, we’ll let you know how you can easily put iPad in DFU mode, and as a bonus tip, we will also offer you a brief step-by-step guide on “How to fix iPad won’t go into DFU Mode”!
Let’s start then, but before moving to “How to put iPad in DFU mode with iTunes,” it’s better to get an insight into what DFU mode is and how it is different from Recovery Mode on your iPad.
What Is DFU Mode on iPad?
DFU stands for Device Firmware Update. It is basically a mode or a setting in each iPhone or iPad that helps users diagnose and solve severe iPhone-related issues. In DFU or Device Firmware Update Mode, the device is held in a state of limbo; it’ll be turned on but not yet booted into iOS. This will allow you to make specific changes to the operating system before it starts running.

What Is DFU Mode on iPad
Many iPad users usually confuse DFU mode with Recovery Mode, but in reality, they both are different from each other. The main difference between these two rests in iBoot. Recovery Mode uses iBoot during upgrading or restoring your iPhone, whereas the DFU mode bypasses the iBoot to help you downgrade the current firmware because there isn’t any iBoot agent during the DFU mode.
Now, when it comes to why users need to put iPad in DFU mode, then here are the top reasons:
- Downgrading iOS
- Jailbreaking
- Un-Jailbreaking
- Removing old beta software
- iPhone won’t boot
Now, let’s have a look at how to put the iPad in DFU Mode with iTunes!
How to Put iPad in DFU Mode?
Putting iPad in DFU Mode might sound pretty challenging, but in reality, it is not that tough as it sounds. In fact, the process of putting the iPad in DFU Mode is somewhat similar to that of the iPhone, with just a few changes in the workflow.
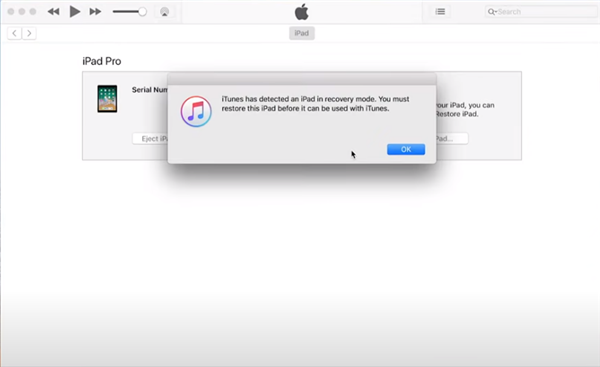
How to Put iPad in DFU Mode
So, here’s how you can put the iPad in DFU Mode and restore with iTunes.
1. Plugin your iPad into PC or Mac with Lightning cable.
2. Make sure iTunes or Finder recognizes your iPad.
3. Long press the Power button and Home button for few seconds until the screen turns black.
4. Once the screen turns black, release the Power button but continue holding the Home or Volume Up button.
5. Continue holding the Home or Volume Up button until you see your iPad in iTunes or Finder again.
Continue holding the Home or Volume Up button until you see your iPad in iTunes or Finder again.
How to fix iPad Won’t Go into DFU Mode?
Is your iPad not going into DFU Mode? If yes, then there might be some system-related issues that you need to fix in order to get your iPad into DFU Mode. Now, when it comes to fixing the system-related issues in your iPad, AnyFix is also the most recommended tool. This amazing iOS repairing tool works flawlessly to repair your iOS related issues within a few seconds.
Here’s how AnyFix works to fix your iPad so that it can go into DFU mode!
Step 1. Install AnyFix’s latest version on your PC and launch it. Next, you will see the interface as shown below. Here, choose the System Repair option.
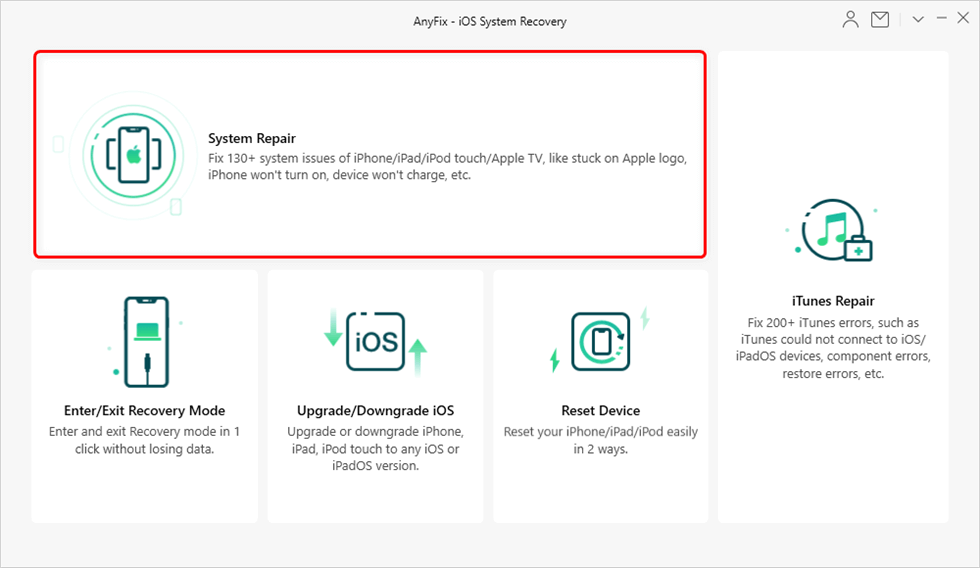
Tap on System Repair
Step 2. Now, choose 40+ iPad Problems and then click on Start Now to continue.
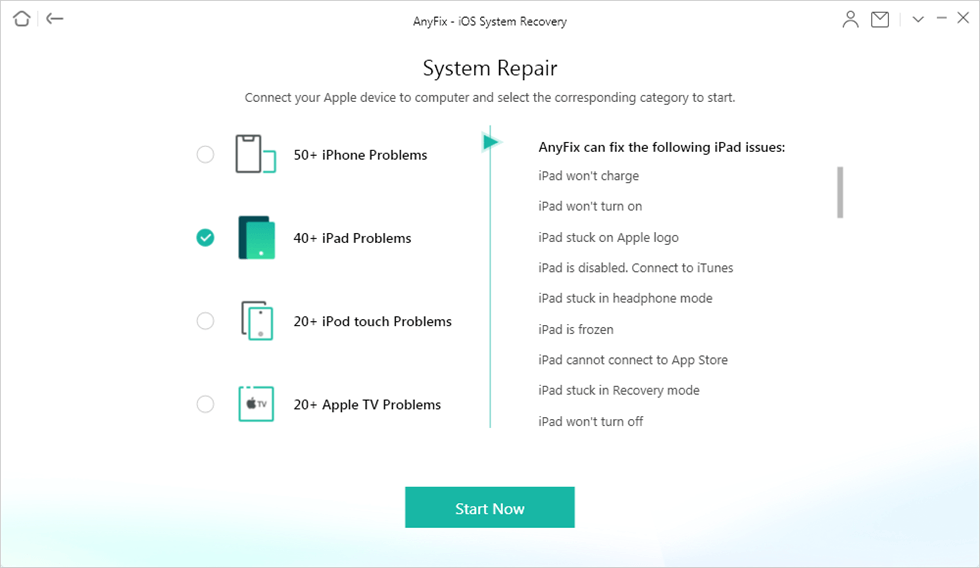
Click 40+ iPad Problems in System Repair
Step 3. Here, choose Standard Repair that will fix the most common system-related issues, and no data will be erased. Next, hit the Download button to download the matching firmware. Once the firmware gets downloaded, click on Fix Now button to proceed.
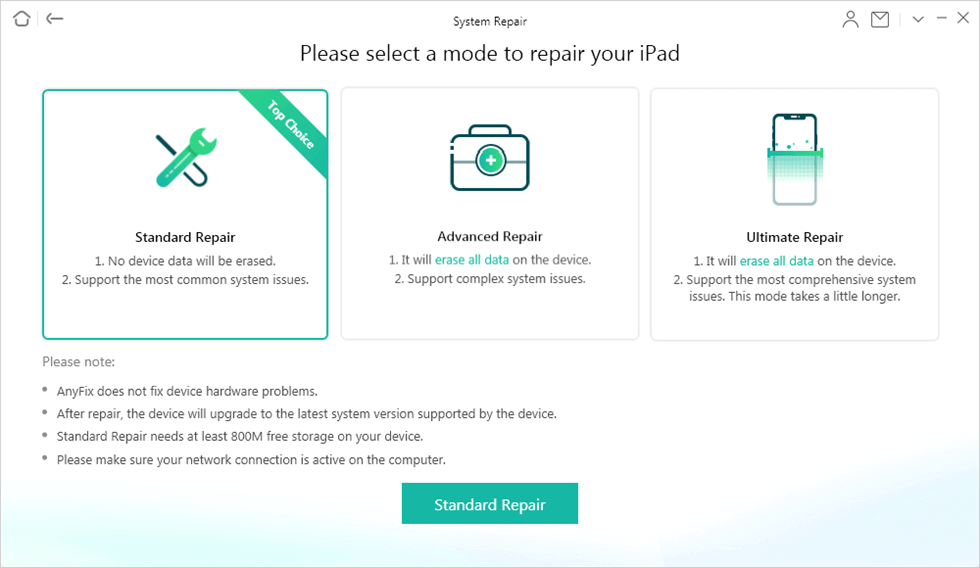
Choose Standard Repair in System Repair
Step 4. Finally, AnyFix will start repairing your iPad automatically. Once it’s done, you will see the Repair Completed page. Your iPad will now get restarted and back to normal.
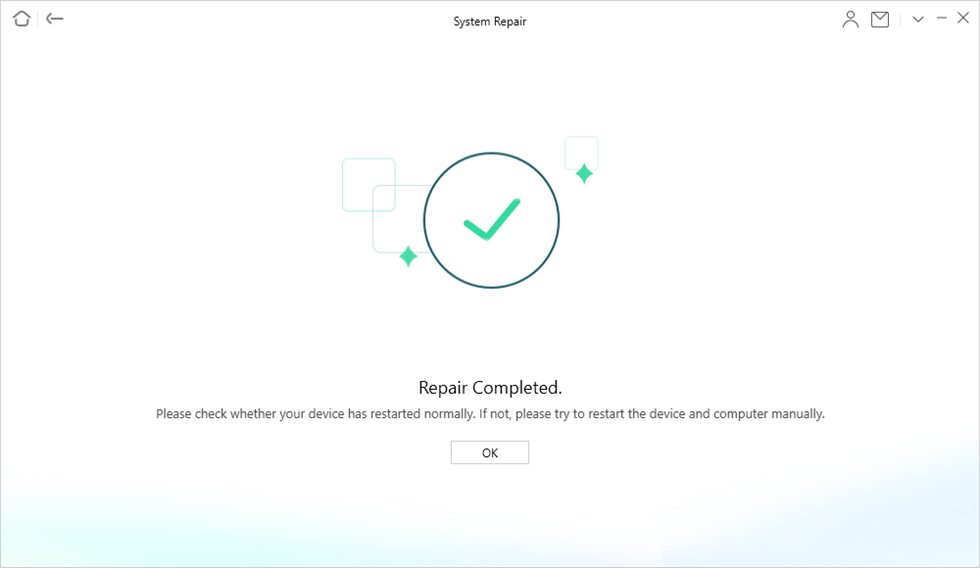
System Repair Completed
Now, you can check if you’re able to put your iPad into DFU Mode.
Bonus Tip. How to Put iPad in Recovery Mode without iTunes?
Putting your iPad in Recovery Mode without iTunes might seems to be an impossible task but with AnyFix, you can easily do so. AnyFix is a top-notch tool that allows users to enter and exit Recovery Mode in just 2 steps. The best thing about AnyFix is that it helps users to enter and exit Recovery Mode without iTunes.
Free Download * 100% Clean & Safe
So, here’s how to use AnyFix to put your iPad into Recovery Mode without iTunes:
Step 1. Download and install AnyFix in your PC. Once you open it, you will see the interface where you have to select the Enter/Exit Recovery Mode option.
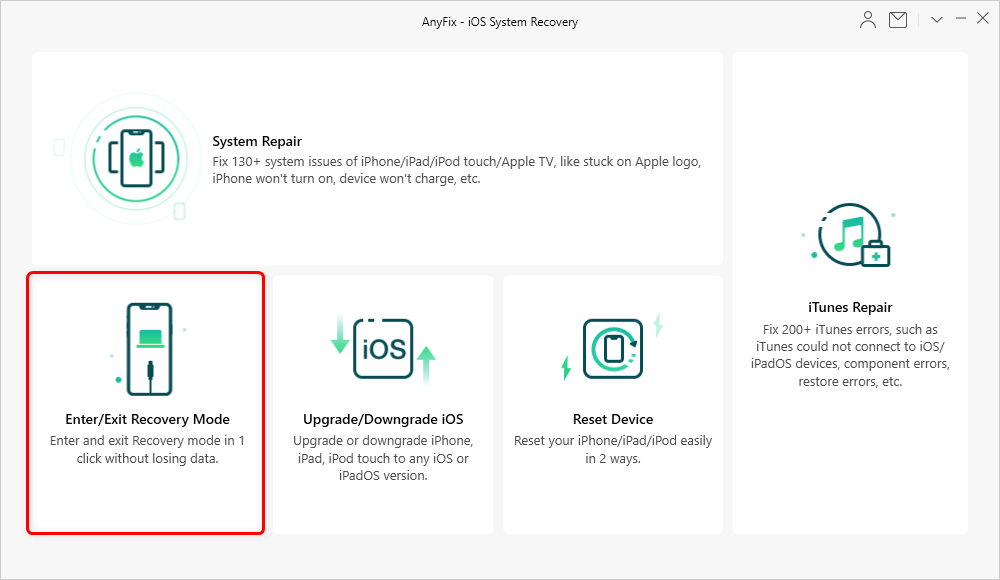
Choose Enter/Exit Recovery Mode
Step 2. After choosing the “Enter Recovery Mode” option, click on “Enter” and wait for the entering process.
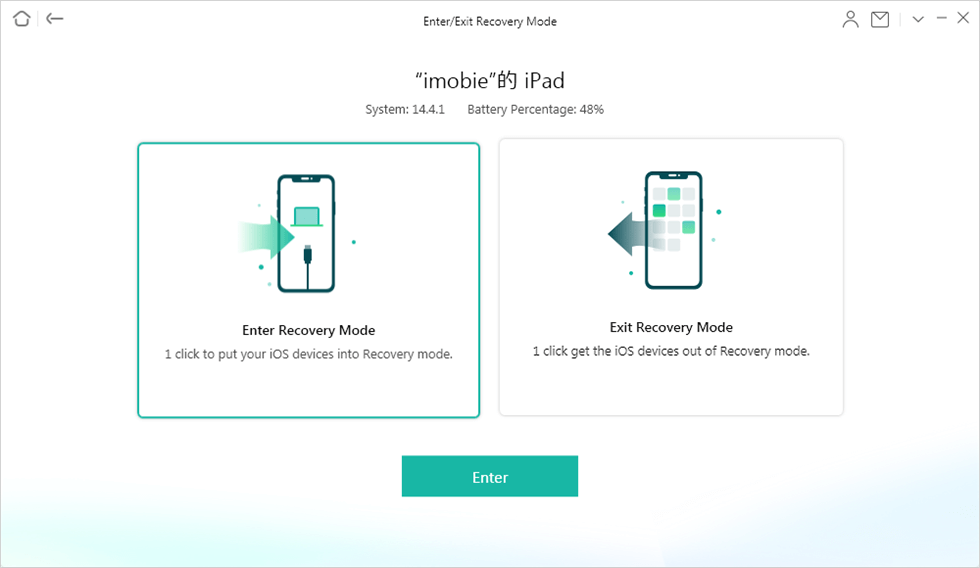
Put iPad in Recovery Mode
After entering into the Recovery Mode, “The device is in recovery mode” interface will be displayed. Using AnyFix to put iPad in Recovery Mode without iTunes is this easy and hassle-free! So, install AnyFix now and experience quick results.
The Bottom Line
DFU Mode can help you resolve a handful of iOS-related issues involving getting you back on track with a stable version of iOS. So, learn how to put the iPad in DFU mode by referring to the guide above and solve the severe iPad-related issues with ease. However, the steps of putting your iPad in DFU Mode can be pretty tricky but keep trying until you get it right. Also, if your iPad is not entering into DFU Mode, use AnyFix to fix your iPad’s system-related issue. This is the best tool that comes in handy when it comes to fixing iOS system-related issues.
Product-related questions? Contact Our Support Team to Get Quick Solution >

