Whether you encounter the similar situations below?
“I would like to record the audio coming from my microphone, can your software help me?”
“Is there a way can help me record the sound of the video playing on my computer?”
If you just encounter the similar situation above, don’t worry. You can try the Record Audio mode to solve this issue. Let's take a look at how to record audio with Screenify.
Computer System Requirements
Windows OS
Windows 11, 10, 8.1, 8, 7 (64bit)
macOS
macOS 10.13 (High Sierra) and above
Step 1. Download and Install.
Download and install Screenify on your Windows or Mac computer. Please make sure the network is stable while downloading and installing Screenify.
To know more information about how to download and install Screenify, please refer to this detailed guide.
Step 2. Choose Record Audio Mode.
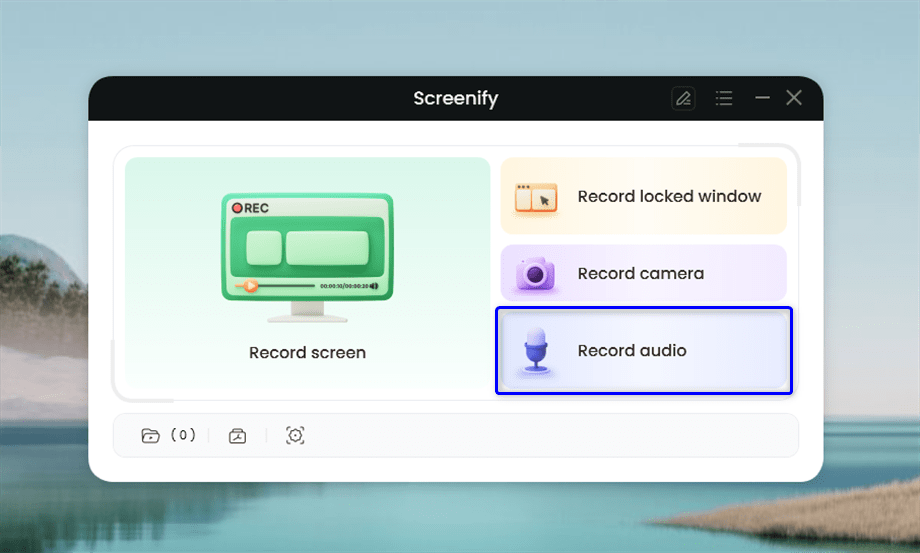
After Screenify is installed on the computer, please launch the program. Then, please choose the Record audio mode.
Choose the Record Audio Mode
1. If your macOS version is higher than 10.14, you will be required to allow microphone access to record audio because of the privacy policy of macOS.
2. If you're using a Mac computer, you'll need to install an audio driver to record system sounds due to permission restrictions.
Step 3. Select the Speaker/Microphone.
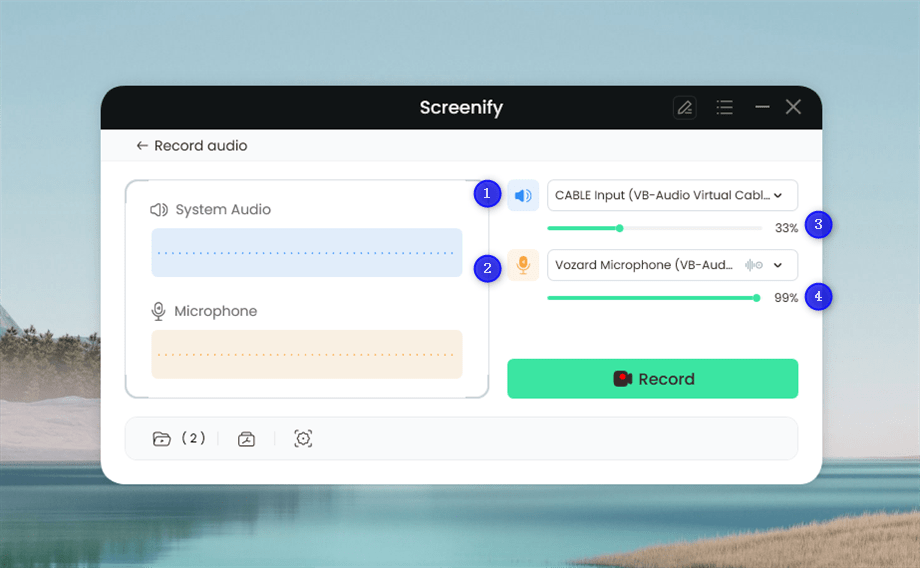
After you choose the Record audio mode, you will see the following interface. Then, please select the desired speaker or microphone devices for your recording.
Select the Speaker or Microphone
In this interface, you can:
1 Choose system audio.
2 Choose microphone audio.
3 Adjust the volume of system audio.
4 Adjust the volume of microphone audio.
Step 4. Wait for the Recording Countdown.
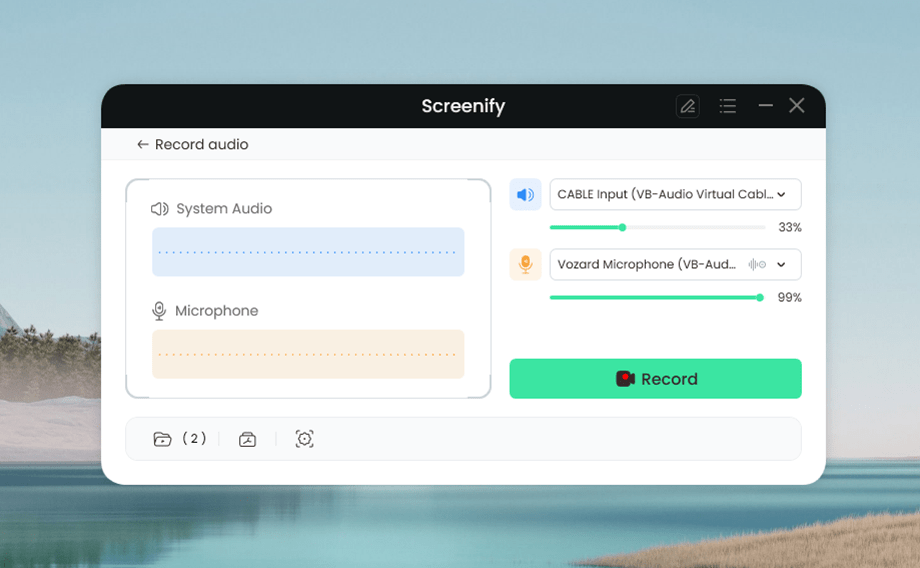
After choosing the record audio device, please hit the Record button to initiate recording.
Click the Record Button
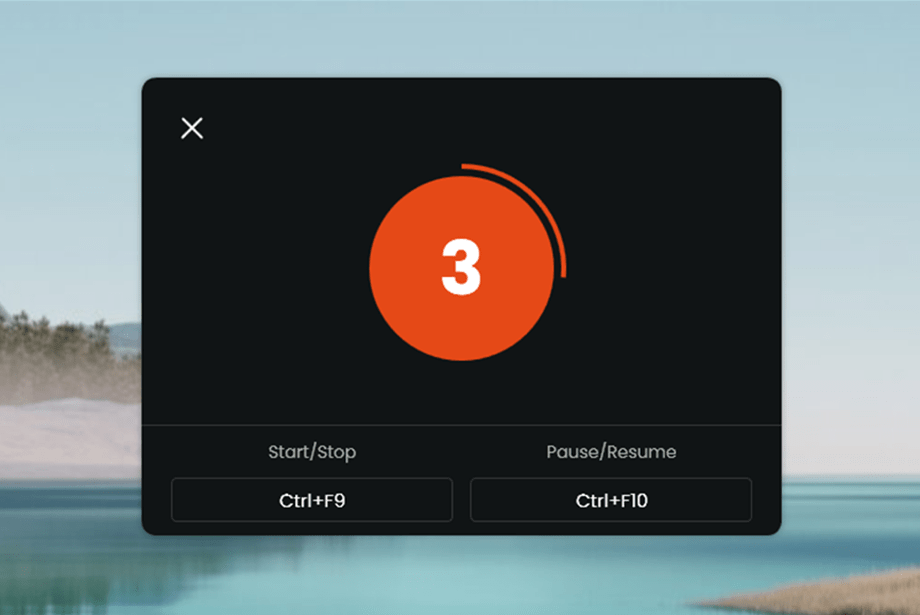
Once you are ready to start recording, it will pop out a countdown to help you prepare the recording.
Wait for the Recording Countdown
If you would like to see a recording countdown before your recording starts, you can enable the countdown option. Or you can tap it off. Please refer to this post to know how to set the countdown option.
Step 5. Start Recording.
After a 3-second countdown, the recording will begin. And you will see the following interface.
Start Recording
In the bottom sidebar, you can:
1 View recording consuming time.
2 Stop recording.
3 Pause or resume recording.
4 Collapse or unfold the sidebar.
Step 6. Complete the Record Audio Process.
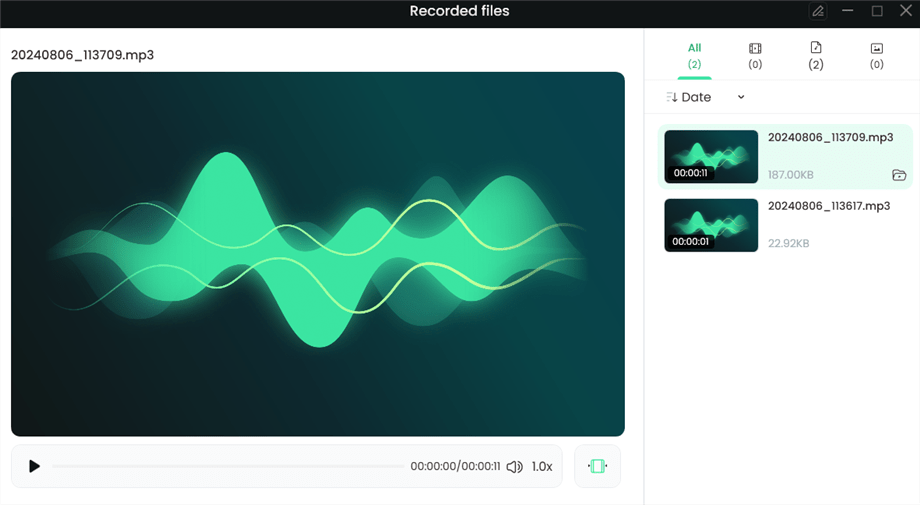
Once the recording is done, you can click the Stop button to end the recording. You can preview the recorded file upon completion.
Click the Stop Button
1. You can refer to this detailed guide to know how to manage recorded files.
2. If you still have questions after reading this guide, please refer to FAQs page to check more solutions. Or you can contact our Support Team to get further help. We are here to help you!
iMobie Self-Service
Welcome to iMobie Self-Service. Choose a category or input keywords for swift solutions!😊
End conversation
Do you want to end the conversation? If you need further help , please submit a ticket to get efficient solution soon.
 Screenify
 AnyEnhancer
 FocuSee
 Vozard
 AnyMiro
 AnyMirror