The Recorded File feature allows you to efficiently organize and manage all the files recorded using Screenify, including audio, video and screenshot. With this feature, you can easily preview, categorize, delete, rename, and cut your recorded files, ensuring that all content is well-organized and easily accessible, thereby enhancing your productivity.
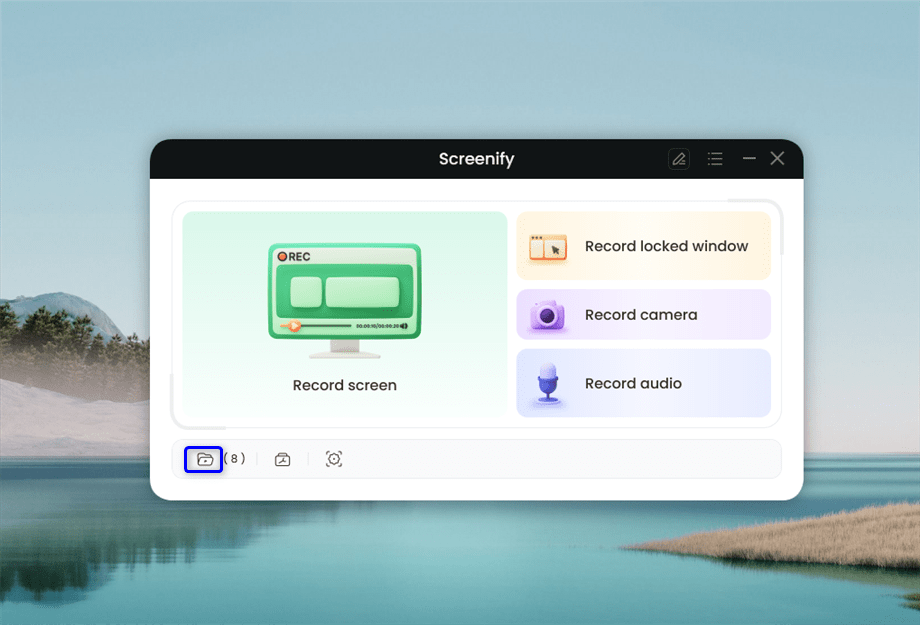
When the recording is finished, you can click the Recorded Files option to view file list in the interface.
Click the Recorded Files Option
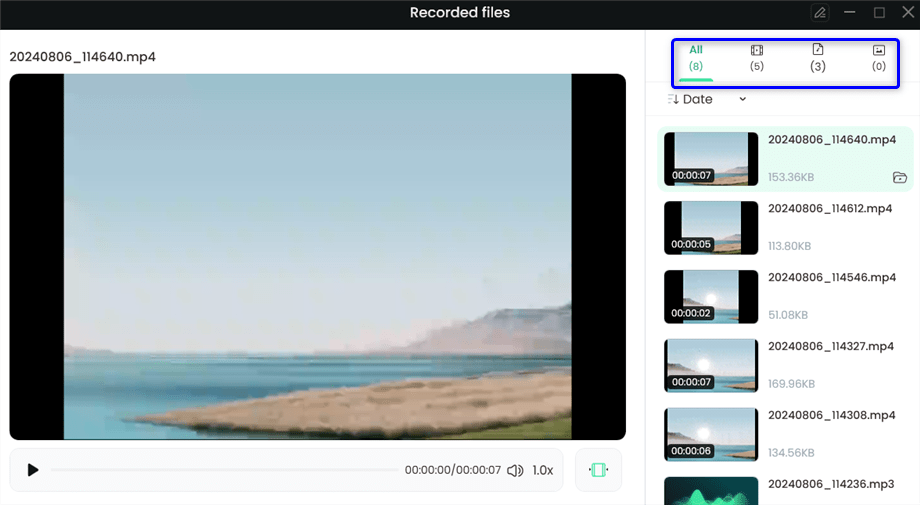
You can view your recorded files by different file categories, such as All, Video, Audio and Screenshots.
File Categories
When you select a recording file, you can preview it in the file display area on the left. See the interface below for reference.
Preview the File
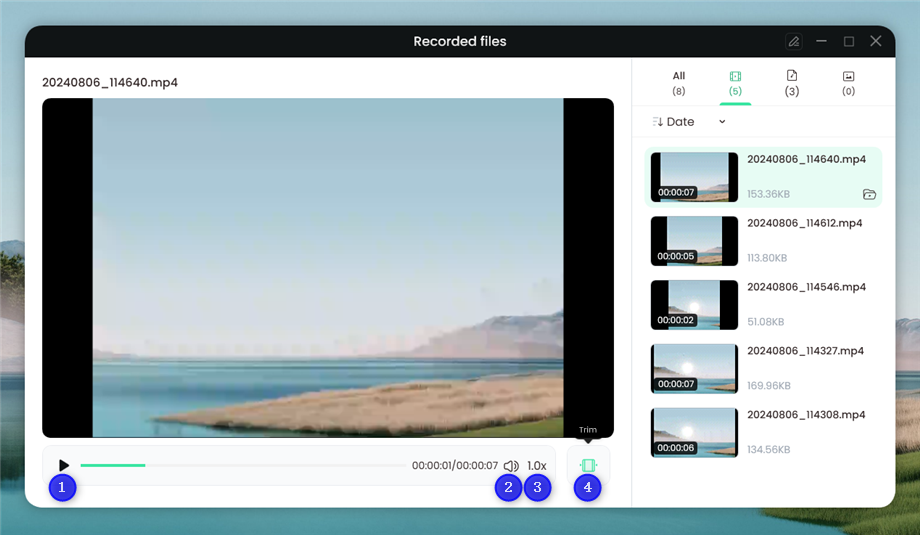
In the preview interface, you can:
1 Play/Pause the audio or video.
2 Adjust the volume.
3 Adjust playback speed.
4 Trim video or audio.
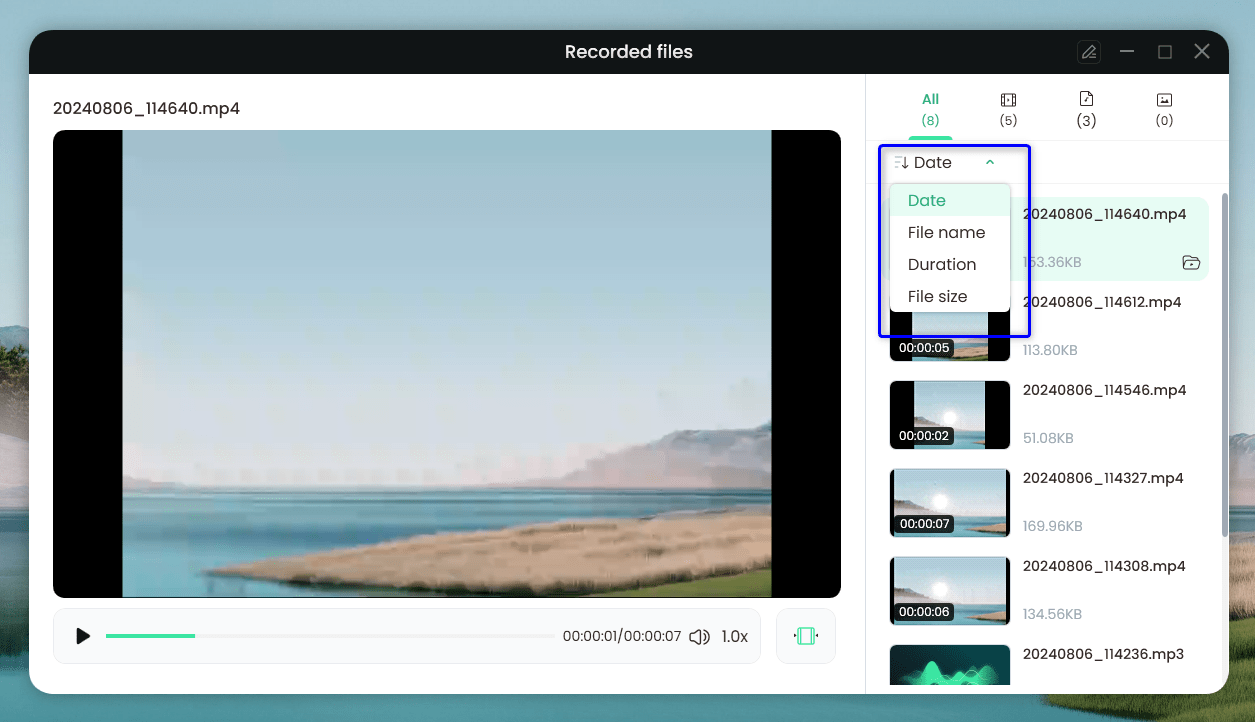
Part 2. Sort Recorded Files
After selecting the Recorded Files option, the interface will display a list of your recorded files. In the operation surface, you can click the All button to view the recording which you need recording. You also can sort files with the Date, File name, Duration and File size.
Sort Recorded Files
Part 3. Organize and Edit Recorded Files
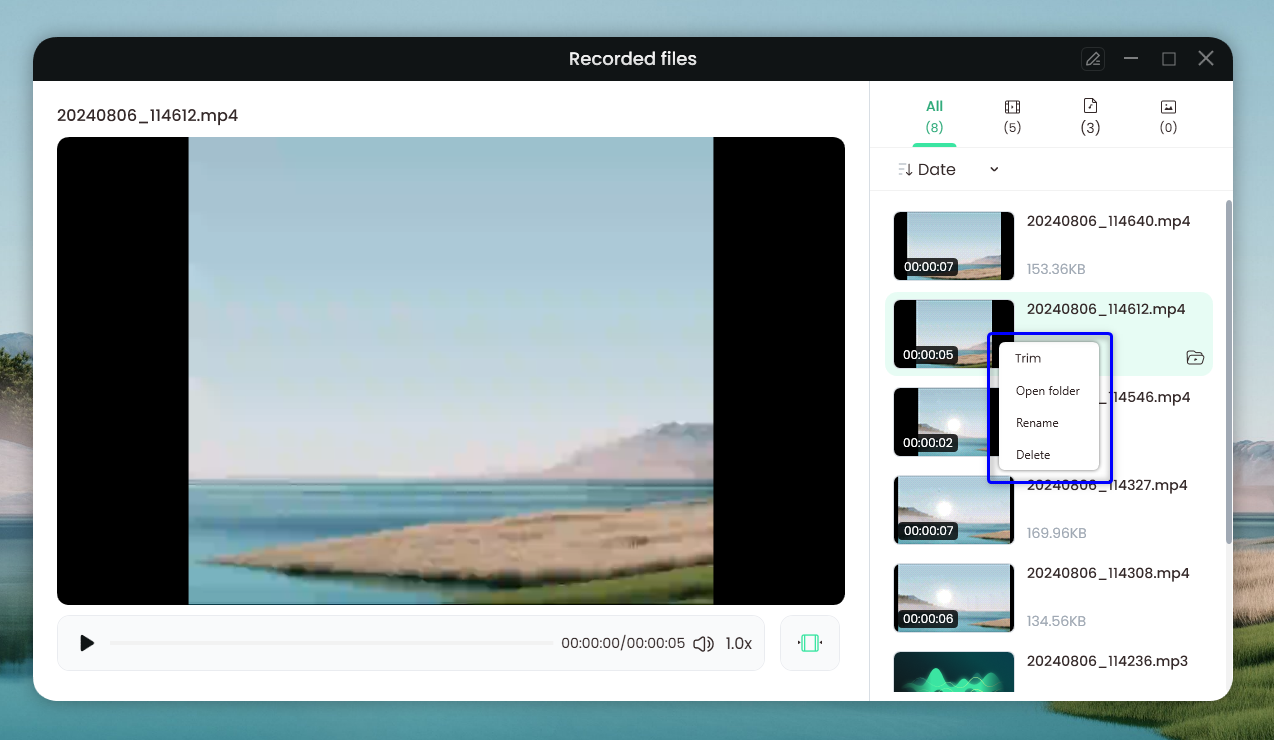
After selecting the Recorded Files option, the interface will display a list of your recorded files. By selecting a file and right-clicking, you can Trim, Open folder, Rename, or Delete the recorded file. Please refer to the interface below.
Trim: To trim or cut a portion of the recorded file, removing unwanted parts while keeping the desired section.
Open folder: This action opens the directory or folder on your computer where the recorded file is stored, allowing you to access other files in the same location.
Rename: To change the name of the recorded file to something more descriptive or organized.
Delete: To permanently remove the recorded file from your device, freeing up space and decluttering your files.
Operate Recording
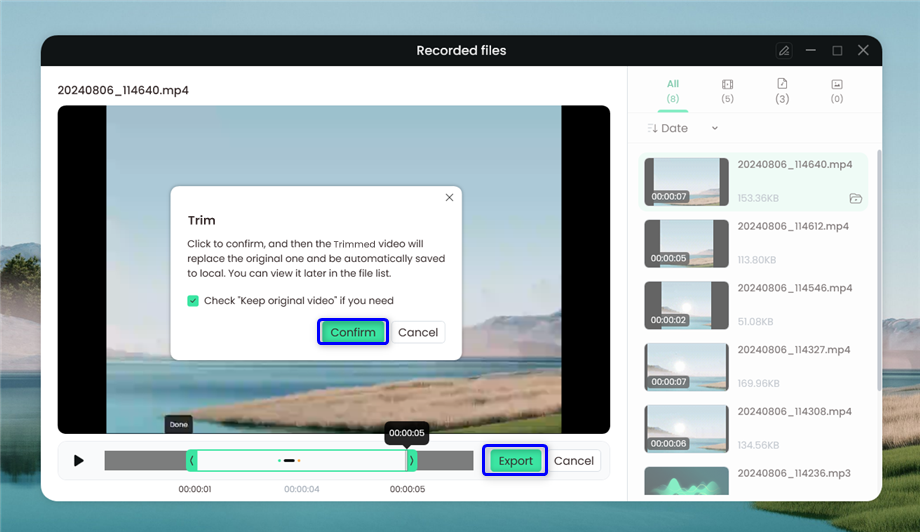
To Trim the recorded files, please click the Trim option, then, the video will enter the trimming state. You can trim the file by dragging the start and end trimming markers on the playback progress bar to adjust the start and end points. When you have finished trimming, please click Export first and then click Confirm to save the trimmed file.
Trim the Recorded File
If you still have questions after reading this guide, please refer to FAQs page to check more solutions. Or you can contact our Support Team to get further help. We are here to help you!
iMobie Self-Service
Welcome to iMobie Self-Service. Choose a category or input keywords for swift solutions!😊
End conversation
Do you want to end the conversation? If you need further help , please submit a ticket to get efficient solution soon.
 Screenify
 AnyEnhancer
 FocuSee
 Vozard
 AnyMiro
 AnyMirror