Free Download For Win & Mac | 100% Clean & Secure
Basic Information
Introduction
Screenify is a 100% free screen recording tool that enables you to record high-quality videos from various sources, including windows, cameras, screens, and audio. It offers a versatile recording experience, allowing you to choose the preferred mode based on your needs. Whether you aim to capture a presentation, record a tutorial, or save a video call for future reference, Screenify provides the tools to do so with ease and efficiency. Please refer to the information below to learn more about Screenify.
What Scenarios are Available?
Screenify serves a wide range of purposes across various domains due to its versatile recording capabilities. Here are some common use cases where Screenify can be leveraged effectively:
Training and Tutorial: Create engaging and informative training materials or tutorial videos for newcomers, subscribers, or customers.
E-learning: Record materials to do post-class review and homework assignments, or slides for online presentation.
Online Meetings: Record online meetings to facilitate easy post-meeting review and sharing, ensuring that crucial information is not missed and enhancing collaboration and information retention.
Content Creation: Record interesting or useful videos and post them on different platforms like YouTube or TikTok.
Displaying and Demonstrating: Show the details and process of the steps of your painting, reporting, or demonstrating bugs.
Compatibility of Computer System
| Windows | macOS | |
| Basic Configuration | Windows 11, 10, 8.1, 8, 7(64 bit) | macOS 10.13 (High Sierra) and above |
| Suggested Configuration | Windows 11, 10(64 bit) (CPU i3 10th generation and above, NVIDIA graphics card 1650 and above, 8G internal storage and above.) |
macOS 13 and above |
With a Mac computer, you'll need to install an audio driver to record system sounds due to permission restrictions.
How to Find Windows and Mac Computer Specifications?
For Windows Computer:
Step 1. Find "Settings" option on your computer.
Step 2. Choose "System" option.
Step 3. Choose "About" option. And you will view the detailed info about computer specification.
For Mac Computer:
Step 1. Click the Apple icon on the top left of your computer screen.
Step 2. Click "About this Mac".
Step 3. You will find the computer specifications in the following appearing window.
Supported Output Formats of Files
| Audio | MP3, AAC, OGG, WMA, FLAC, AC3, WAV |
| Video | MP4, GIF, MOV, FLV, MKV, AVI |
Menu Bar Settings
After you launch Screenify, you will see two buttons in the upper right corner of the software. One is Canny button, another is Menu Bar Settings button.
Clicking Canny button, you can share with us your needs and suggestions about the functions of Screenify.
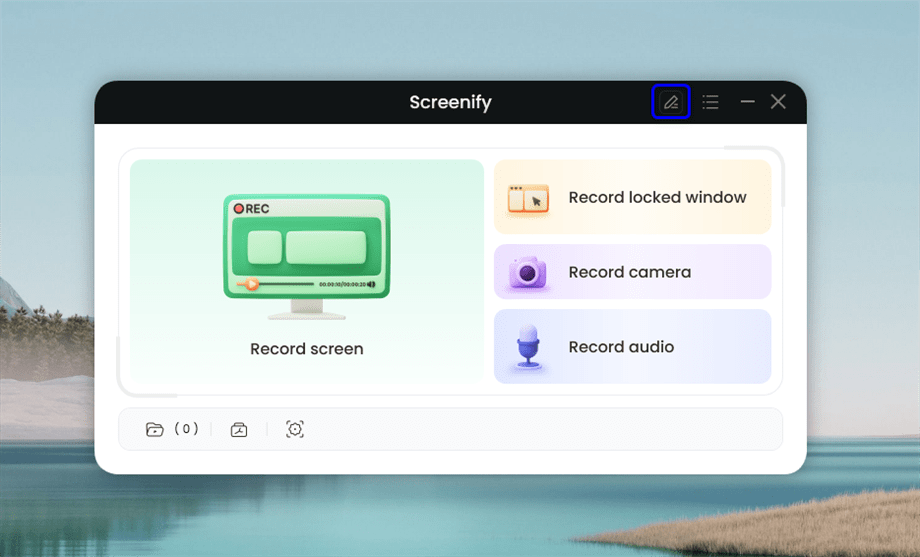
Click Canny button
Here you can unfold the Menu Bar Settings button to:
About: Check Screenify version.
Language: Choose your preferred language. (Screenify currently supports 8 languages, English, French, German, Japanese, Spanish, Arabic, Italian and Portuguese.)
Check Updates: Check if there is a newer version of the app and upgrade Screenify.
Feedback: Share with us your thoughts, suggestions, and any issues you encounter while using Screenify.
User Survey: Share with us your experience with Screenify.
Guide: View the user guide to make good use of Screenify.
FAQ: Visit the FAQ to get quick solutions.
Exit: Exit Screenify.
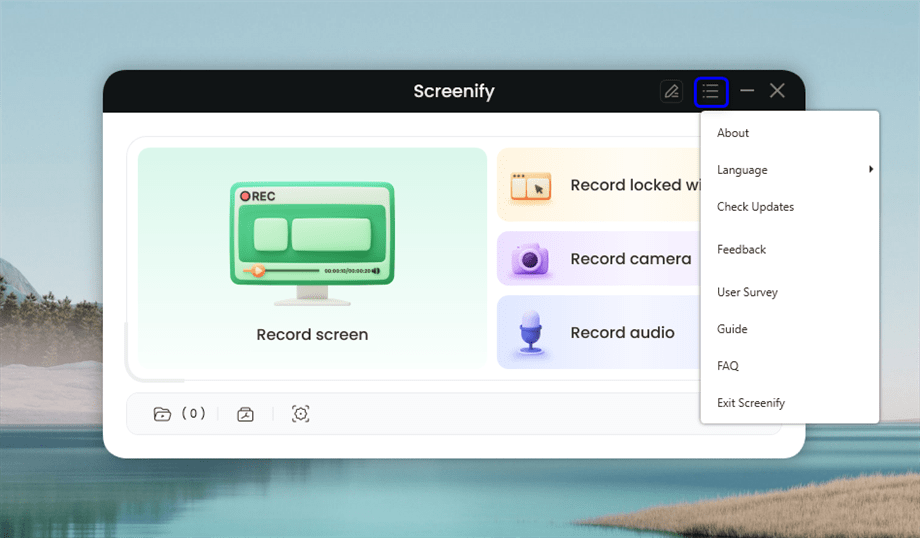
Click the Menu Bar Settings of Screenify
Key Features
1. Recording Modes
Screenify supports 4 recording modes, including Record Screen, Locked Window, Camera and Audio. You can choose the preferred recording mode based on your need.
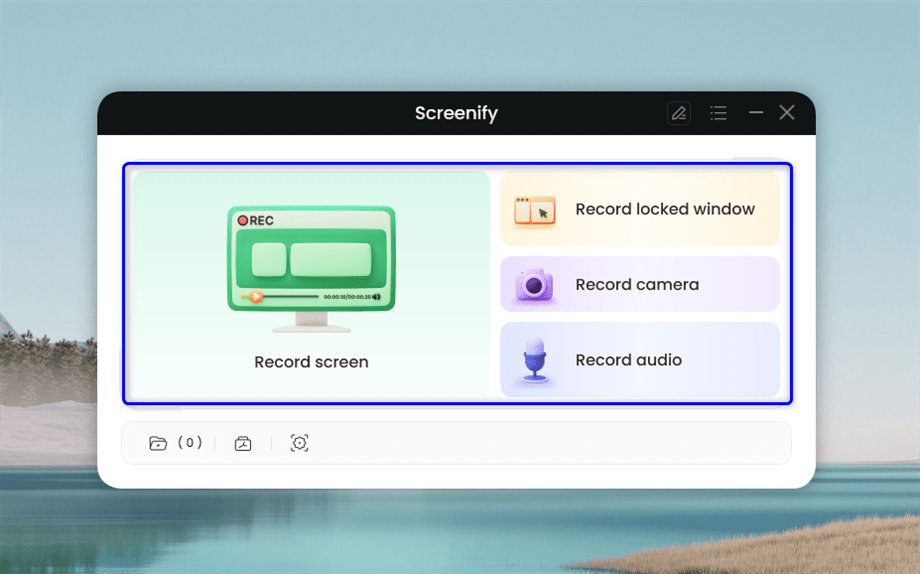
Select Recording Modes
2. Recording Settings
To make good use of Screenify, you can complete the settings before the recording process starts. Please click the System Settings button to complete the General, Output Format, Recording, Watermark, Mouse and Shortcuts Settings.
General Settings: To configure recorded file paths, startup settings, and minimize window options.
Output Format Settings: To choose video, audio, and screenshot formats.
Recording Settings: To finish the basic settings of recording including countdown (3s), recording panel, taskbar and desktop icons settings during recording.
Watermark Settings: To customize the watermark content to the recording file.
Mouse Settings: To show or hide the mouse pointer.
Shortcuts Settings: To set a shortcut key for start/stop recording, pause/resume recording, and taking a screenshot.
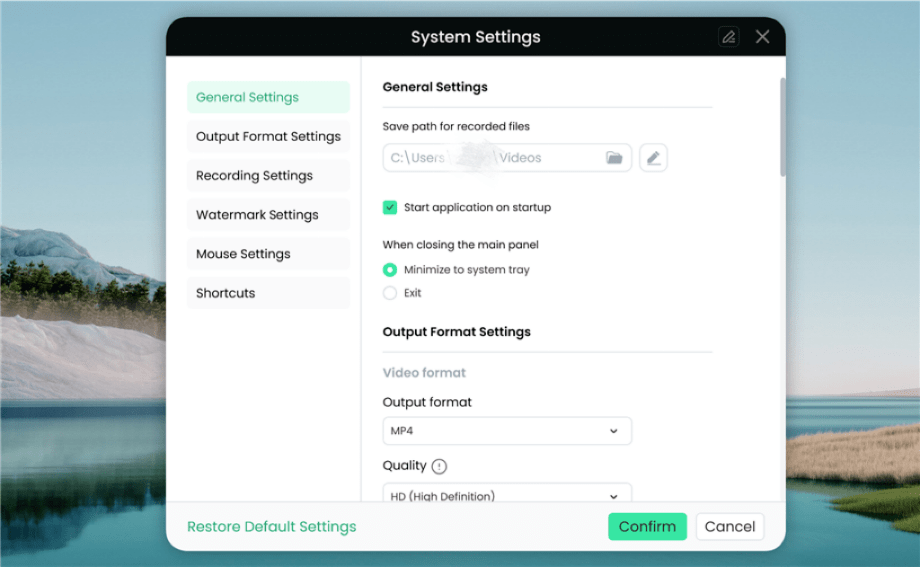
System Settings
To know more information about system settings, please view the post to check the detailed instructions.
3. Recorded File Management
After recording, you can manage the recorded files based on your preference through this window, like Sort, Trim, Rename, Delete the recorded file and Open folder.
Sort: To sort files with the date, file name, recording duration and file size.
Trim: To trim or cut a portion of the recorded file, removing unwanted parts while keeping the desired section.
Open folder: This action opens the directory or folder on your computer where the recorded file is stored, allowing you to access other files in the same location.
Rename: To change the name of the recorded file to something more descriptive or organized.
Delete: To permanently remove the recorded file from your device, freeing up space and decluttering your files.
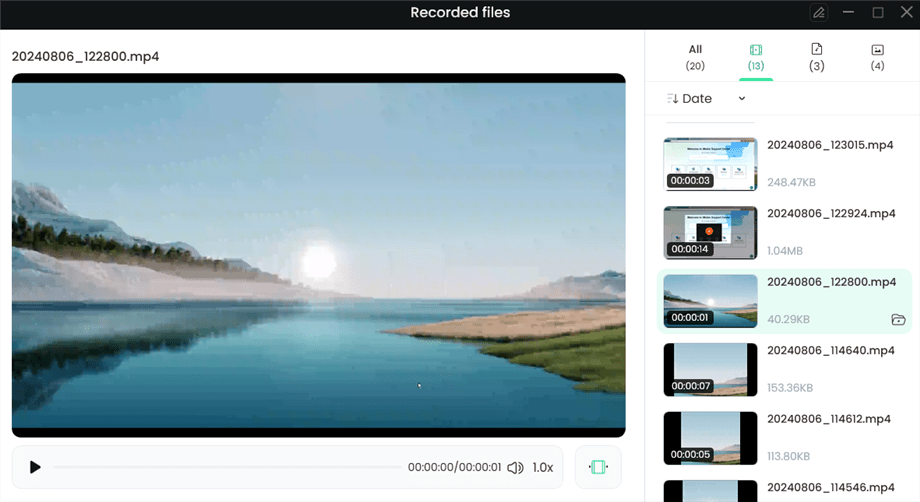
Manage the Recorded File
1. To better manage the recorded files, please view the post to check the detailed instructions.
2. If you still have questions after reading this guide, please refer to FAQs page to check more solutions. Or you can contact our Support Team to get further help. We are here to help you!

Try It Out & Share Your Feedback!

We'd love to hear how Screenify is working for you.
Give it a try and share your thoughts—your feedback helps us keep improving.
If you're enjoying Screenify, we'd be so grateful if you could leave us a review on Trustpilot. Your support helps others discover Screenify and motivates our team!
Thank you for being part of the iMobie community — we couldn’t do it without you!
Try It Out & Share Your Feedback!
We'd love to hear how Screenify is working for you.
Give it a try and share your thoughts—your feedback helps us keep improving.
If you're enjoying Screenify, we'd be so grateful if you could leave us a review on Trustpilot. Your support helps others discover Screenify and motivates our team!
Thank you for being part of the iMobie community — we couldn’t do it without you!