How to Fix Error: Samsung A71 Not Charging
If you’re struggling with Samsung A71 not charging, this guide is for you. We have provided common reasons for this issue and their solutions. You will find effective methods here. We have also included an effective solution using DroidKit.
DroidKit – Fix All Android Issues
DroidKit can troubleshoot all kinds of Android system issues like black screen, touch screen not working, apps keep crashing, frozen screen and so on.
Galaxy A71 has suddenly stopped charging?
Urgent, because I need my phone. It’s just… stopped charging. Rebooting hasn’t helped, no updates pending. Hasn’t gotten wet or anything like that. I’ve tried changing cords, outlets, wall plugs, the whole nine yards.
Is there anything I can do? Do I take it to a phone repair guy? Do I need a new phone? Do I cry?
Have you plugged in your Samsung A71, only to find that it won’t charge? No charging icon, no battery percentage going up—just a blank screen. It’s frustrating, especially when you rely on your phone so much.
Don’t worry! Many people face the same problem. This step-by-step guide will help you fix this issue. In this guide, we will walk you through easy steps to solve the “Samsung A71 not charging” problem. One powerful tool that can help you fix this problem quickly is DroidKit. We’ll show you how to use DroidKit to resolve this problem effortlessly.
Let’s start and get your Samsung A71 charging again!
Part 1. Why Does “Samsung A71 Not Charging” Error Occur?
The “Samsung A71 not charging” issue leaves users unable to use their phone. If you rely on your phone for everyday tasks, this issue is really frustrating.
It is important to understand the problem before trying to fix it. There are a few reasons that cause the issue:
- Damaged Charging Cable or Charger: A worn-out or faulty cable can be the reason. Damaged or faulty charger, or adapter might also be the culprit.
- Obstructed Charging Port: Sometimes dust, lint, or debris gets stuck in the charging port. This blockage might be stopping your phone from charging properly.
- Interference from Third-Party Apps: Some apps might interfere with the charging process and stop your phone from charging.
- Random Software Glitch: A temporary software glitch can also cause your phone to stop charging.
- Issues Following a Software Update: Occasionally, a recent software update may cause charging problems. Downgrading the software might help resolve the issue.
- Software Update is Needed: Your device might need a software update to fix bugs or improve performance. Updating the phone can resolve charging issues.
- Hardware Damage: Physical damage to internal components, such as the battery or charging port, can also cause charging issues. In such cases, you should contact a professional for repair.
Part 2. Methods to Resolve the “Samsung A71 Not Charging” Problem
In the earlier section, we discussed common reasons for the “Samsung A71 not charging” issue. DroidKit is an easy-to-implement solution if some software problems cause the issue. Let’s start with using DroidKit to solve the problem in seconds.
Way 1. Fix Samsung A71 Not Charging Issues with DroidKit🔥
DroidKit is an all-in-one solution for almost all problems related to Android phones. Its key features are listed below.
Free Download * 100% Clean & Safe
Key Features of DroidKit:
- No Technical Skills Required: DroidKit offers a simple and intuitive user interface. With this, you can resolve complex system problems easily at home, even if you’re not a technical person.
- Customized Solutions: DroidKit intelligently analyzes your device model and provides a customized solution. This ensures success in fixing system issues.
- Fix All Android OS Issues Without Root: It can repair any Android system problem without rooting the device. DroidKit System Fix can tackle issues like a black screen, frozen screen, touch screen not working, phone not charging, apps crashing, and camera failures.
- Reinstall or Upgrade the Android Version: You can easily reinstall or upgrade your Android OS to the desired version without the hassle of manual flashing or device rooting.
- Safe and Simple Operation: The entire process is streamlined and safe. It does not pose any risk of viruses or malware.
Let’s learn to use DroidKit for a quick system fix and resolve the Samsung A71 not charging issue.
Steps to use DroidKit for System Fix on Samsung A71:
Step 1. Download the software and install it on your computer. Turn On USB Debugging mode on your Samsung A71 and connect it to your computer.
Step 2. Launch DroidKit on your computer and select “System Fix” from the first screen that appears.
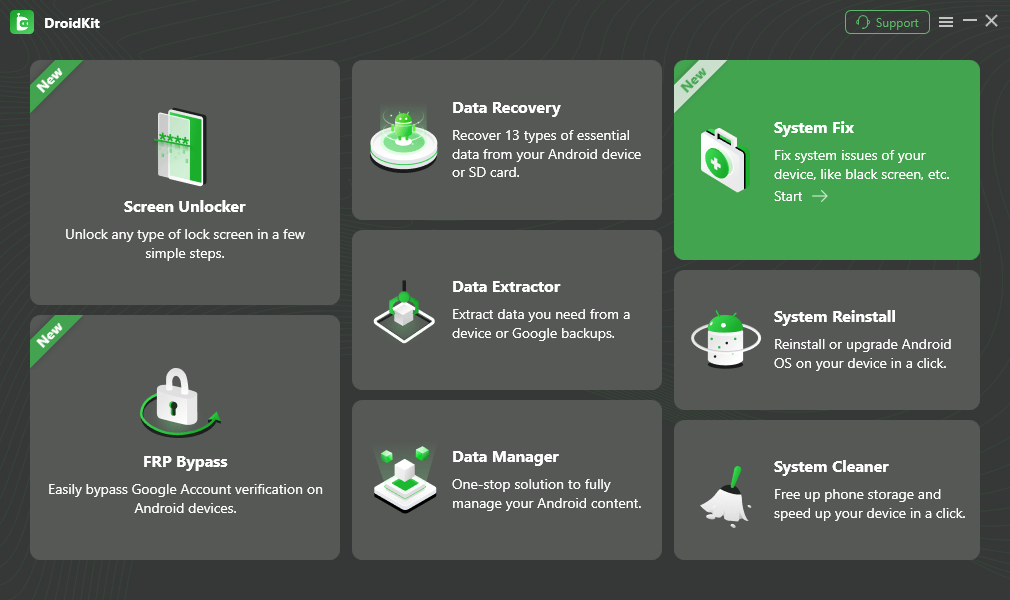
Click System Fix Function
Step 3. If the connection works fine and the phone is detected, click “Start.”
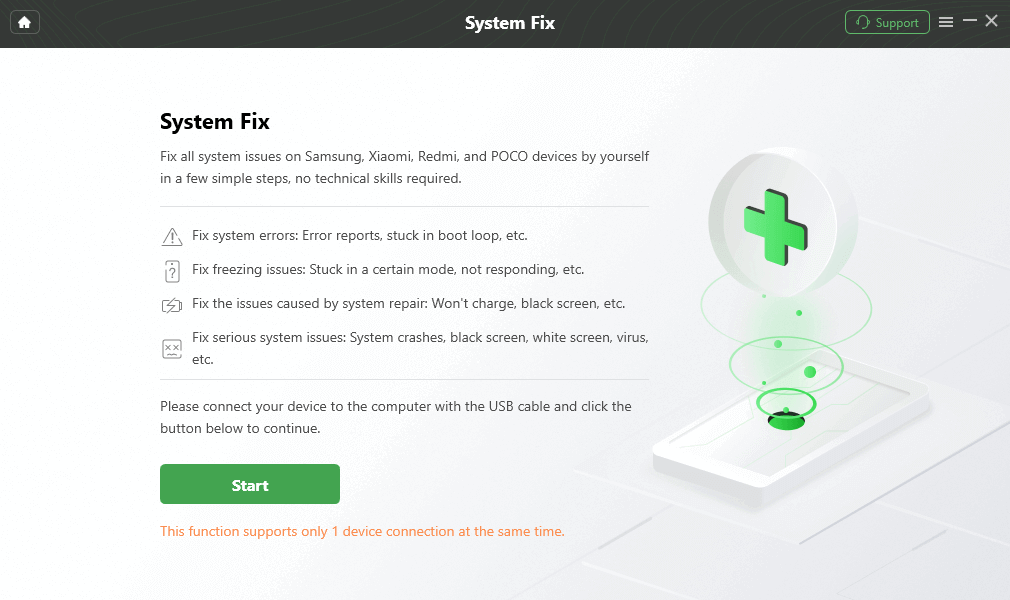
Start to Repair Android System
Step 4. Click “Download Now,” and DroidKit will download the firmware package for your device.
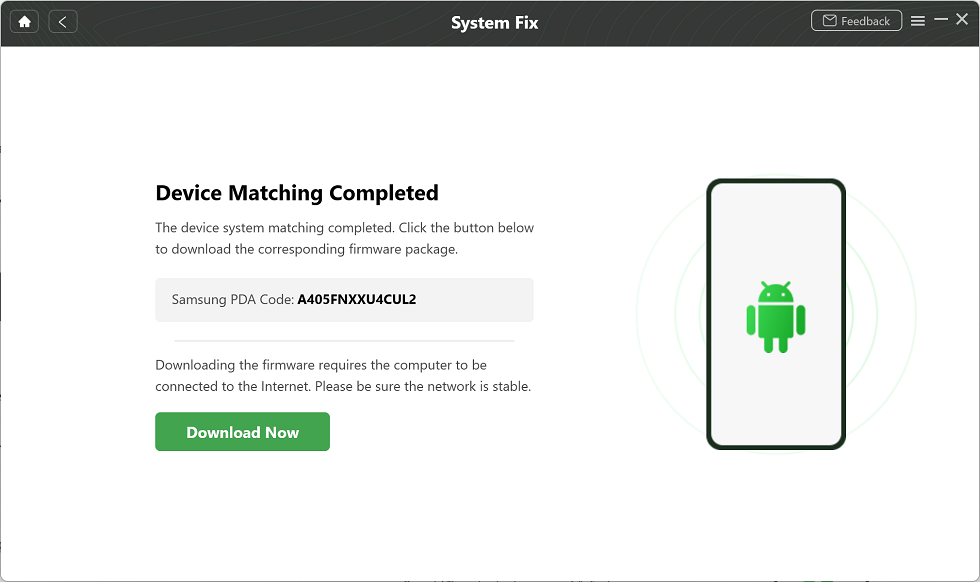
PDA Code Matched
Step 5. After the download is complete, follow the instructions on the DroidKit screen and put the Samsung A71 into download mode. Once done, click “Next”. DroidKit will now automatically start the Android system repair process. Wait for a while. Once the repair process is complete, you will see the screen below.
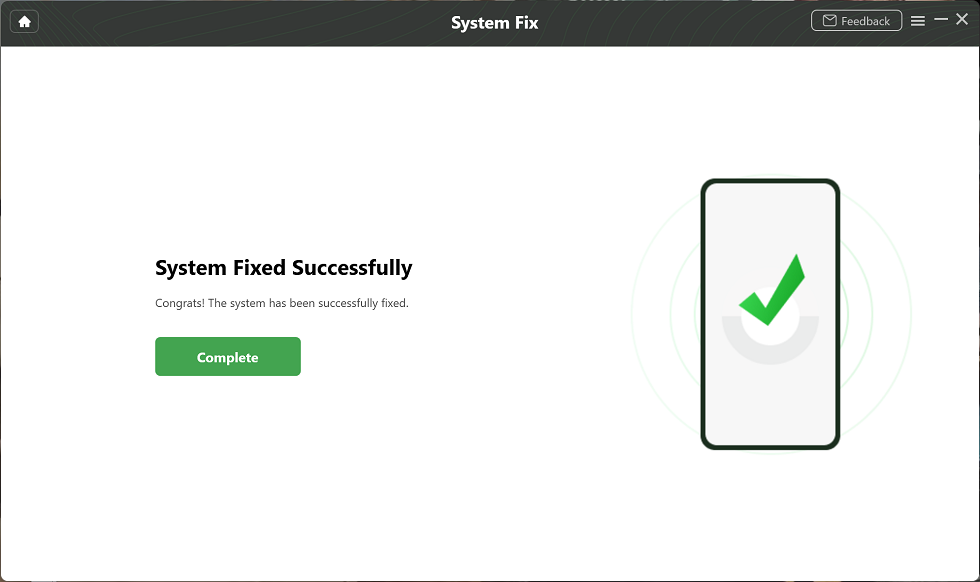
Completing the Repair Process
Check if your Samsung A71 has started charging now.
Way 2. Check and Replace the Charger and Cable
First, make sure you’re using an official charger and cable for charging. Chargers may look similar, but there is a difference between the voltage and power they deliver.
If you’re already using an official charger, check for any damages to the cable or adapter. If you notice any damage, stop using them. Even if there are no signs of damage, you can check their performance by connecting them to a different phone.
Way 3. Change the Socket / Power Source
If the adapter and cable are working fine, then change the power socket. If the phone starts charging after changing the power source, the problem is likely with the original socket or port.
If the phone still doesn’t respond to the charger, move on to the next solution.
Way 4. Clean the Charging Port
Dirt, lint, or debris stuck in the charging jack is usually the reason for the Samsung A71 not charging issue.
Steps to Clean the Charging Port
Step 1. Power off your mobile phone.
Step 2. Use a torch light to see inside the charging port of your device.
Step 3. Check if metal charging contacts are covered with dirt.
Step 4. Gently blow inside the charging port to remove the dust. You can also use an electronics duster spray.
Step 5. Seek professional help if the port is still clogged.
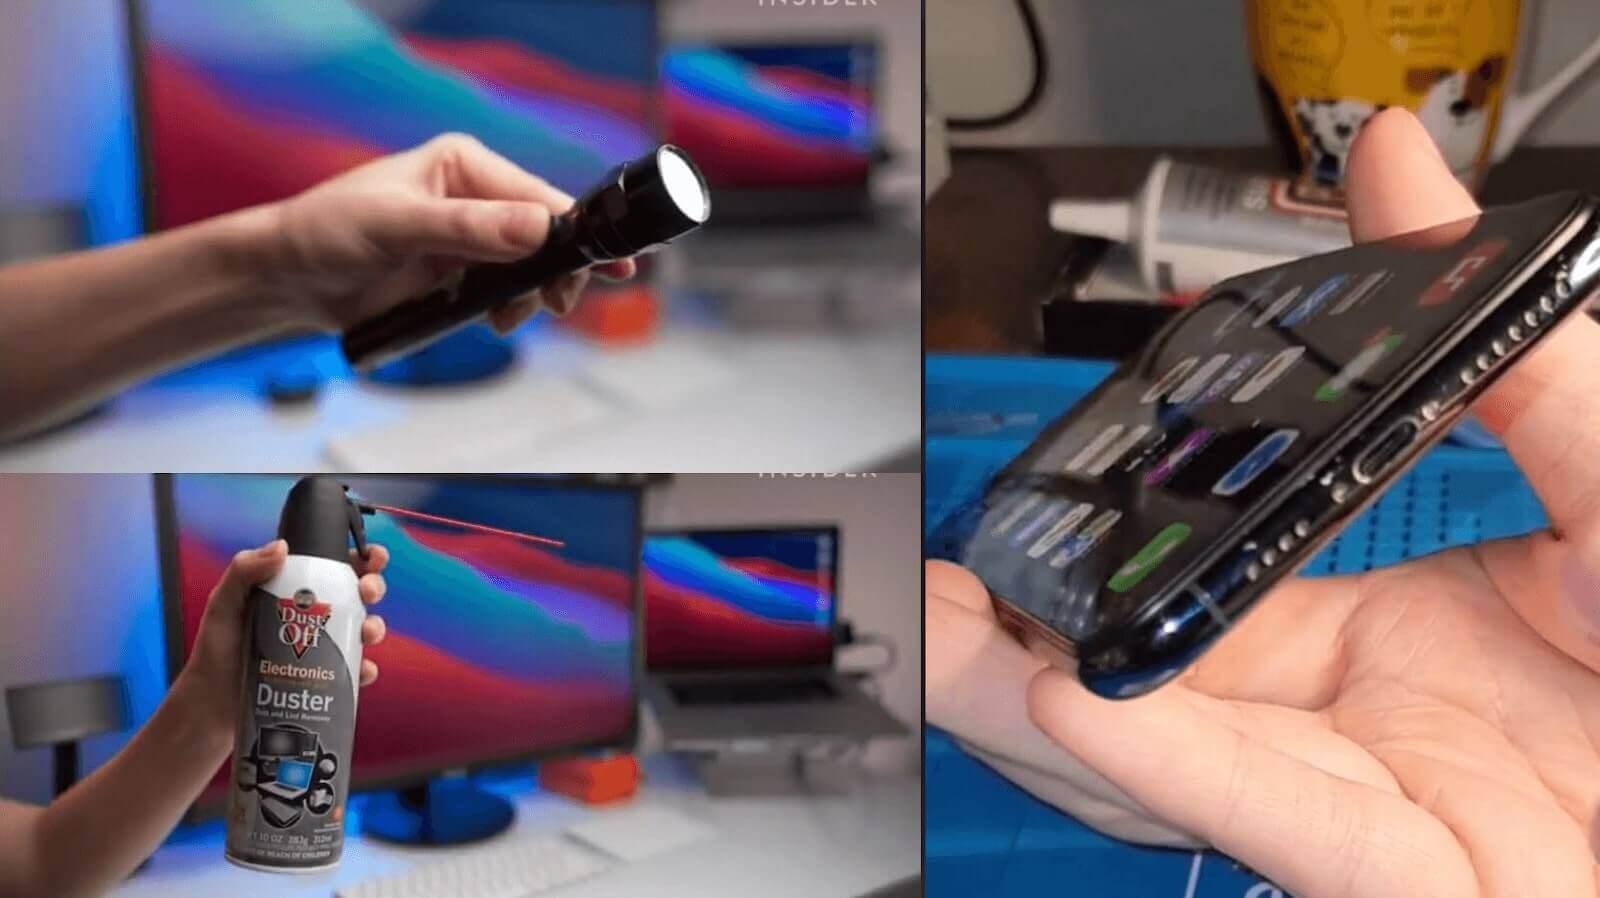
Use Torch and Duster Spray to Clean the Charging Port
If the phone is still not charging, let’s try another solution.
Way 5. Reboot the Phone
Sometimes, minor glitches and settings cause the phone to misbehave. A simple reboot clears these temporary issues that are the reason your phone is not charging.
Restart your phone from the power options available or try to force restart it.
Steps for Force Restarting Samsung A71:
Step 1. Press and hold the Volume Down and Power button.
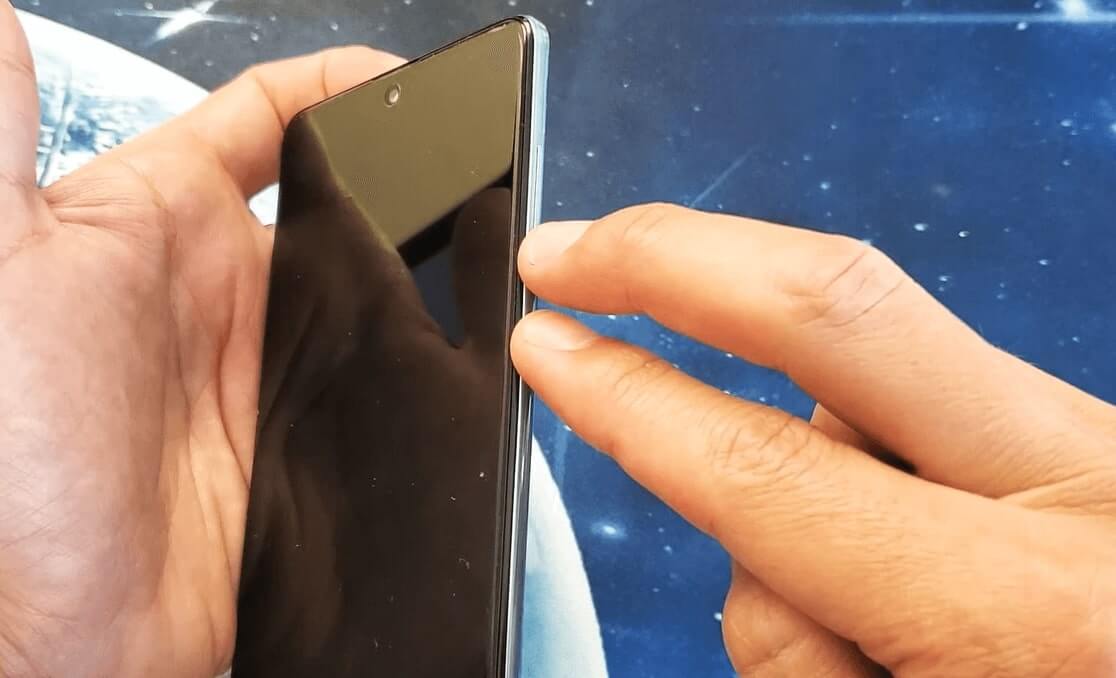
Press Volume Down and Power Button
Step 2. Press until the Samsung logo appears.

Press Volume Down and Power Button
Step 3. Your phone will now restart, so check if the charging is working.
Way 6. Start the Phone in Safe Mode
Sometimes, third-party apps have settings that might stop your phone from charging. Turning on the phone in safe mode stops the interference from third-party apps.
Steps for Turning ON the Phone in Safe Mode
Step 1. Tap on the “Power Options” button in the drop-down settings menu.
Step 2. Tap and hold the “Power Off” button.
Step 3. The “Safe Mode” option will appear. Tap this option to start the phone in safe mode.
Step 4. After the phone turns ON in safe mode, check whether it is charging now.
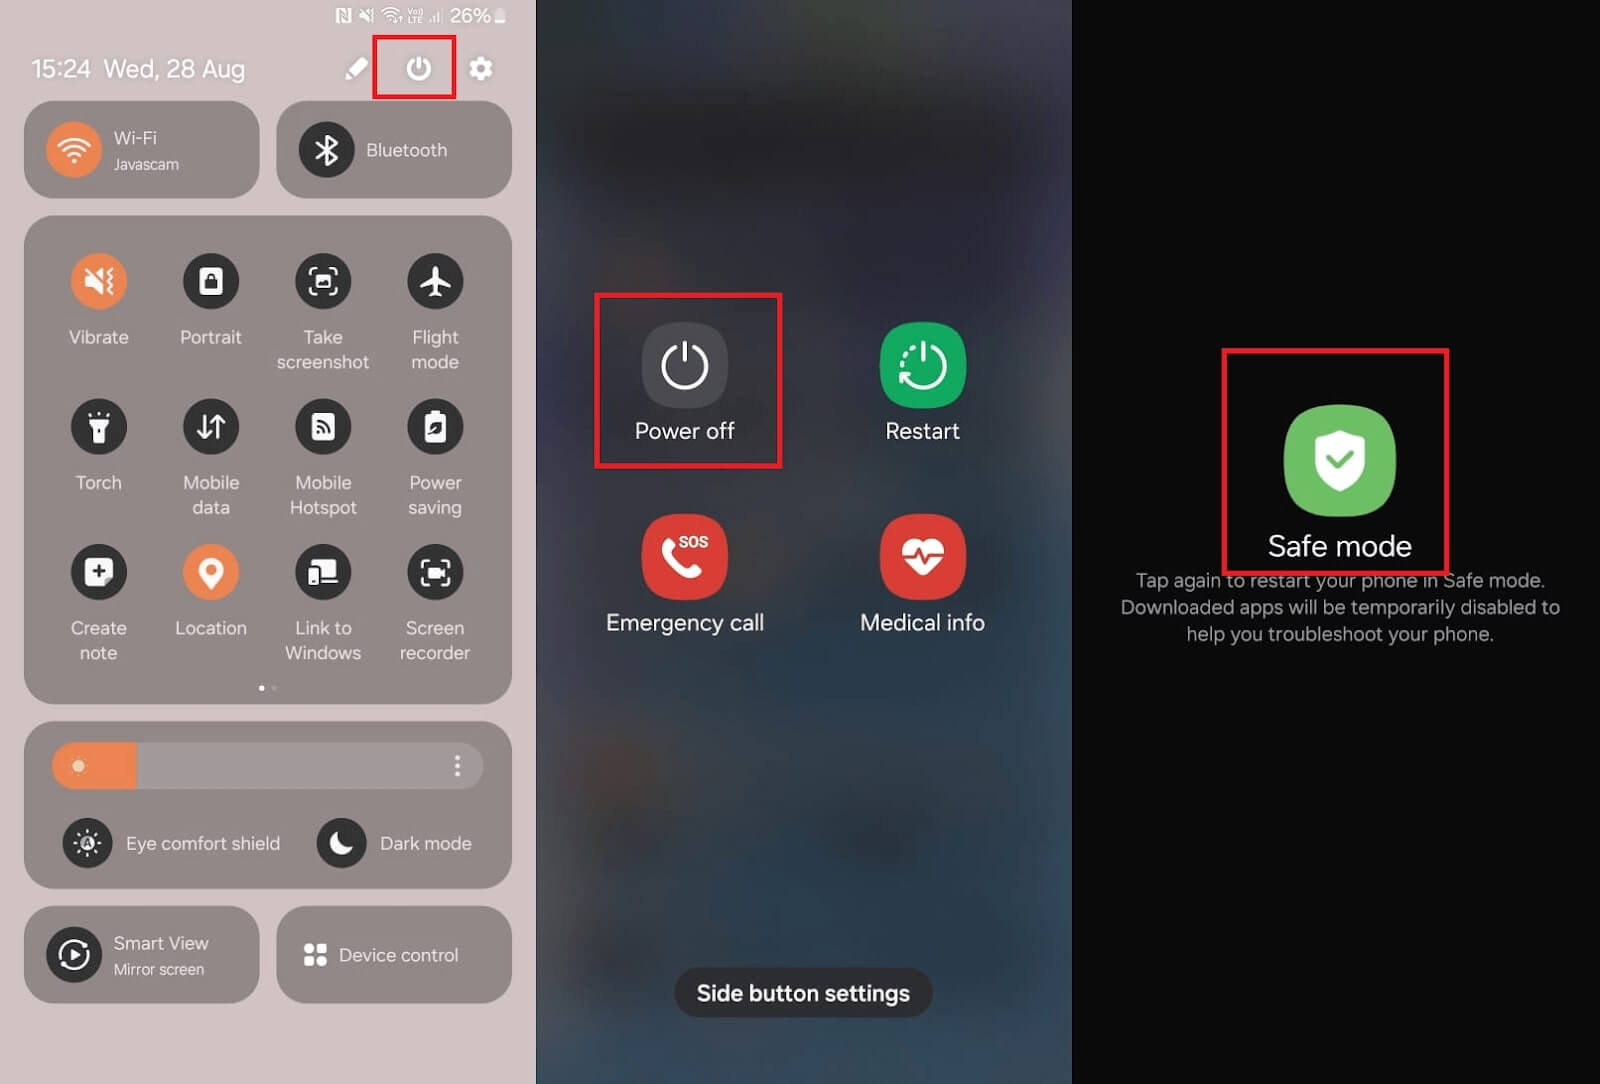
Starting the Phone in Safe Mode
If the phone is still not charging, try the next solution.
Way 7. Update Your Phone
Sometimes, an outdated OS causes problems with various phone functions, including charging. Software updates often include fixes for issues, performance improvements, and security patches. Updates resolve bugs affecting your Samsung A71’s ability to charge appropriately.
Steps to Update Samsung A71
Step 1. Click the gear icon to open “Settings”.
Step 2. Scroll down and tap “Software Update.”
Step 3. Tap “Download and Install.”
Step 4. Your Phone will now download and install the updates. After the process is complete, check whether your phone is charging properly.
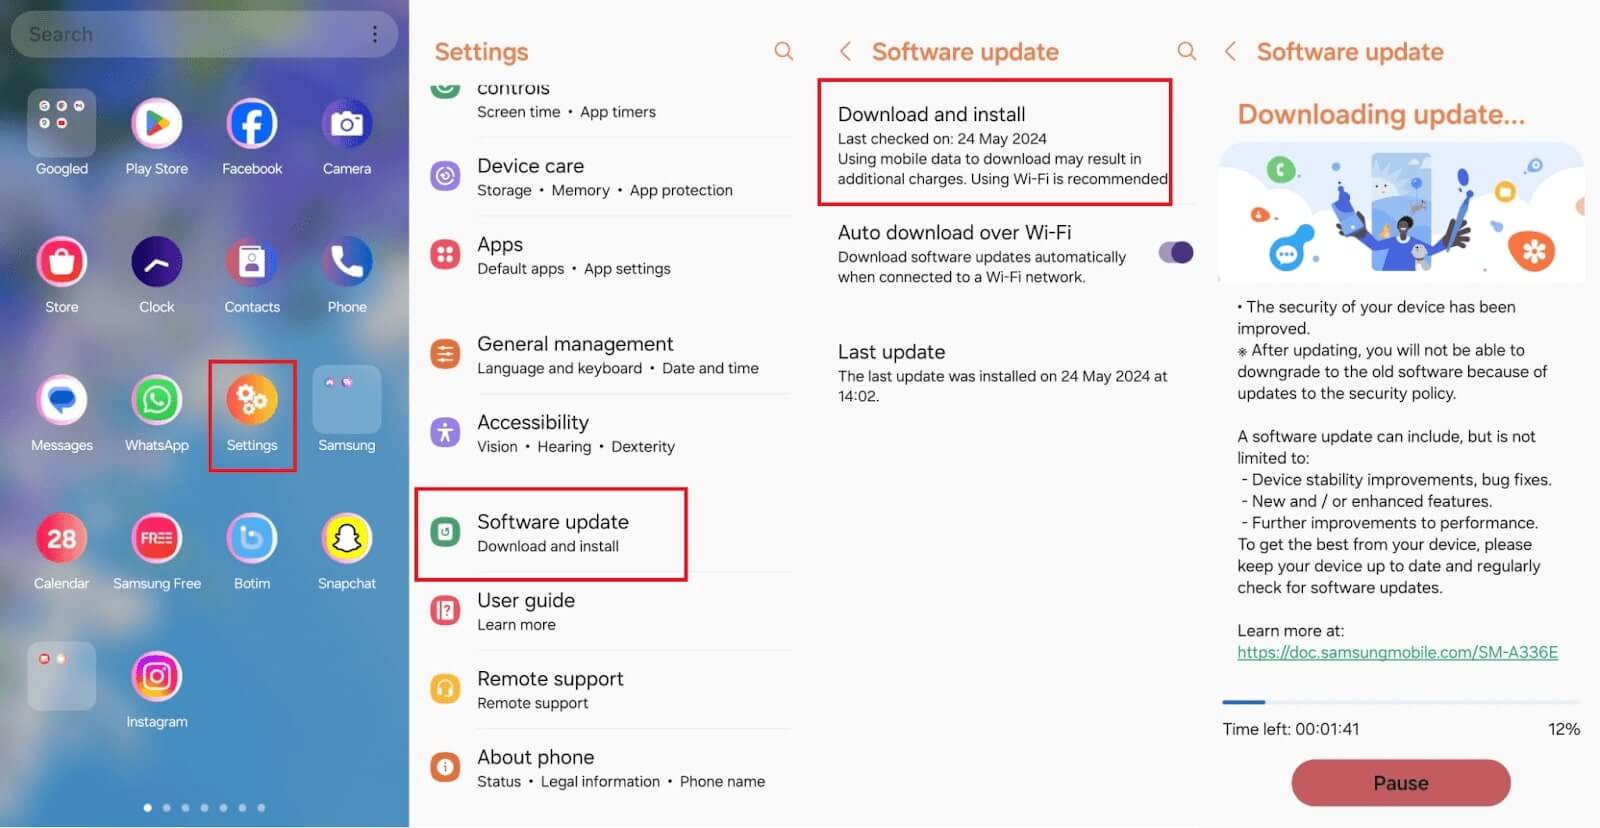
Update the Handset
Way 8. Seek Professional Help
If nothing works, your mobile phone may have a hardware problem. In this case, you should contact a professional who can access the device and repair the fault.
Conclusion
This guide provides several easy ways to fix the “Samsung A71 not charging” problem. You can try everything from checking your charger to updating your phone or using a tool like DroidKit. DroidKit is a helpful tool for fixing software issues in Android phones without any technical skills. It usually solves minor issues. Follow these steps to get your Samsung A71 charging again in no time.
If these methods don’t work, you should seek professional help to check for hardware problems.
Free Download * 100% Clean & Safe
Product-related questions? Contact Our Support Team to Get Quick Solution >

