How to Move Files to SD Card from Android Phone
If your internal storage is full on your device, you may want to move your files to SD card on your Android device. The following guide shows how you can do it with easy to follow methods. Read on to learn how.
Android Transfer Tips
Export Data from Android
Import Data to Android
If you have one of those Android phones with very little internal storage, you are probably struggling to manage your files everyday. What you can do in these situations is you can get an SD card and use it as storage for your files. Most phones have support for these cards but the important question is: how do you, on an Android device, move files to an SD card?
Fortunately, there are multiple methods that allow you to do that. Even your phone will have an option to let you move files to your SD card. If your phone does not offer the option and you would like to perform the transfer anyway, the following guide should teach you how to transfer files from a phone to SD card.
How to Move Files to SD Card from Android Phone using Computer
In these methods, you are going to use a computer to perform the transfer operation. This way you can have your files transferred over to your SD card whether your phone offers the transfer option or not.
The methods provided below are for both Windows and Mac machines. Simply follow the steps that are for your operating system and you should be able to transfer your files to your SD card.
1. Move Files to SD Card from Android Phone on Windows
If you have a Windows based computer, transferring files from your phone to your SD card is an easy task. Windows computers recognize Android devices as storage devices so you can view and perform operations on your phone’s files.
The following is how you do it:
Step 1. Connect your Android device to your Windows PC using a suitable cable.
Step 2. Ensure your phone is in the data transfer mode and not in the charging mode. You may tap on the notification on your screen to do this.
Step 3. Your phone will be mounted as a storage device on your PC. Double-click on it and it will open, select the files you want to transfer and copy them, open the SD card storage and paste your files there.
Depending on the size of your files, it will take anywhere from a few minutes to half an hour for your files to get transferred to your SD card. When the transfer is done, you may delete the original files from the internal storage of your phone.
2. Move Files to SD Card from Android Phone on Mac
If you have a Mac based machine, you will find that your machine does not automatically mount your Android phone as a storage device. Due to this limitation, you cannot simply copy files like you can do on a Windows PC.
Fortunately, though, there is an app that helps you mount your phone as a data storage device on your Mac. That way you can copy and play with your phone files as you please. The following is how you do it.
Step 1. Head over to the Android File Transfer app webpage and download and launch the app on your Mac.
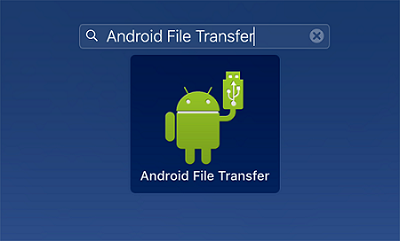
Android Move Files to SD Card – Use Android File Transfer
Step 2. Connect your Android phone to your computer using a compatible USB cable.
Step 3. Launch the newly installed app on your Mac. You should be able to copy and paste files wherever you want including to your SD card on your device.
Using a tiny app like the one mentioned above, you can easily move files to an SD card from an Android phone on Mac.
How to Move Files to SD Card from Android Phone using AnyDroid
While the above methods get the job done for you, they are easily not the most efficient methods of transferring files from a phone to an SD card. If you are looking for a dedicated solution to your file transfer issue, you may want to look into the third-party apps world.
Meet AnyDroid, an application that is dedicated solely to help you move data between various storage options on your Android phones. The app allows you to easily move any and all of your data from your phone over to your SD card. What’s more, doing all of this takes only a single click on your computer.
The following are some of the features the app offers:
- Transfer multiple media types including photos, videos, messages, contacts, and so on from Android device to computer or another Android device.
- Transfer, edit, and delete data in a single click. All your files would be divided into categories. You can directly find the one you need and manage the files without problem.
- Send files from iOS device/iTunes/iCloud to your Android device. With AnyDroid, you can directly transfer your iOS data to Android device in a click.
- Super fast transfer speed. AnyDroid can transfer more than 3000 songs from Android within 5 minutes.
Get it on your computer(PC&Mac) now, the following is how you do about Android move files to SD card.
Free Download * 100% Clean & Safe
Step 1. Launch AnyDroid. Connect your phone to your computer via USB cable or Wi-Fi.
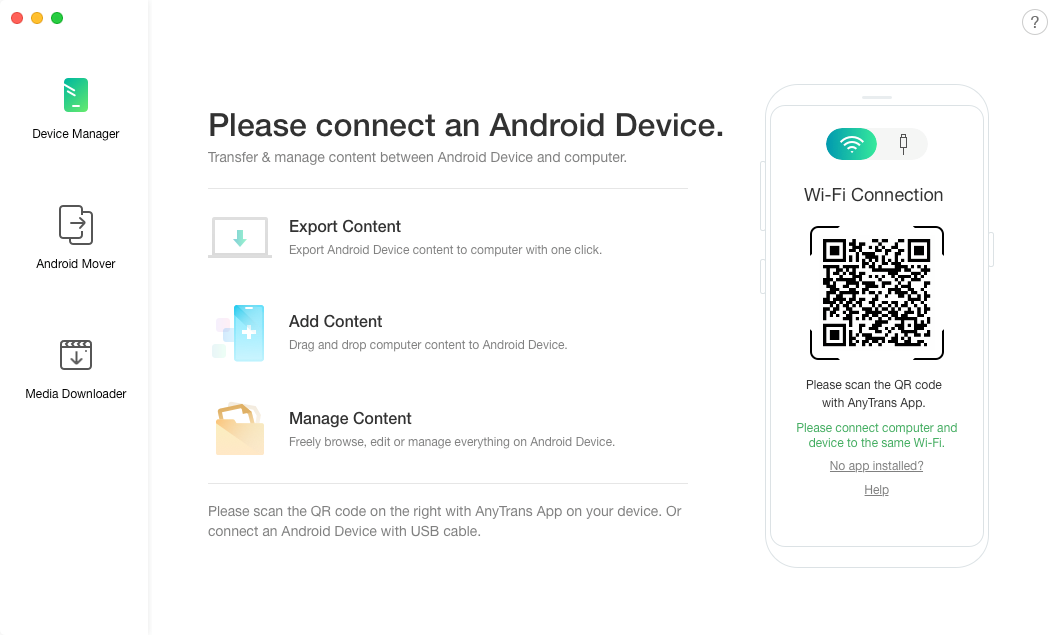
Android Move Files to SD Card Using AnyDroid – Step 1
Step 2. On the following screen, select the data type you would like to transfer. Once you have made a selection, continue with the process.
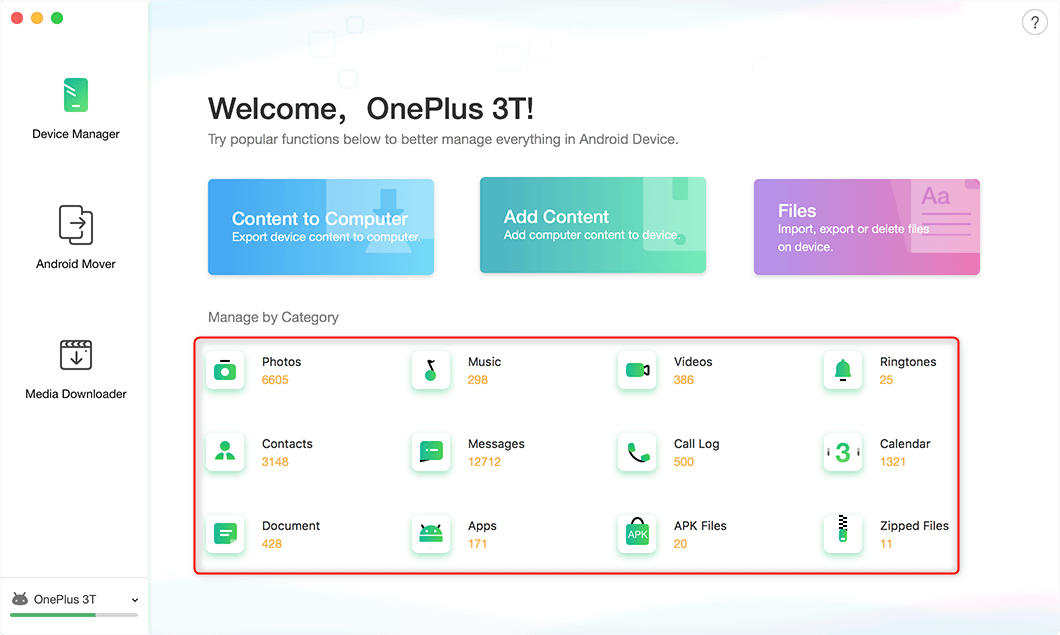
Android Move Files to SD Card Using AnyTrans for Android – Step 2
Step 3. After selecting the type of content you want to move to your SD card, select the files of that type on this screen and click on the Send to PC button. Choose SD card as the destination for your files.
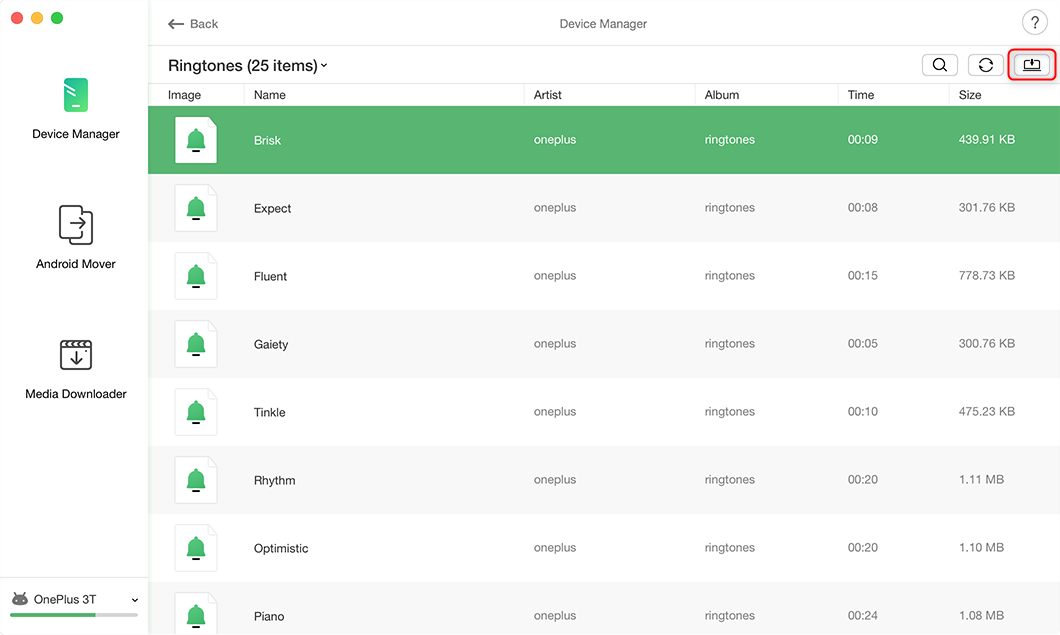
Android Move Files to SD Card Using AnyTrans for Android – Step 3
Step 4. Wait while the application moves your selected files to your SD card. Depending on the amount of data you have selected to be transferred, it will take from a few minutes to several minutes to finish the transfer operation. Once it’s done, you will see your files are now available on your SD card.
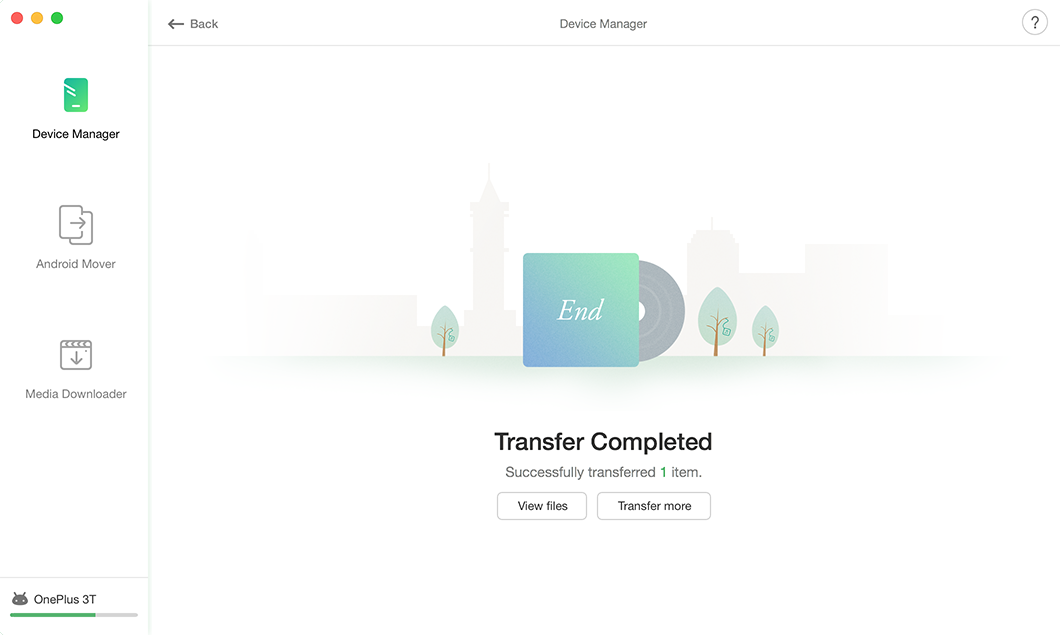
Android Move Files to SD Card Using AnyTrans for Android – Step 4
The Bottom Line
If you are running out of storage on your Android device and you wish to move your files to an SD card, the above guide will help you out by providing multiple transfer methods. We hope you find the guide to be useful and it helps you transfer your data to your SD card. Give a try to this powerful Android data manager now.
Product-related questions? Contact Our Support Team to Get Quick Solution >

